Manage conversation & ticket participants
Add or remove customers from Conversations and linked Customer tickets in the Inbox.
Written By Kateryna Babenko
Last updated 1 day ago
Overview
Sometimes a customer needs to bring someone else into a support thread - for example, their manager for a pricing decision, a developer for technical troubleshooting, or an external partner who is helping resolve the issue.
Add them as a participant instead of starting a separate Conversation so everyone can follow the same thread. You can manage participants in existing Messenger and Email Conversations, including Conversations linked to Customer tickets.
Notes:
If you have not sent the Conversation yet, add the recipients while starting it from the Inbox. Manage participants becomes available after the Conversation is created.
Added participants can access the Conversation and receive future replies, but adding or removing someone does not send an email or Messenger message by itself.
Add or remove participants
There are two ways to add participants to an existing Conversation: from the header or while sending an Email reply.
1. From the header
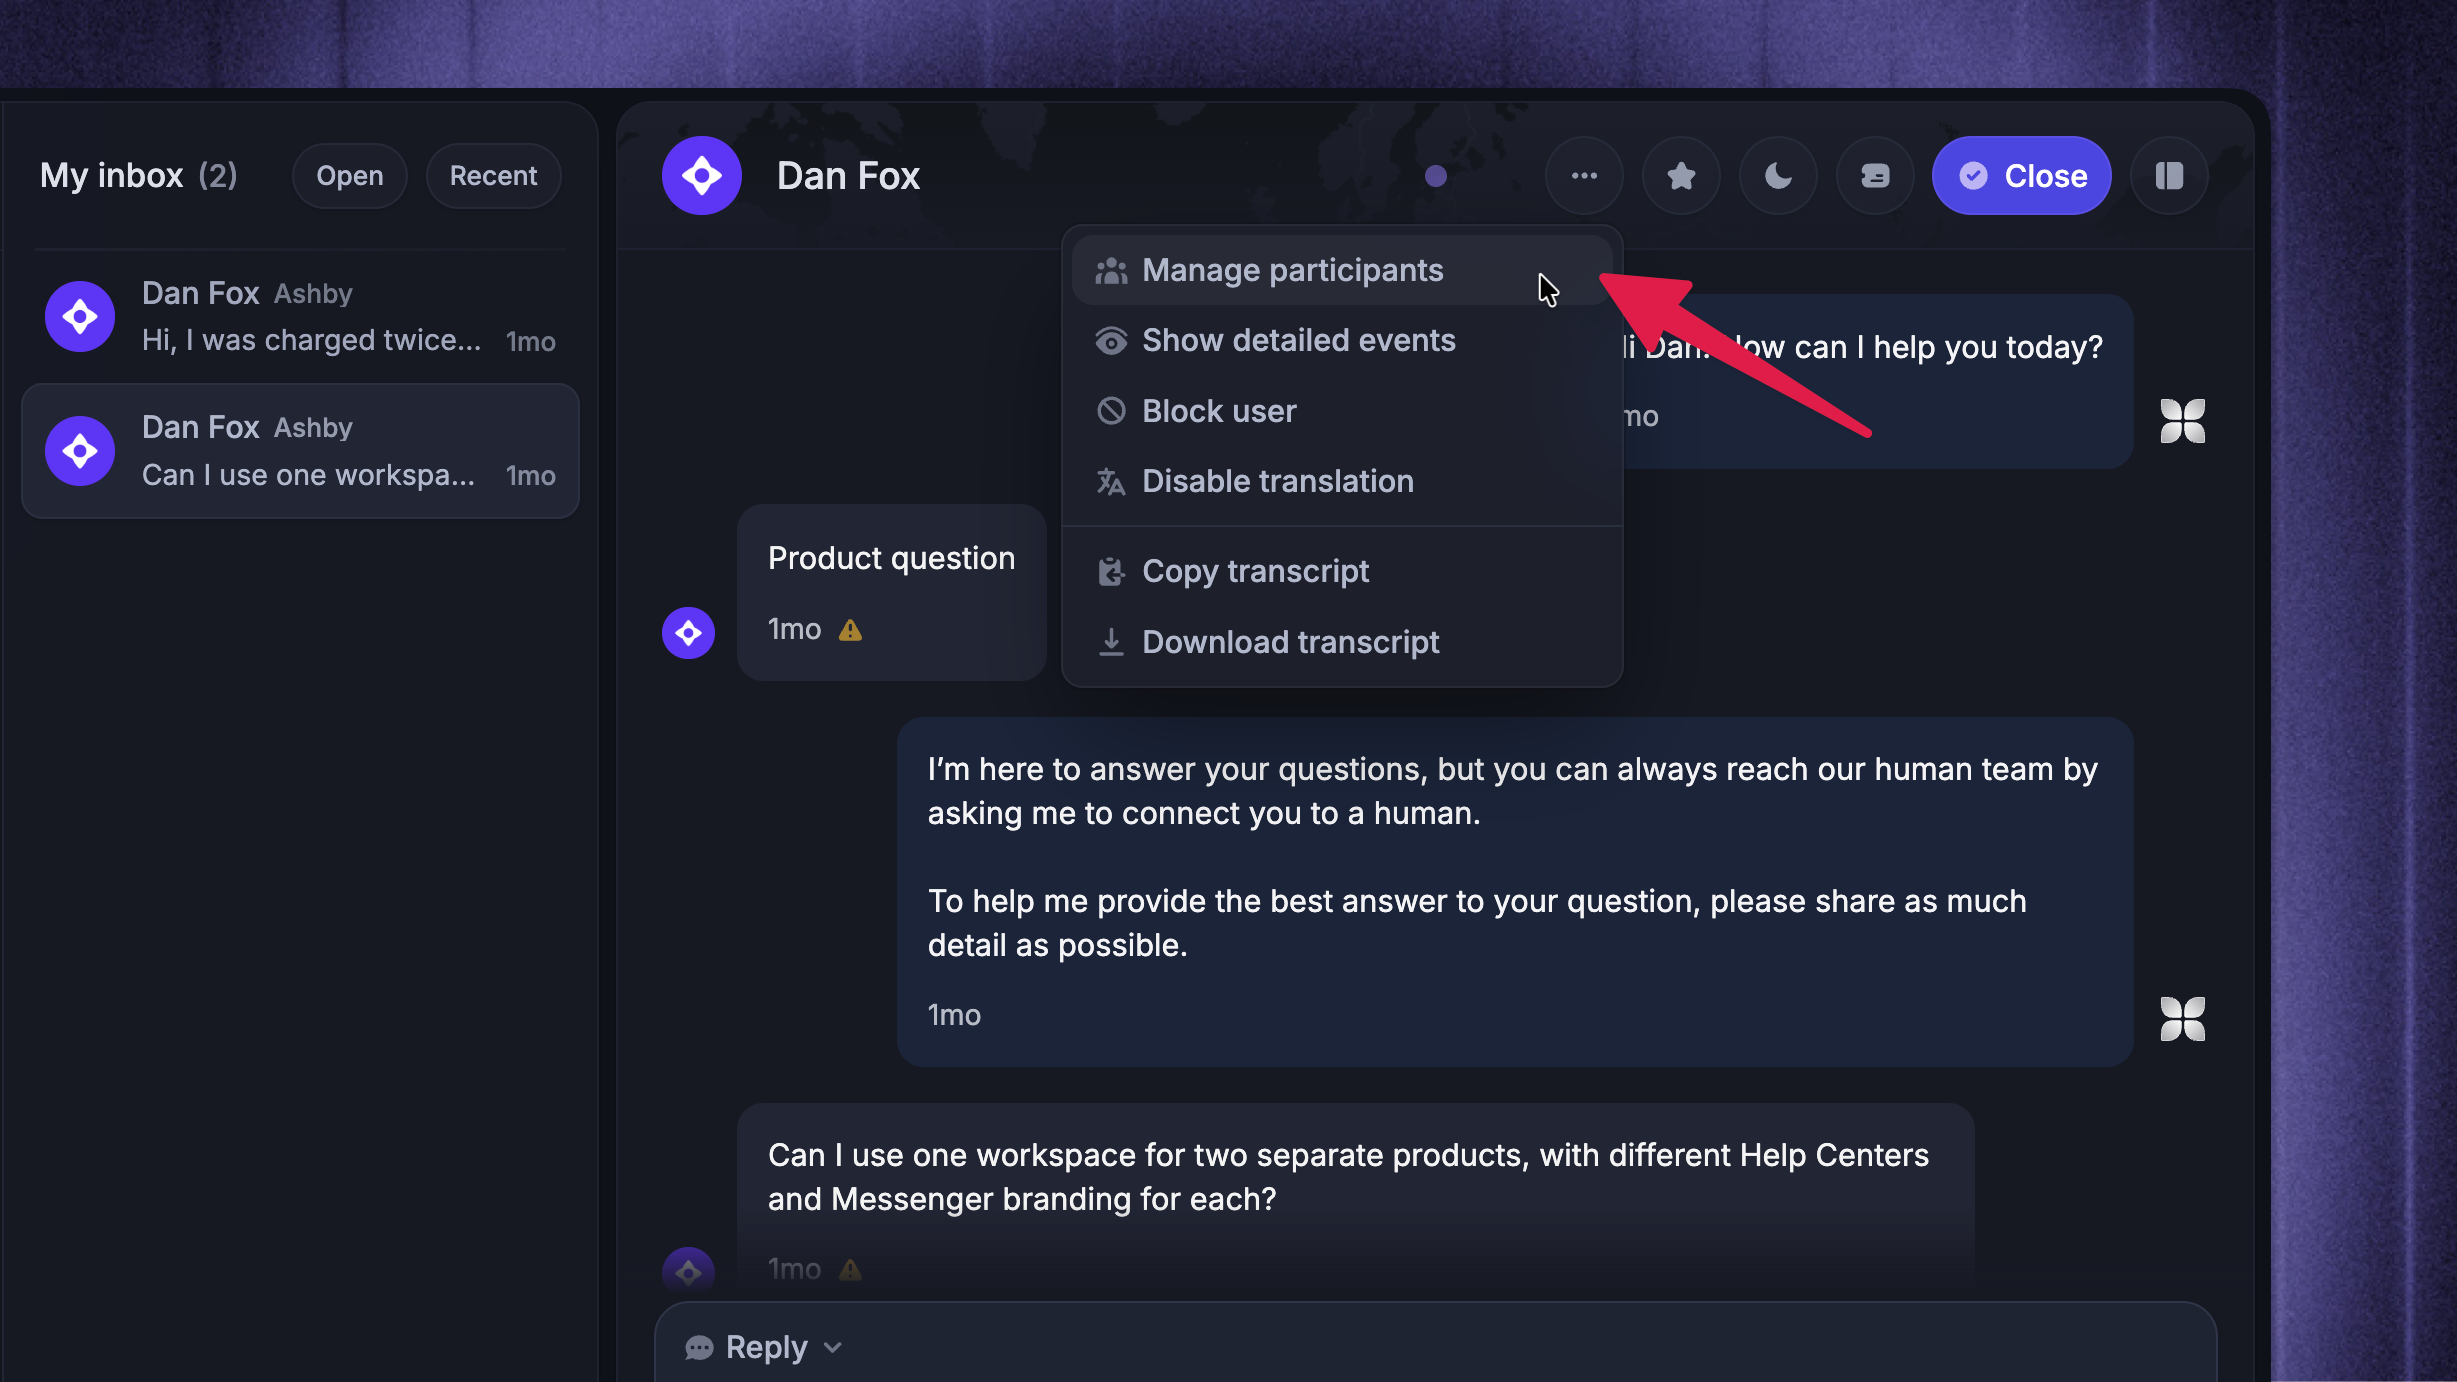
You can manage participants directly from an open Conversation or Customer ticket in the Inbox:
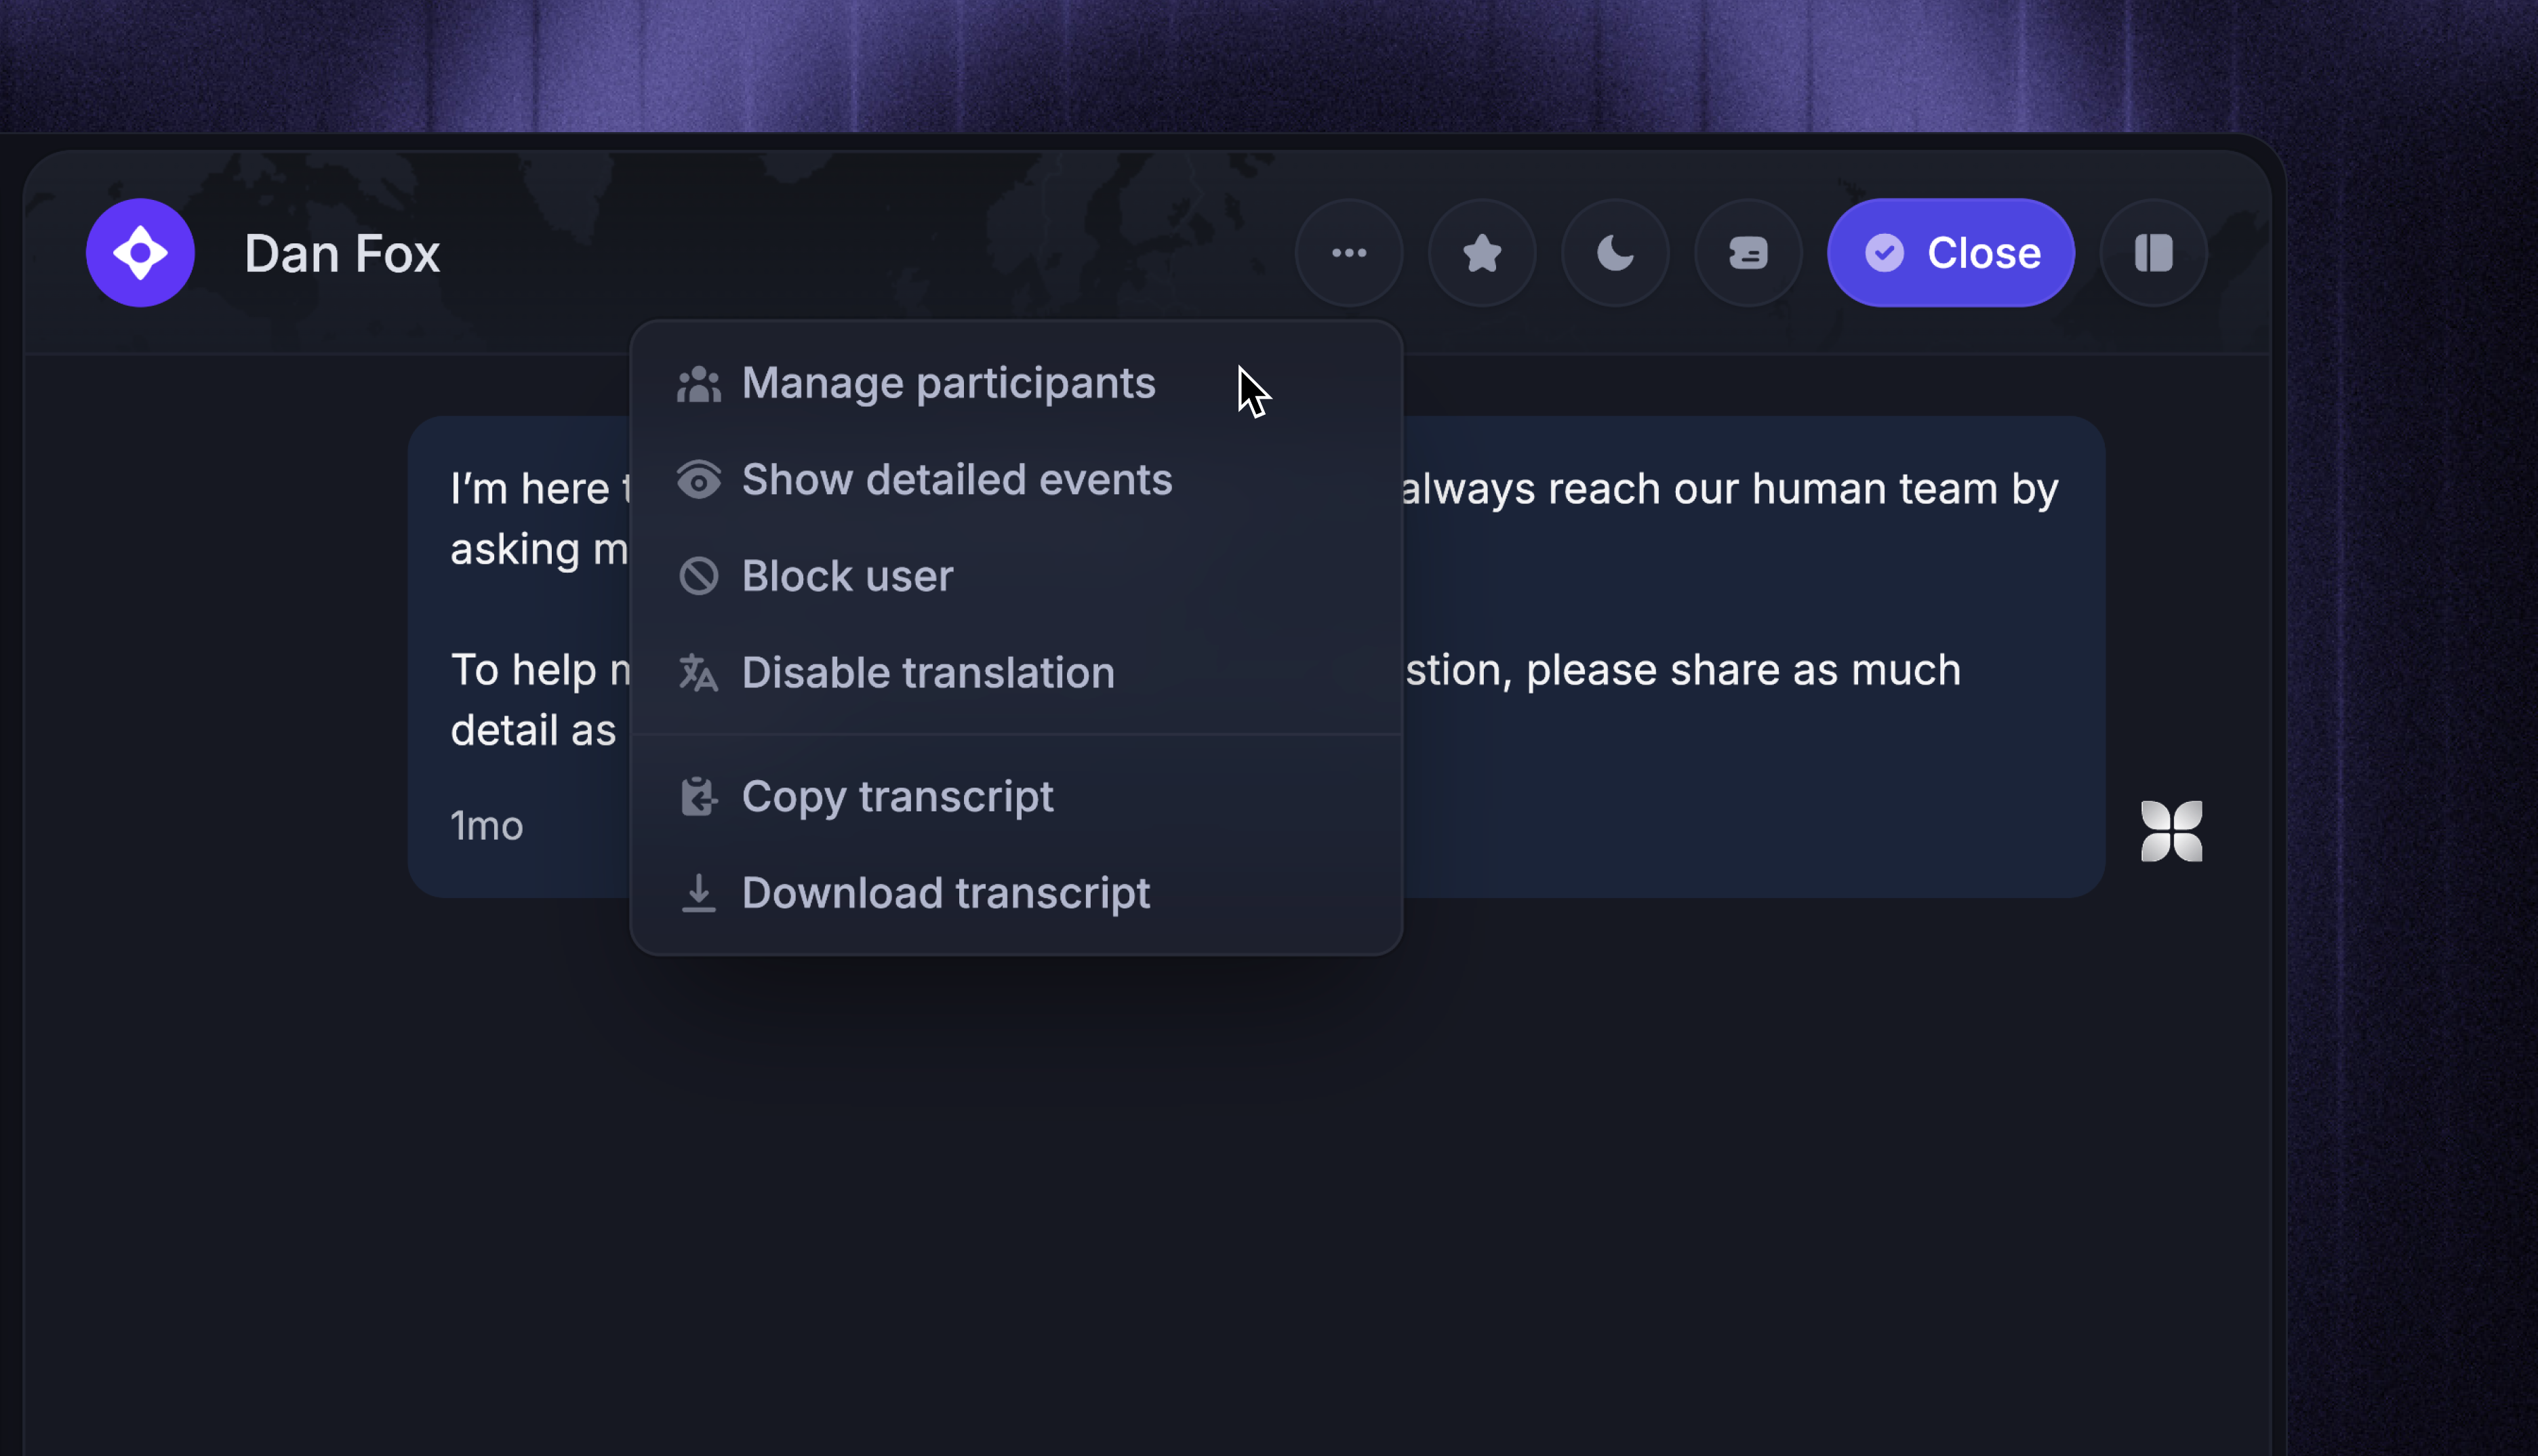
Click the three-dot menu in the header
Select Manage participants
In View & add participants, click Add participant
Search for an existing user or lead by name or email address, then select them
If the person is not in your Workspace yet, select Add a brand new user and enter their details
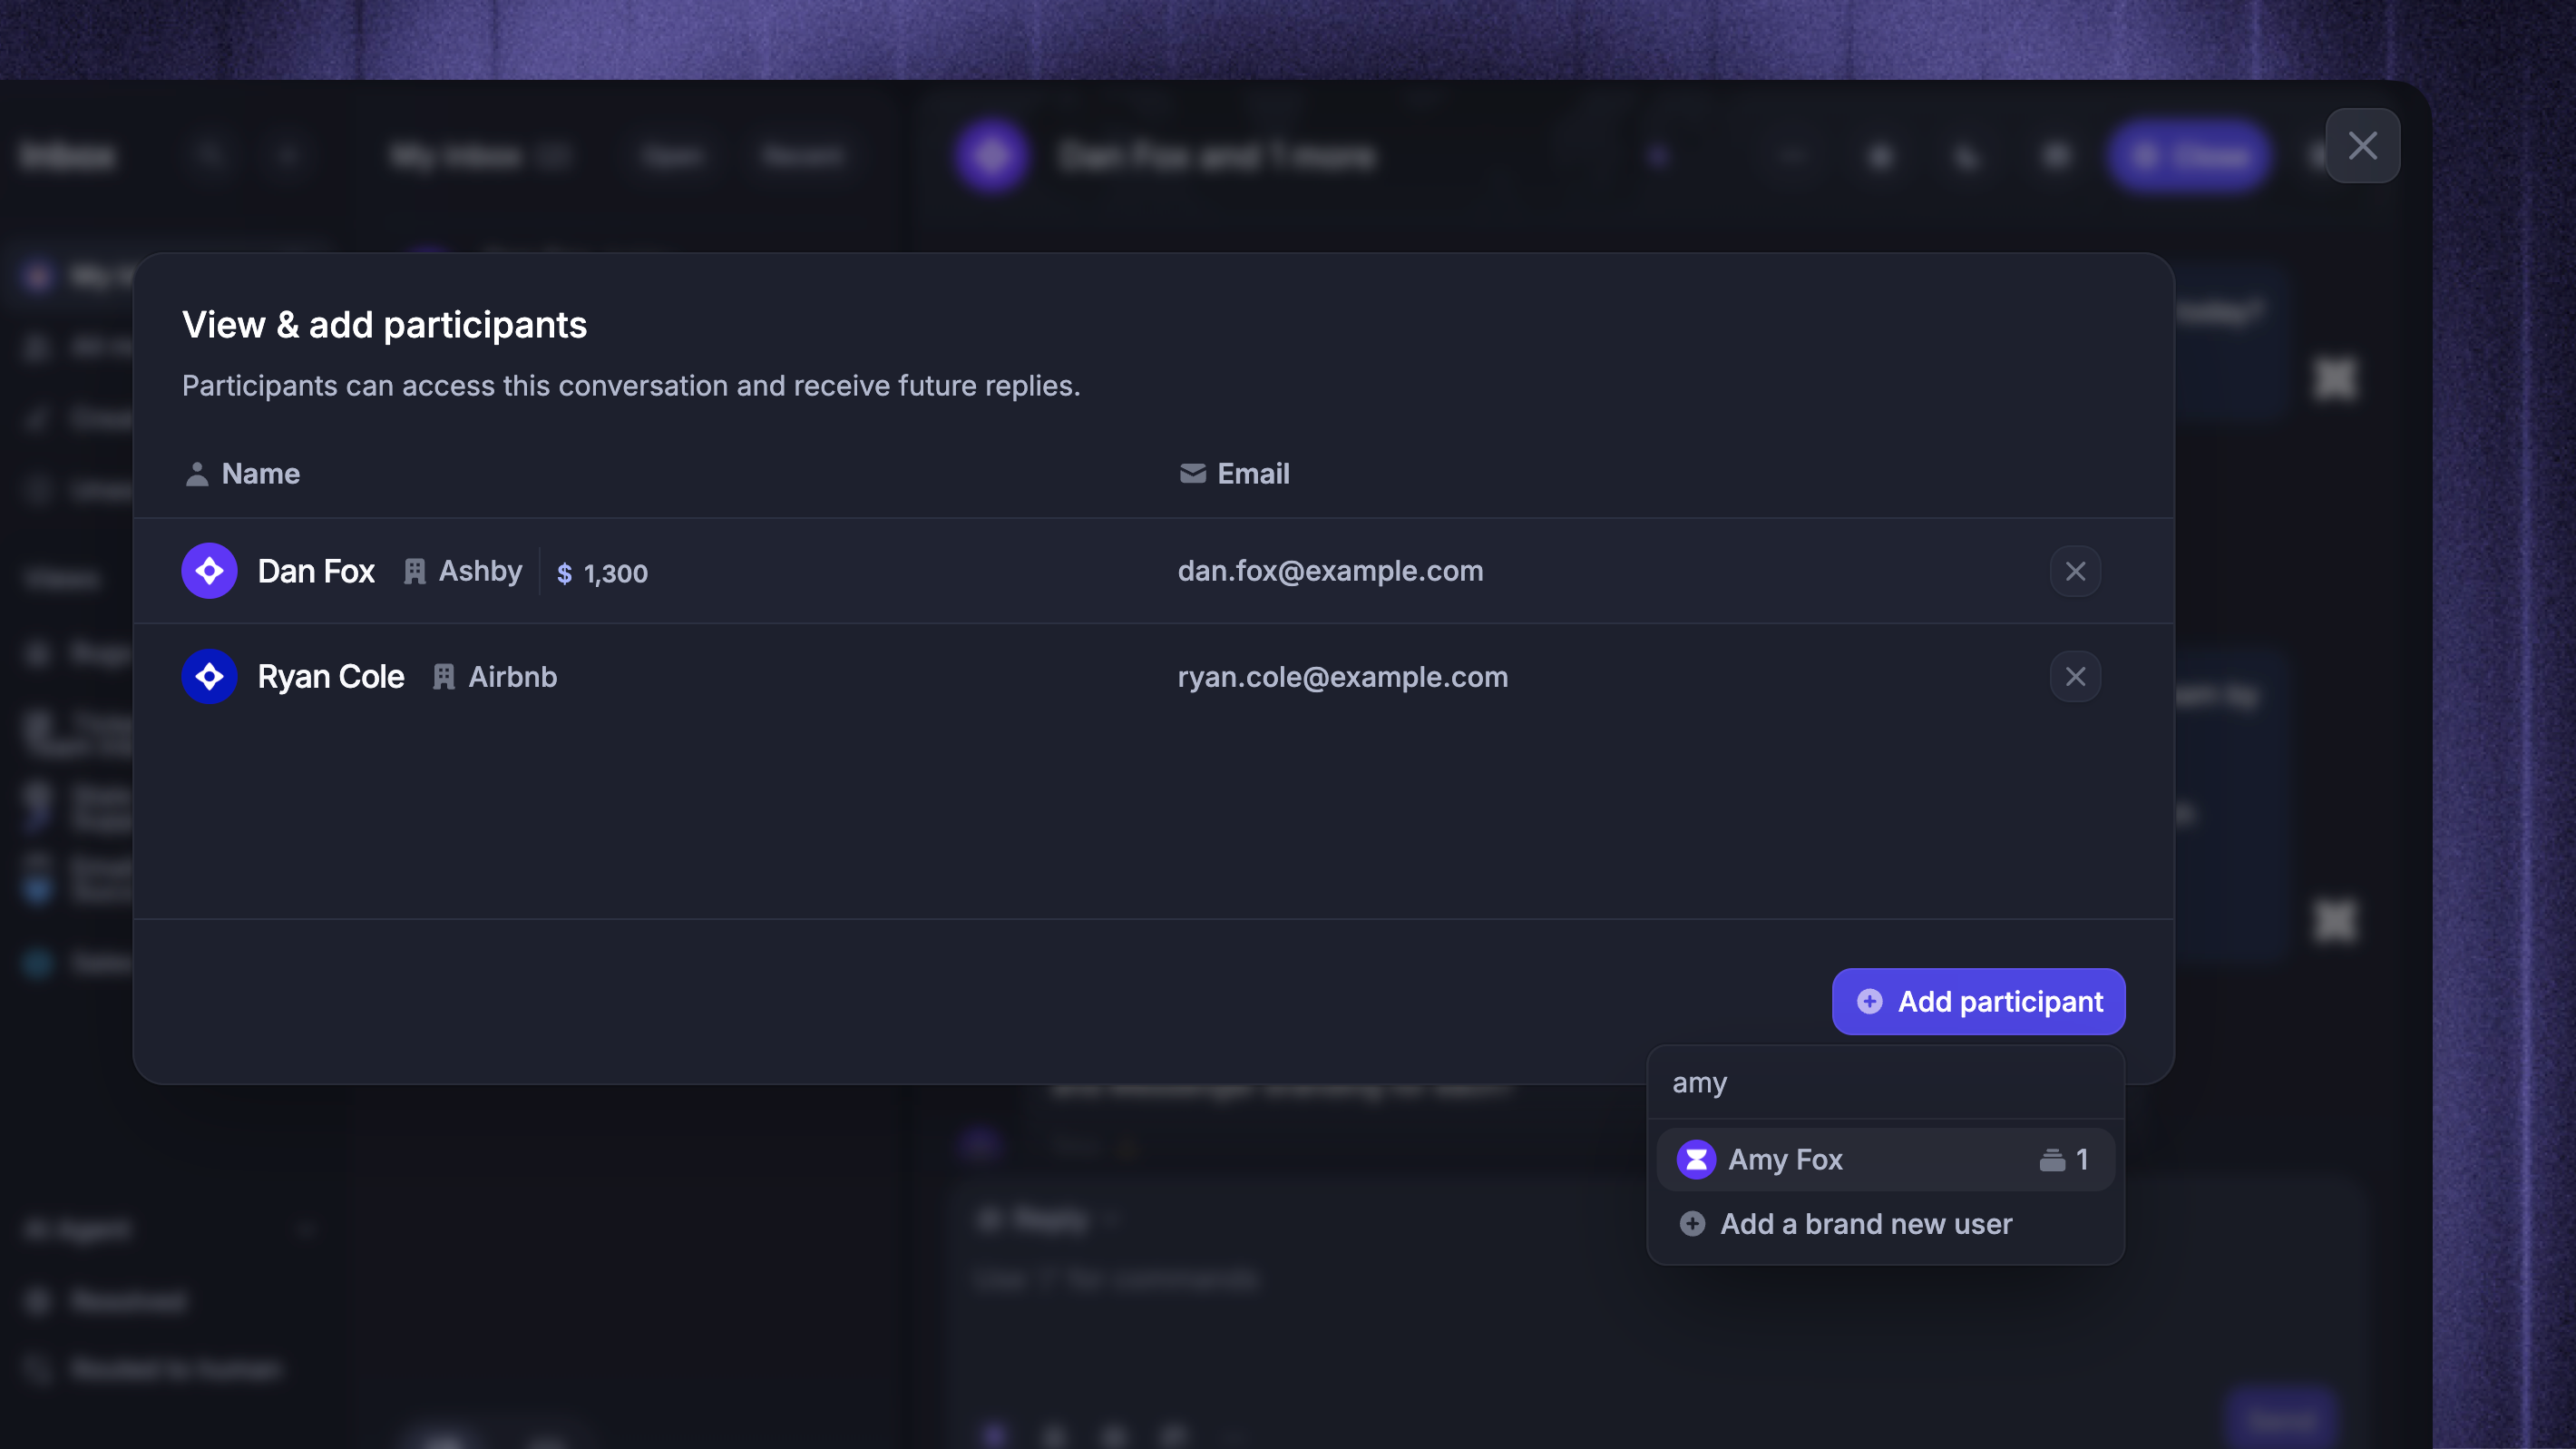
Remove a participant by clicking the remove button next to their name or email address. A Conversation must always have at least one participant, so you cannot remove the final person.
Each addition or removal is saved immediately. Added participants can access the Conversation and receive future replies. Removed participants lose access to the Conversation and stop receiving future replies from it.
To review participant changes, open the three-dot menu and select ‘Show detailed events’. Featurebase records who added or removed each participant.
Tip: You can also open Command-K, search for Manage participants, and open the same modal.
2. From the Email composer
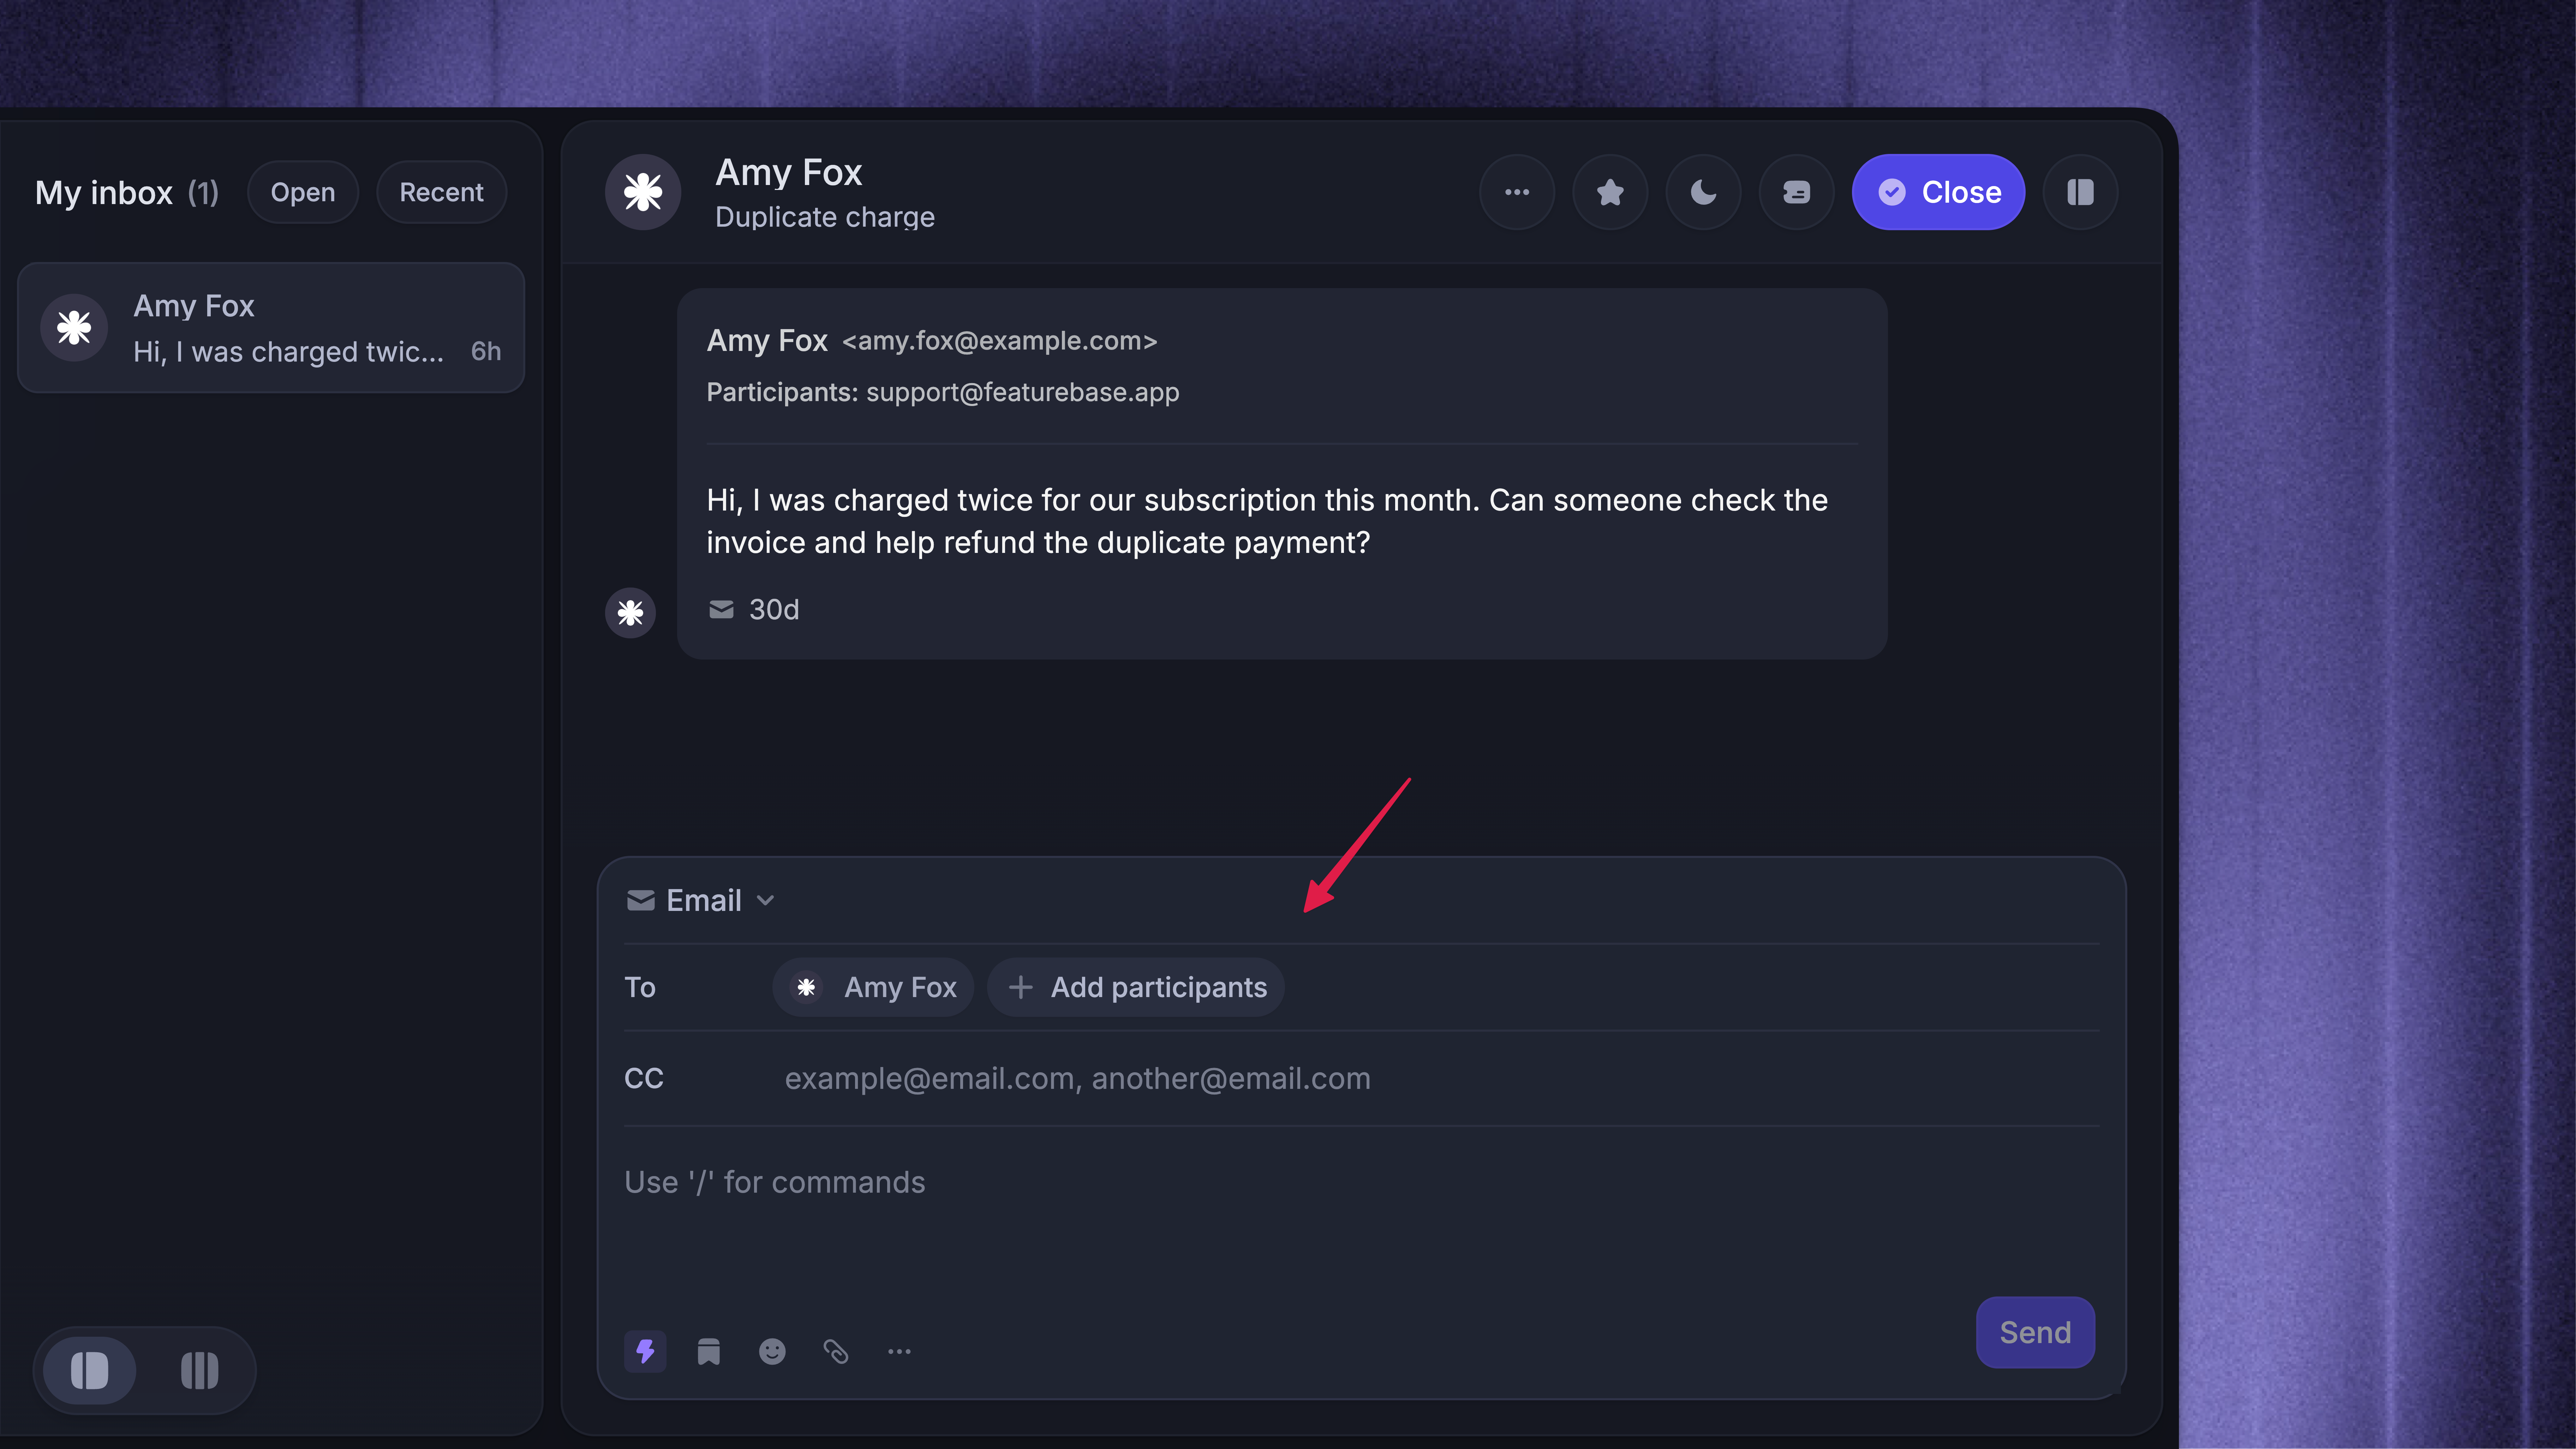
You can add participants while replying to an Email Conversation:
Click the current recipient list next to 'Email in the composer to reveal the
ToandCCfieldsClick ‘Add participants’ to search for a user or lead, or enter an email address in the
CCfieldWrite and send your reply
New recipients become participants when you send the message.
Removing someone from the To or CC field excludes them from that reply, but does not remove their access to the Conversation. Use ‘Manage participants’ in the header when you want to remove them from the Conversation completely.
Note:
Participant additions made in the Email composer take effect only after you send the reply.
Workflows cannot add or remove participants. Manage them from the Conversation header or the Email composer.
Adding teammates as participants
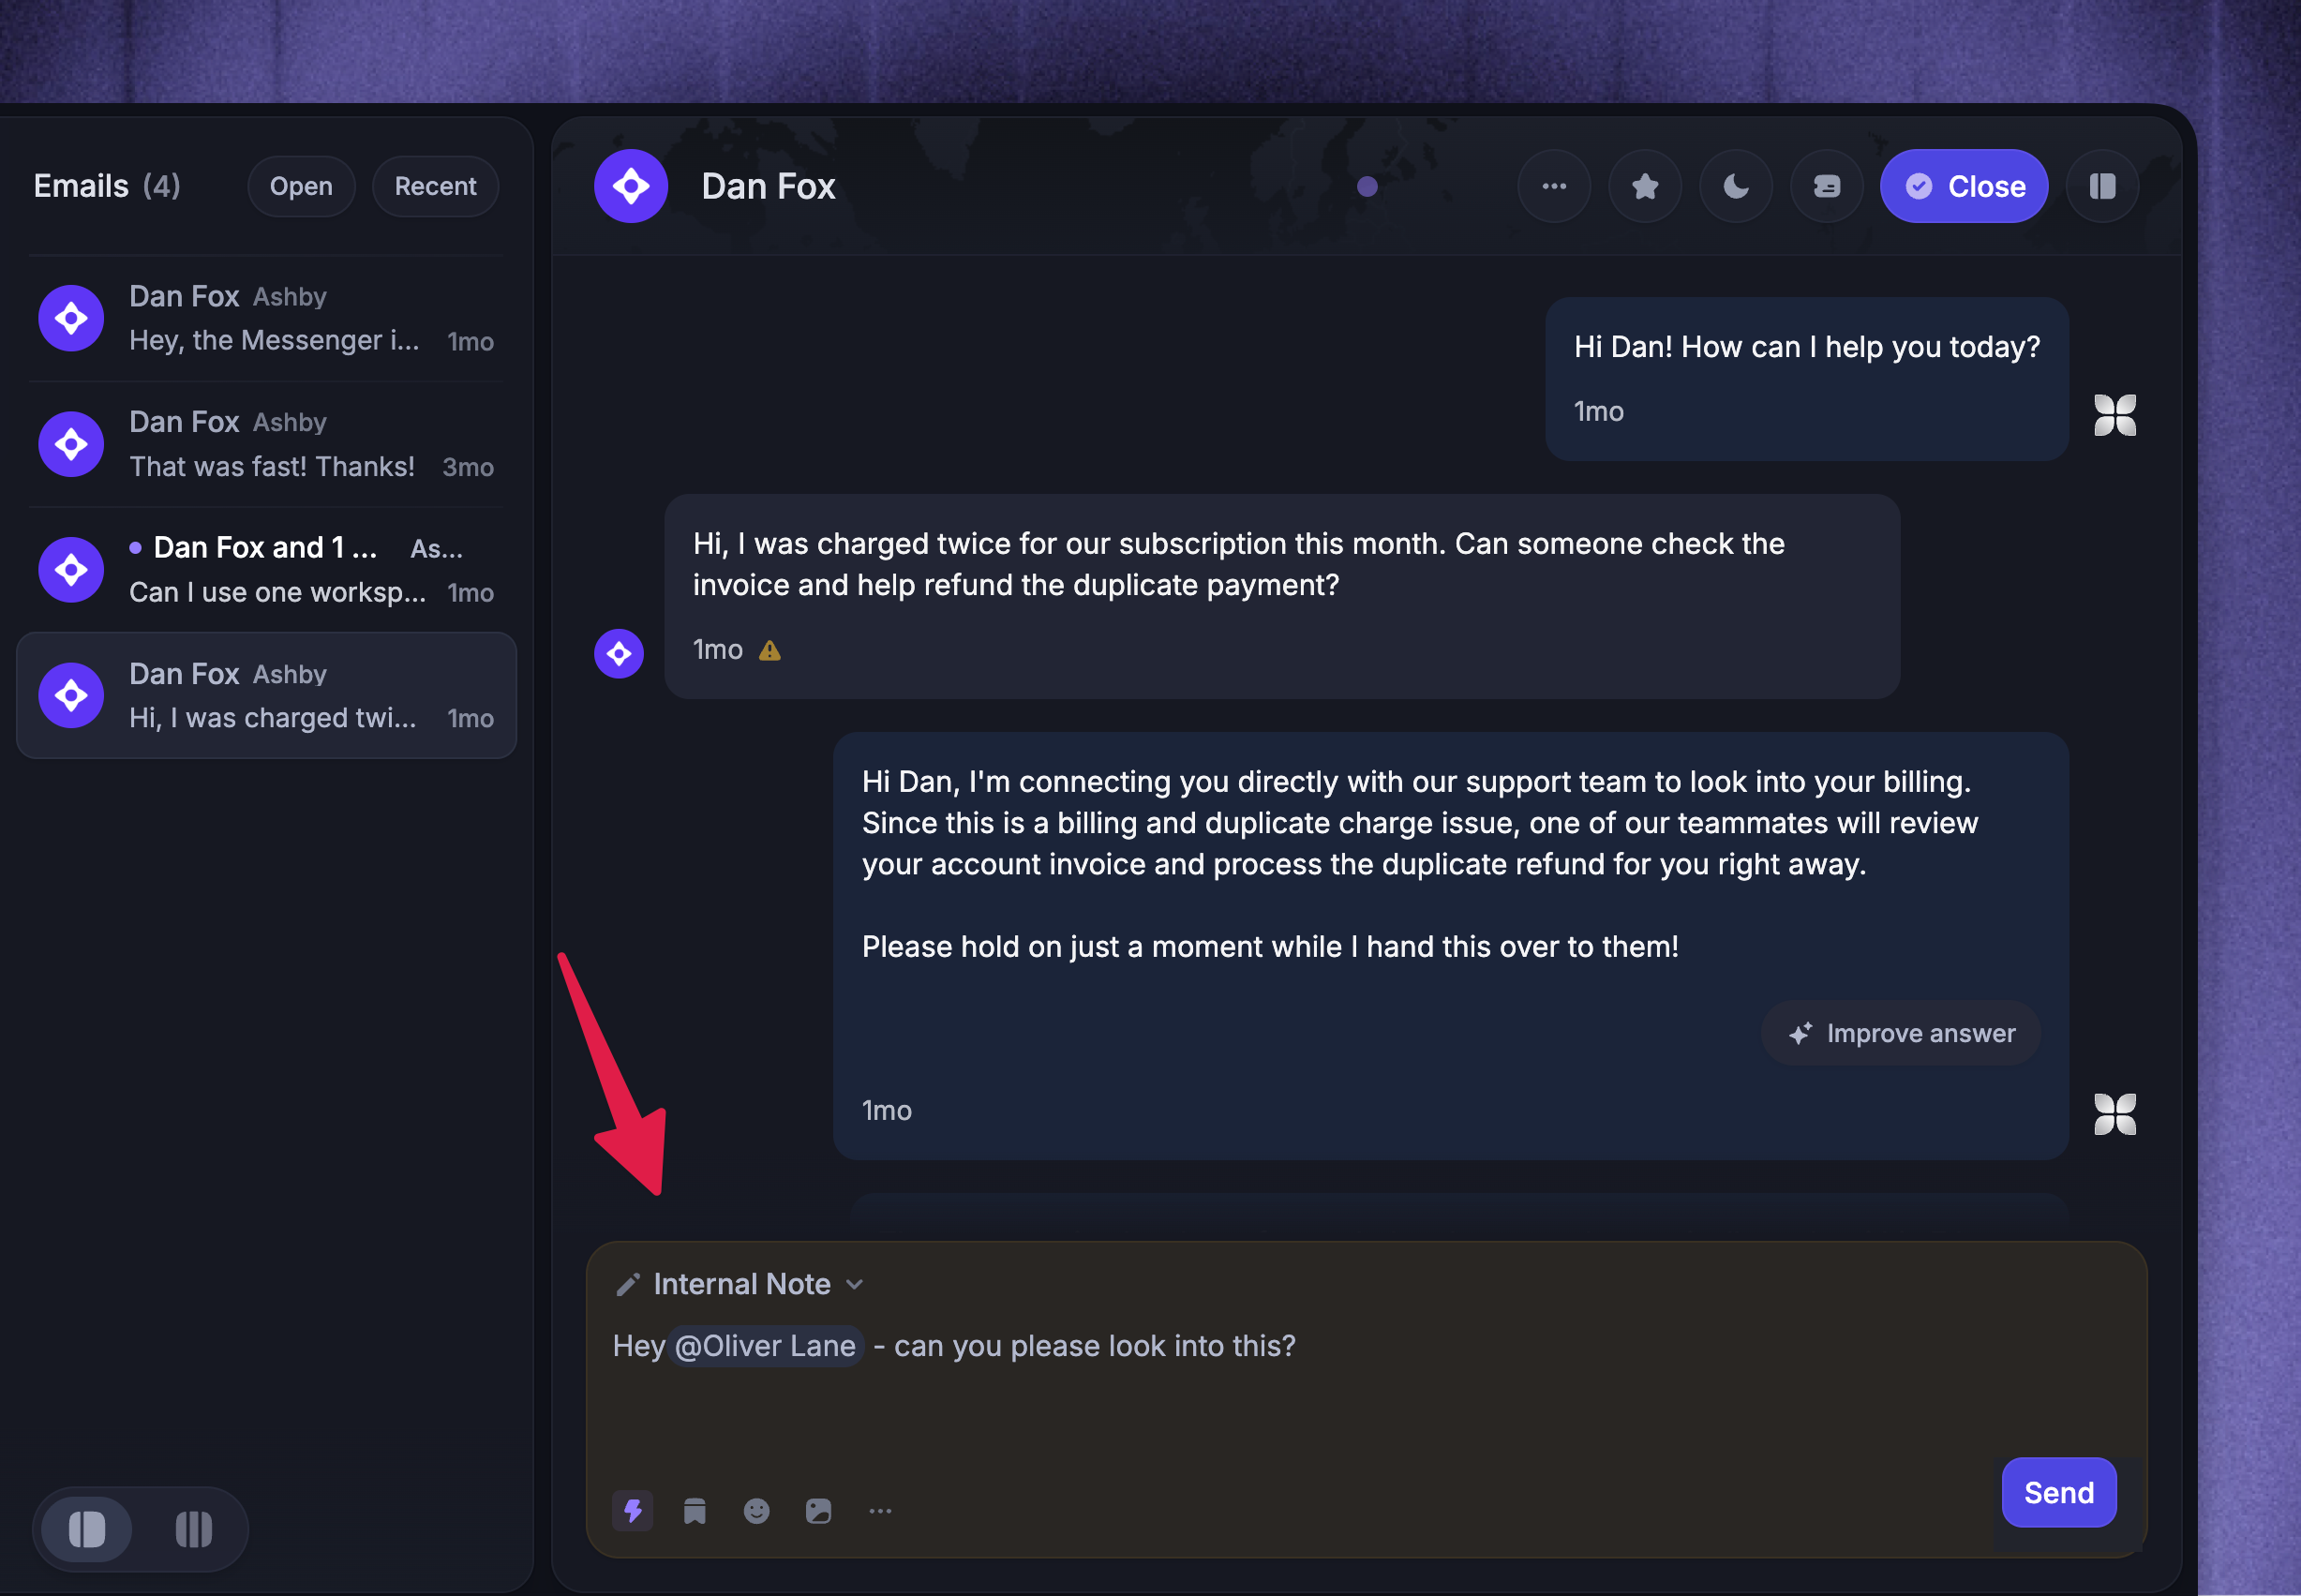
‘Manage participants’ is for users and leads. Workspace teammates cannot be added as Conversation participants.
If you’d like to loop a teammate into a conversation without notifying other participants, we'd recommend mentioning them in a note.
What happens after you add participants
Messenger Conversations
Added participants can access the Conversation and receive future replies. A participant without an email address receives replies through Messenger.
Email Conversations
When a customer replies and includes a new address in the To or CC field, Featurebase adds that person as a participant. If a later reply leaves out an existing participant, that person remains attached to the Conversation until a teammate removes them with ‘Manage participants’.
Featurebase automatically excludes Workspace teammate addresses, configured sending addresses, and addresses added to Ignored addresses when processing incoming email recipients.
Linked Customer tickets
Managing participants from a Conversation linked to a Customer ticket also updates who can access that ticket.
When you add a participant, they receive access to the linked Customer ticket. When you remove one, Featurebase removes their ticket access unless they are the ticket author or still participate in another Conversation linked to the same ticket.
Note: This action is not available for Back-office or Tracker tickets.
Prevent email addresses from becoming participants
When you forward emails into your Inbox, Featurebase can add the forwarding address, original sender, and other recipients as Conversation participants. Add shared, automated, or third-party addresses to Ignored addresses when they should never become participants.
Under Ignored addresses, enter the email address
Click 'Add'
Note: Configured sending addresses are ignored automatically. Adding an ignored address prevents it from being added in the future, but does not remove it from existing Conversations. Use Manage participants to remove it from those Conversations.
Manage participants on mobile
You can manage participants from the Featurebase Mobile App:
Open the Conversation or linked Customer ticket
Tap the three-dot More options button
Select Manage participants
Add or remove participants in the same way as on desktop
FAQs
Can I change the customer associated with an existing Conversation?
Can I change the customer associated with an existing Conversation?
Yes. Open Manage participants, add the correct customer, then remove the previous customer. Add the new customer first because every Conversation must keep at least one participant.
What should I do if a Conversation is associated with a generic contact-form email?
What should I do if a Conversation is associated with a generic contact-form email?
Open Manage participants, add the correct customer, then remove the generic email address. Future replies will go to the remaining participants.
Why can't I see Manage participants?
Why can't I see Manage participants?
You need a full seat to manage participants. The action appears only for existing Messenger and Email Conversations, including linked Customer tickets. It is not available while composing a new Conversation, in Slack Conversations, or for Back-office and Tracker tickets.
Was this helpful?
Still need help? Ask the team