Tickets portal overview
Provide an external view of all relevant tickets to each of your customer organizations.
Written By Markus from Featurebase
Last updated 13 days ago
Overview
The Ticket portal is a dedicated page where your customers can view and manage their support tickets. It gives them a real-time view of all their tickets, so they can check the current status, see when there's new activity, and submit new tickets - without needing to reach out to your team.
Unlike standalone ticketing tools, Featurebase’s Ticket portal lives alongside your Feedback portal, Product updates, and Help Center - so your customers have everything they need in one place.
NB! You'll need to complete the required setup before you can enable the Ticket portal. After that, it can be enabled from Settings → Support → Ticketing → Tickets portal.
How customers access the portal
The Ticket portal is built into your public-facing portal alongside the feedback board, roadmap, updates, and Help Center. Customers can access it from the Tickets tab in the portal navigation, just like they'd switch between any other module.
You can also:
Set up a custom domain - Point a dedicated subdomain (e.g.
tickets.yourcompany.com)Link it to your Help Center - Add a link in your Help Center navigation that points to the Tickets portal
Link it to your Messenger widget - Add an external link from your Messenger to the Tickets portal
You can find and copy the portal URL from Settings → Support → Ticketing → Tickets portal when it's enabled. The URL follows the format https://yourcompany.featurebase.app/tickets, or your custom domain if configured.
NB! When you visit the Ticket portal as an admin, you won't see tickets. Admins manage tickets from the Inbox in the dashboard.
How it works
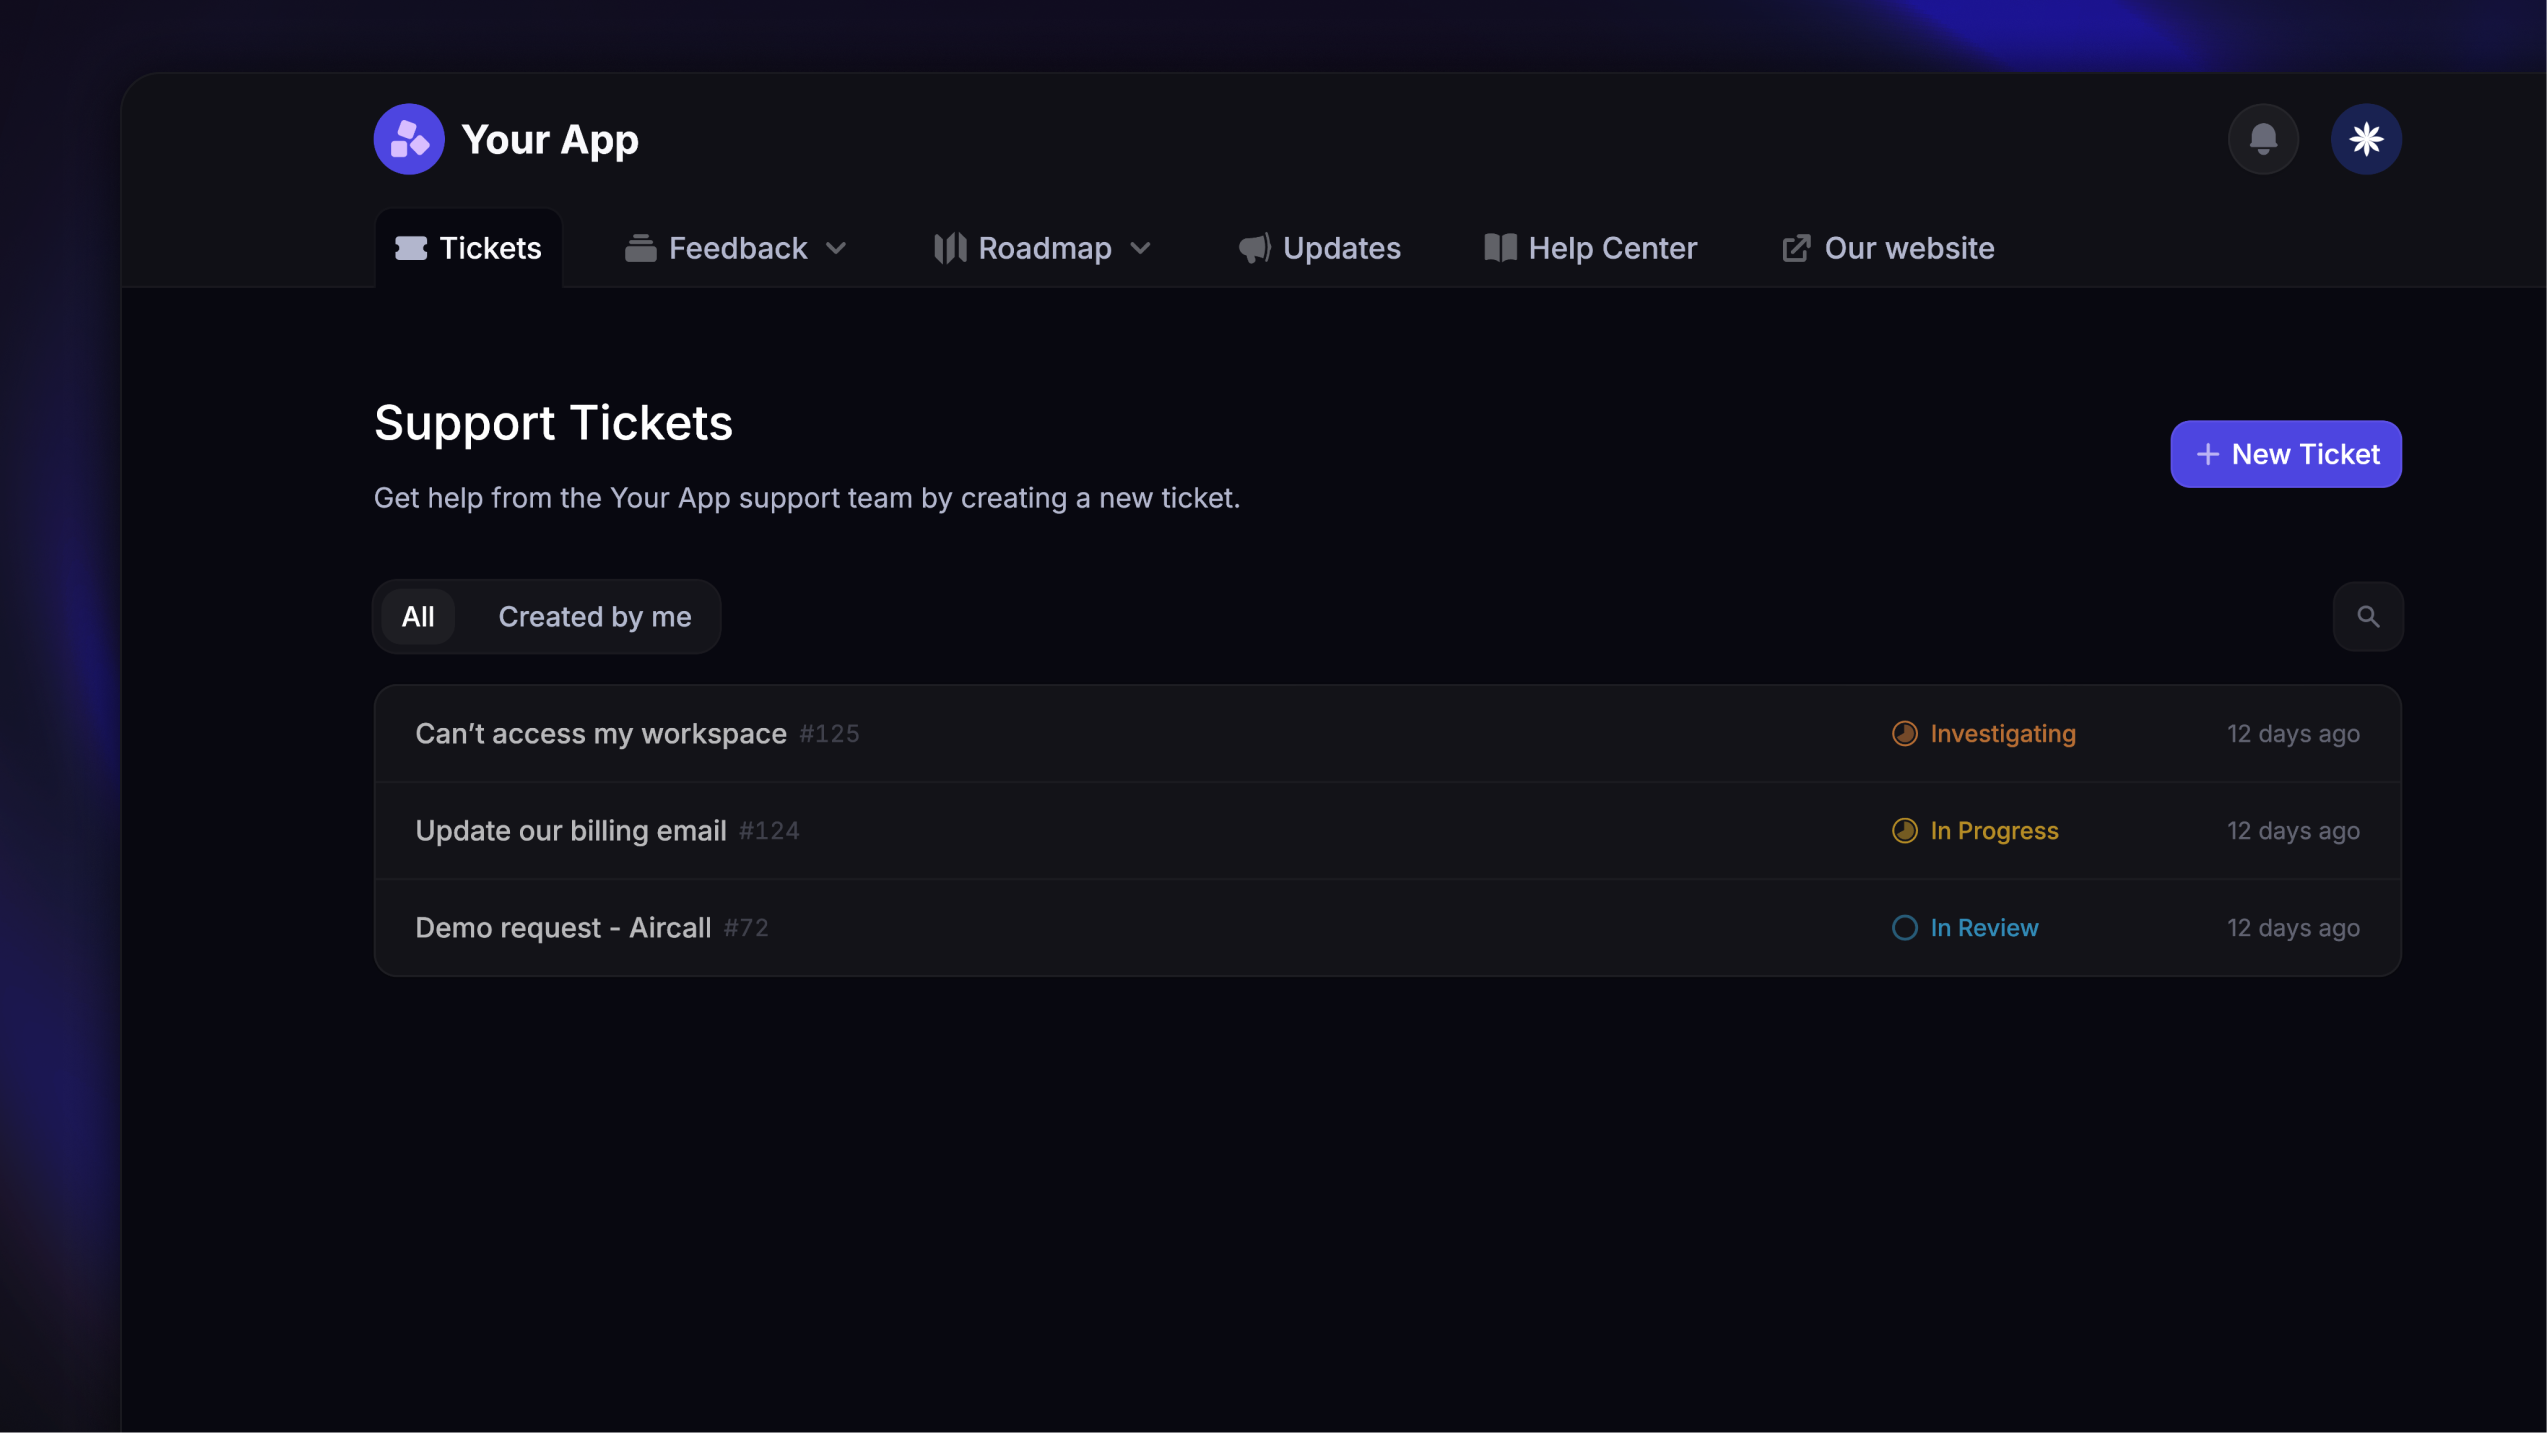
Once enabled, your customers can visit the Ticket portal to see all the tickets they have access to. The portal shows each ticket's title, ticket number, current status, and when it was created.
Tickets with new, unseen activity are highlighted so customers can quickly spot what needs their attention.
Tabs - Customers can switch between two views:
All - Shows all tickets the customer has access to, based on the visibility rules of each ticket type
Created by me - Shows only the tickets the customer submitted themselves
Search - Customers can use the search bar to find specific tickets by keyword. This searches across ticket titles.
Creating tickets - Customers can submit new tickets directly from the portal by clicking the ‘New Ticket’ button. They'll need to be logged in to create a ticket - if they're not, they'll be prompted to sign in first.
Ticket visibility
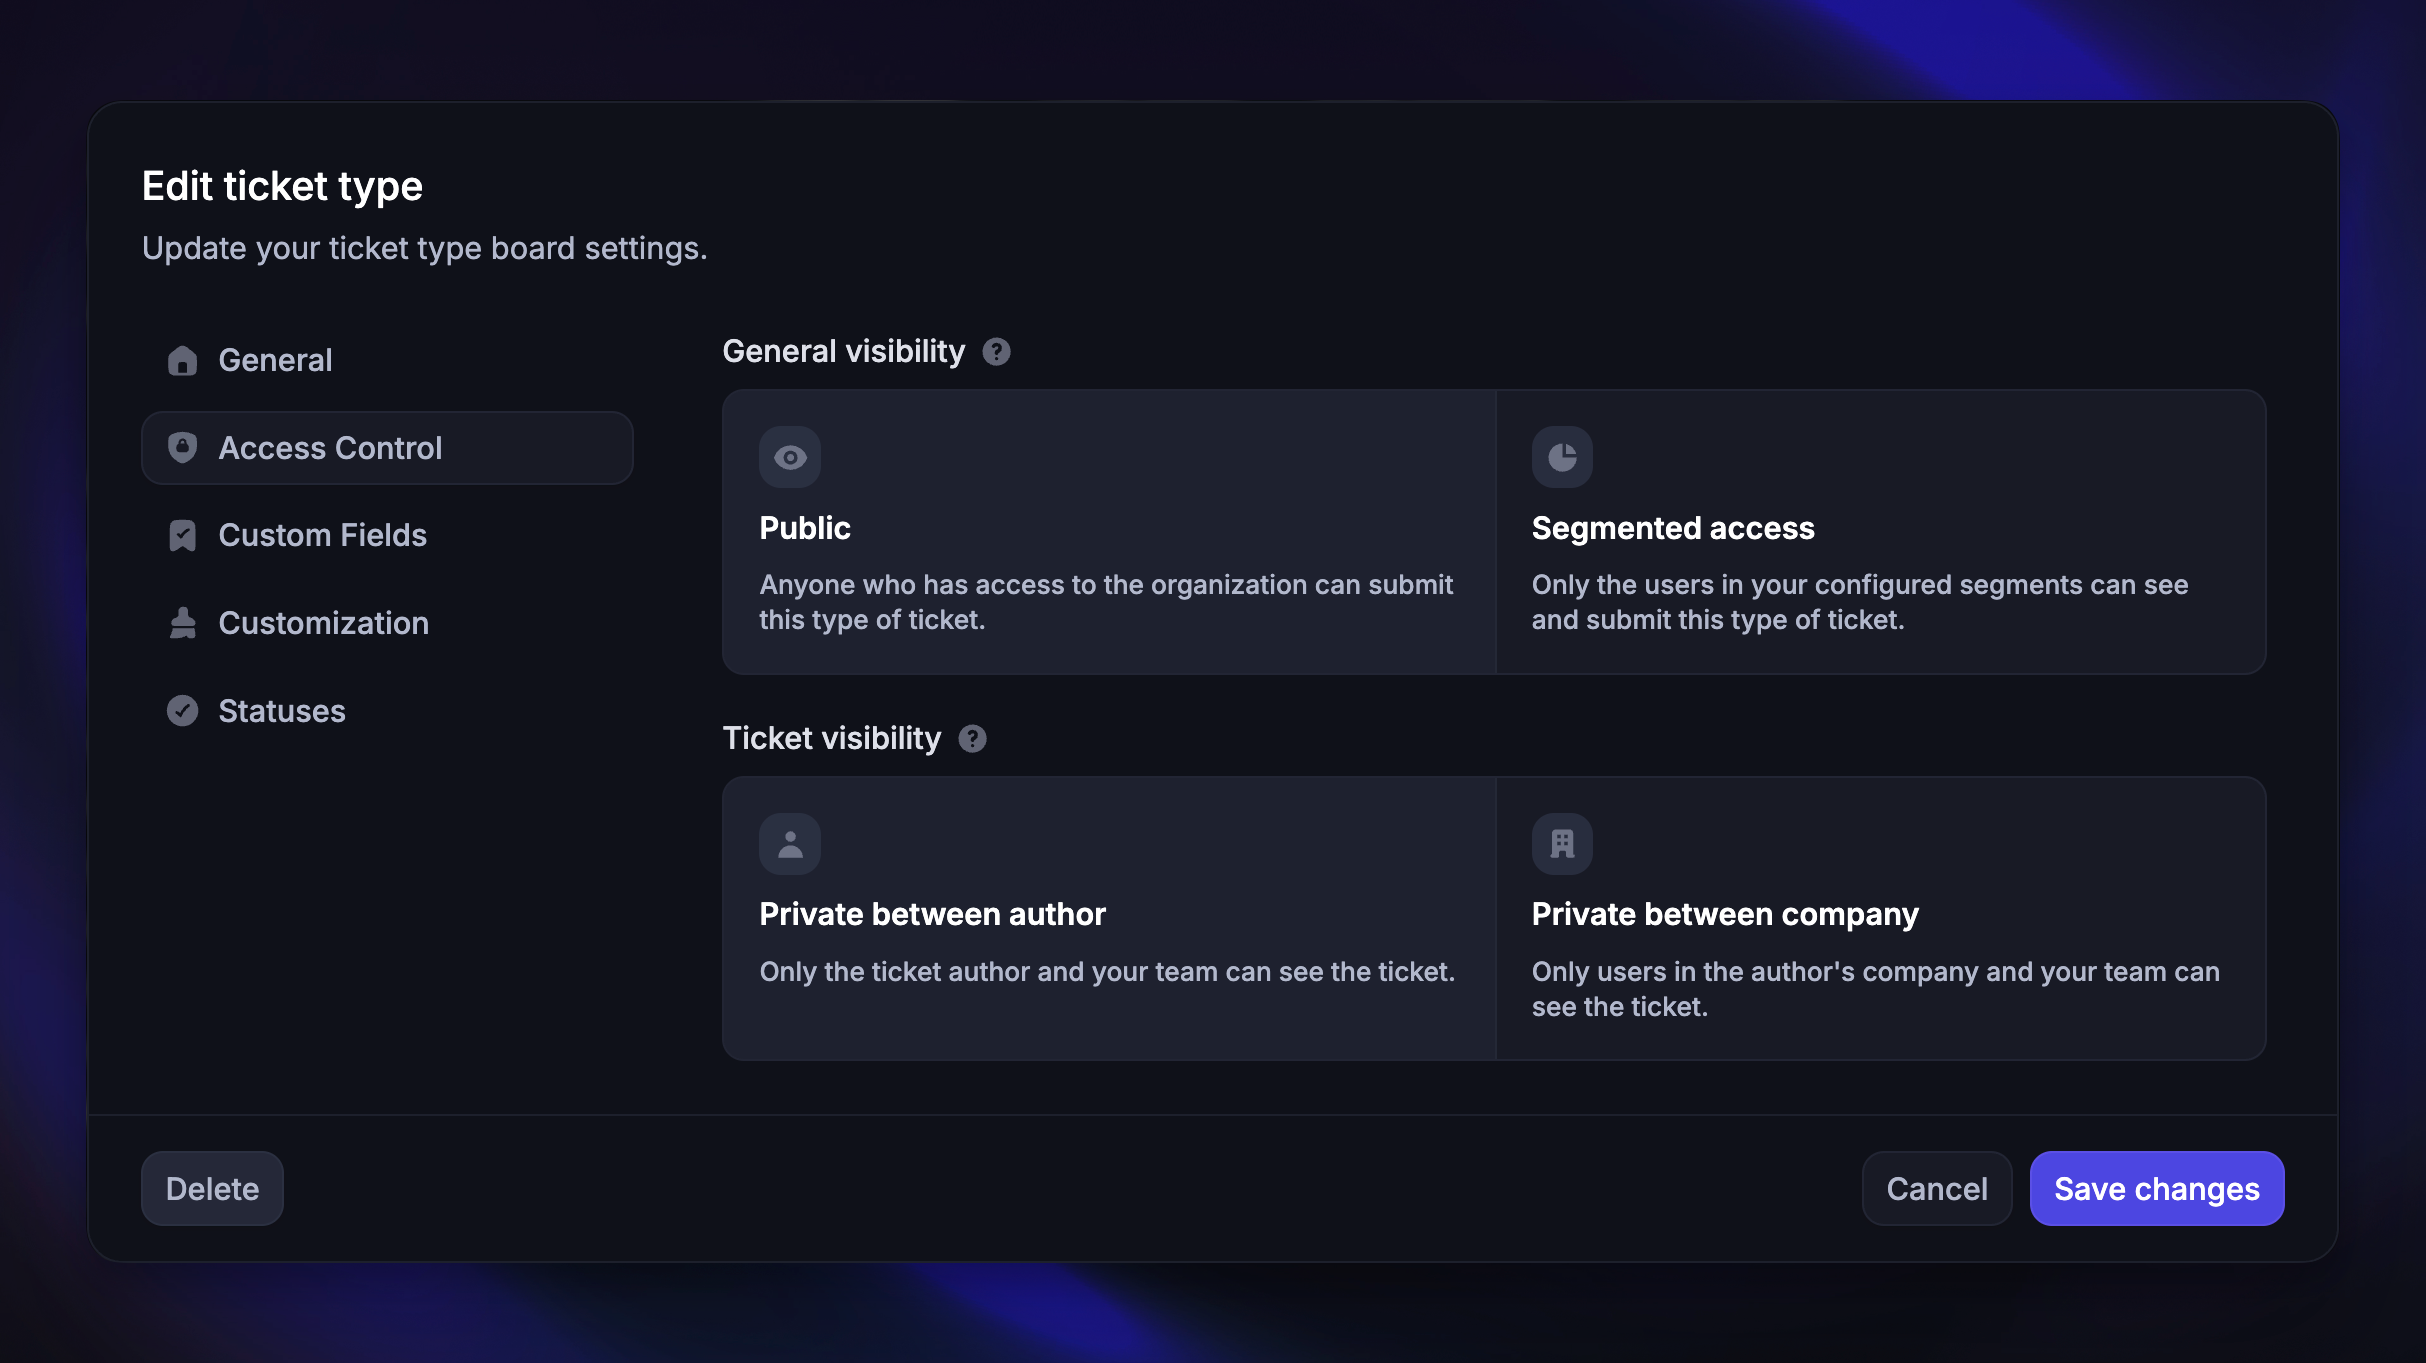
Which tickets a customer sees in the Ticket Portal depends on the visibility rules of each ticket type. These rules are configured per ticket type in Settings → Support → Ticketing → Ticket types.
There are two layers of visibility settings that affect the tickets that show up in the portal, ensuring every end-user only sees the tickets that are relevant to them:
General visibility controls who can see and submit this ticket type:
Public - Anyone who has access to your workspace can submit this type of ticket
Segmented access - Only users in specific segments can see and submit tickets
Ticket visibility controls who can see individual tickets after they're submitted:
Private between author (default) - Only the ticket author and your team can see the ticket
Private between company - Only the user, their company, and your team can see the ticket
Customizations
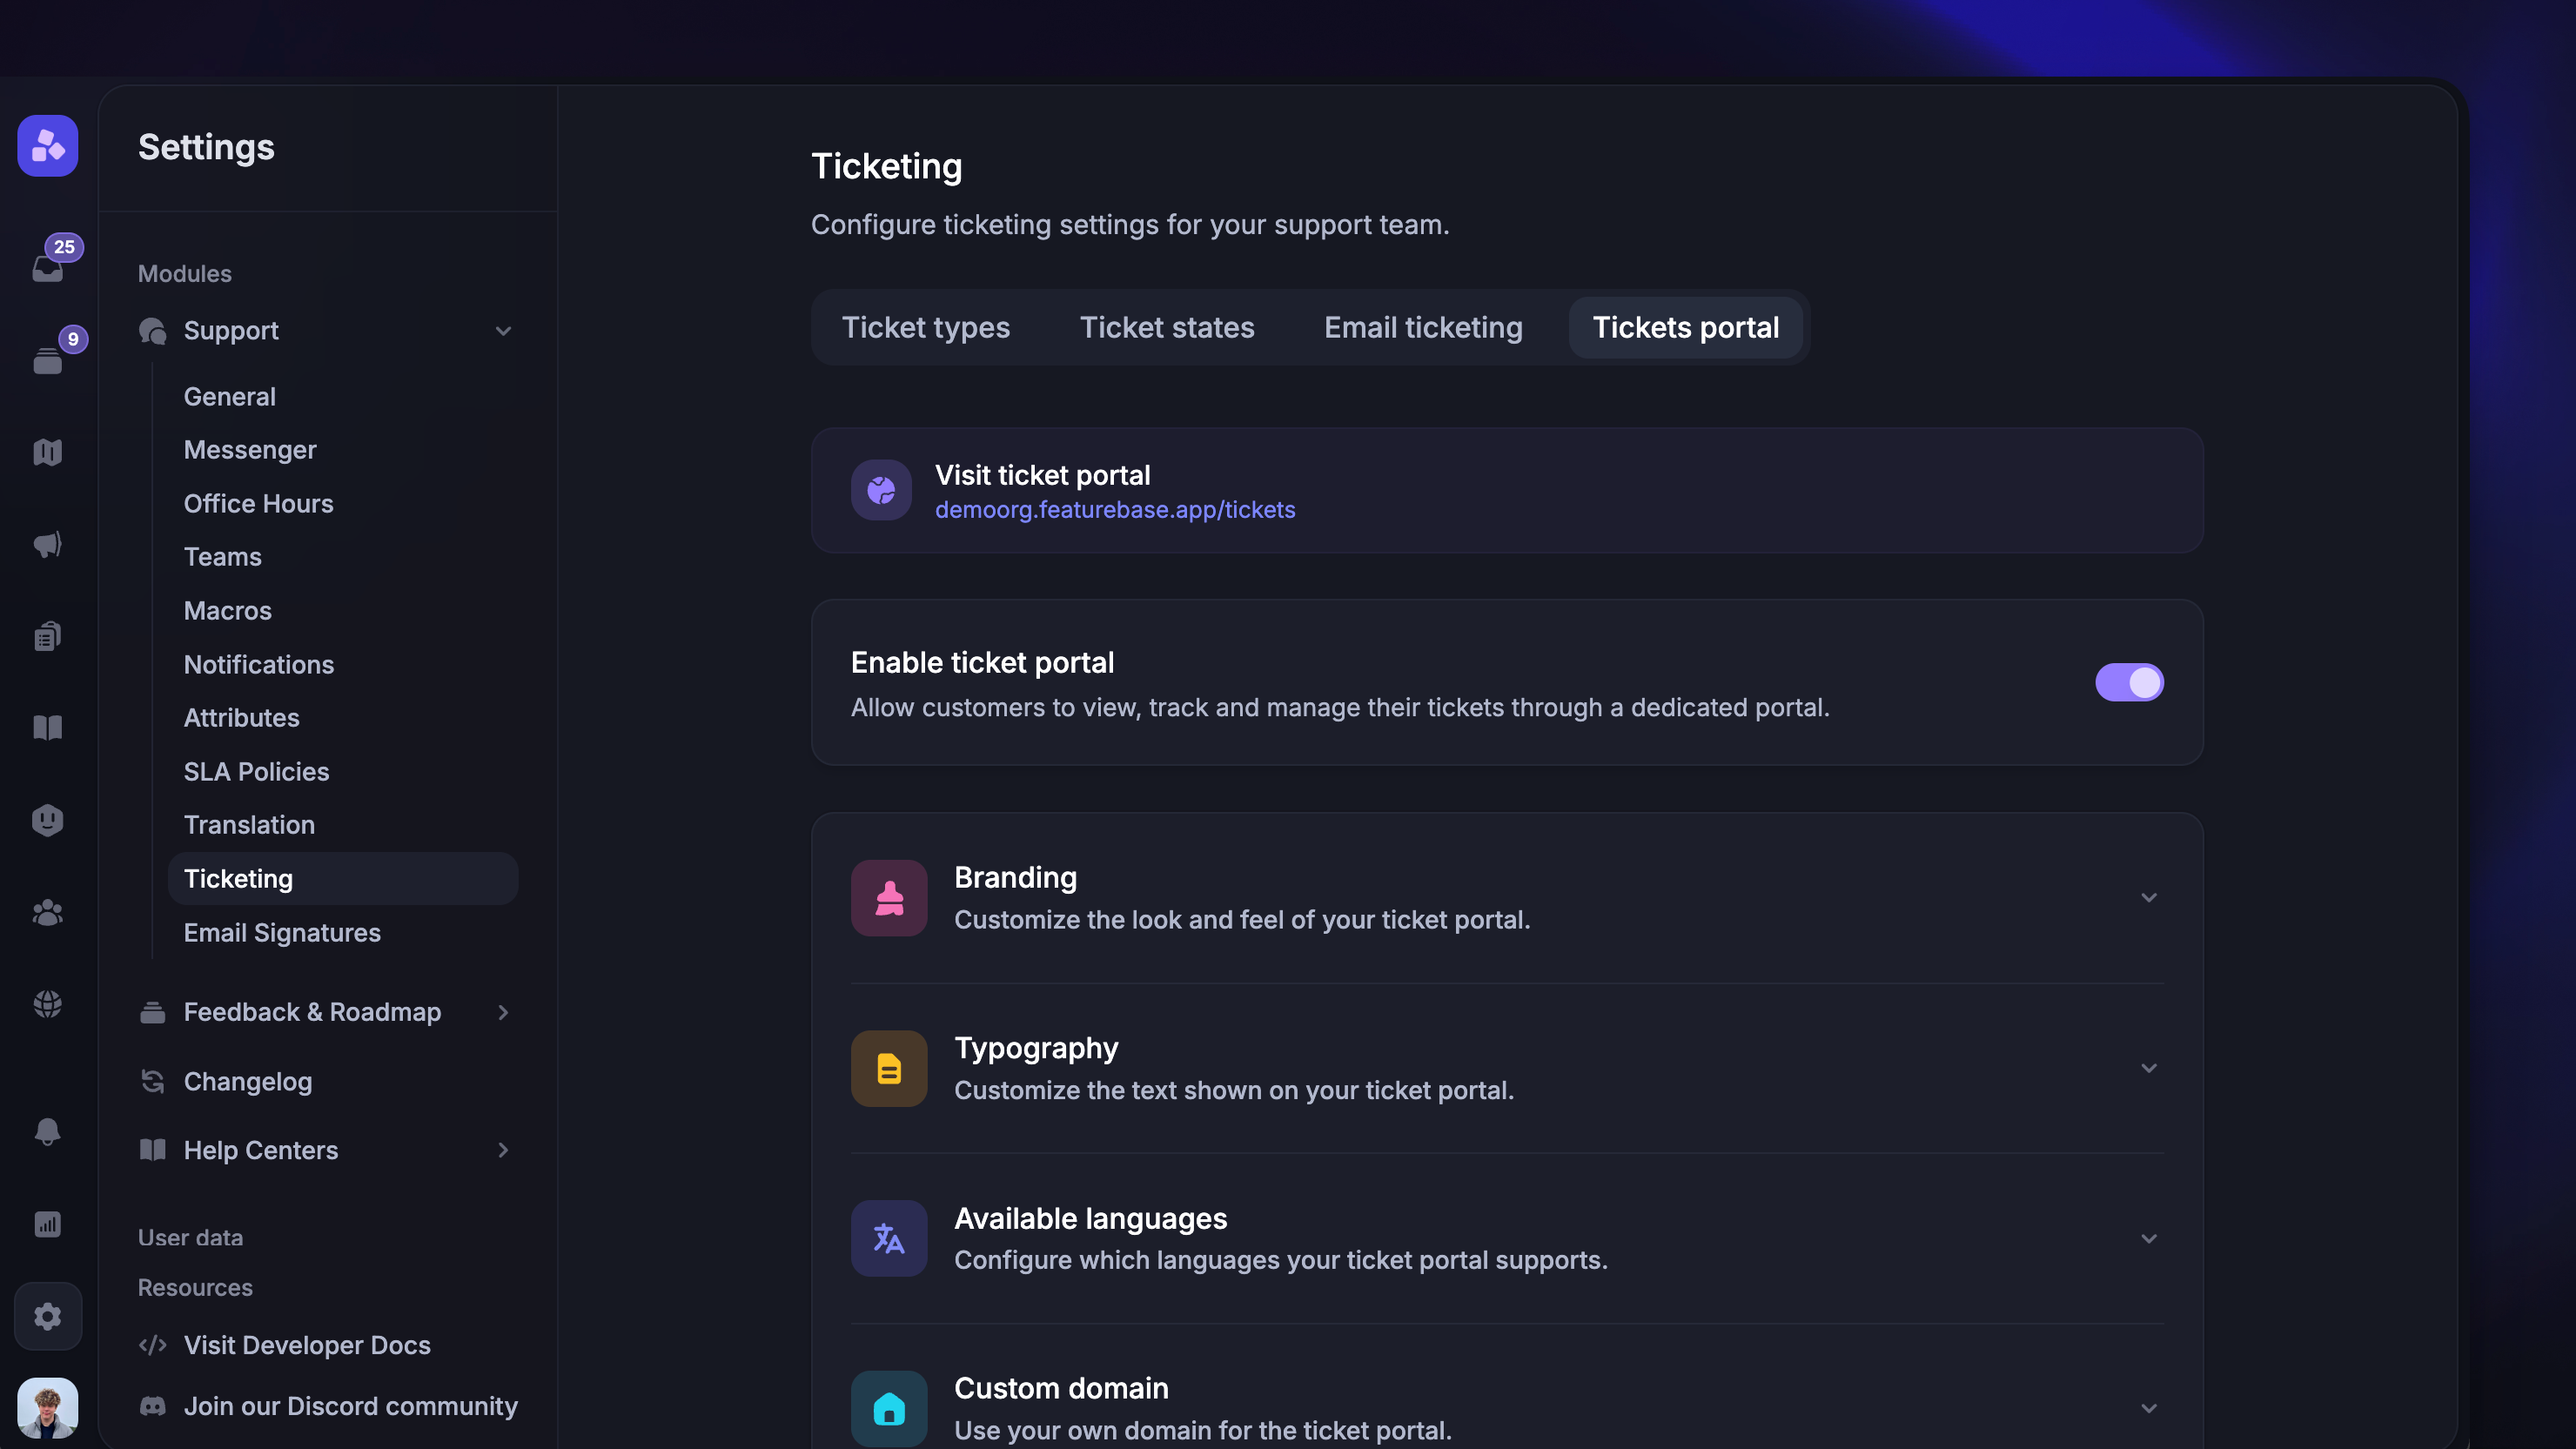
You can customize the portal's appearance, content, and privacy settings from the Settings → Support → Ticketing → Tickets portal.
Learn more here: Tickets portal setup