Tickets portal setup
Enable and configure the Ticket Portal so your customers can view and manage their support tickets.
Written By Markus from Featurebase
Last updated 8 days ago
Overview
This guide walks you through enabling the Ticket Portal and configuring it to match your brand.
Before you start, make sure you have created at least one Customer ticket type in Settings → Support → Ticketing → Ticket types.
Configure ticket visibility
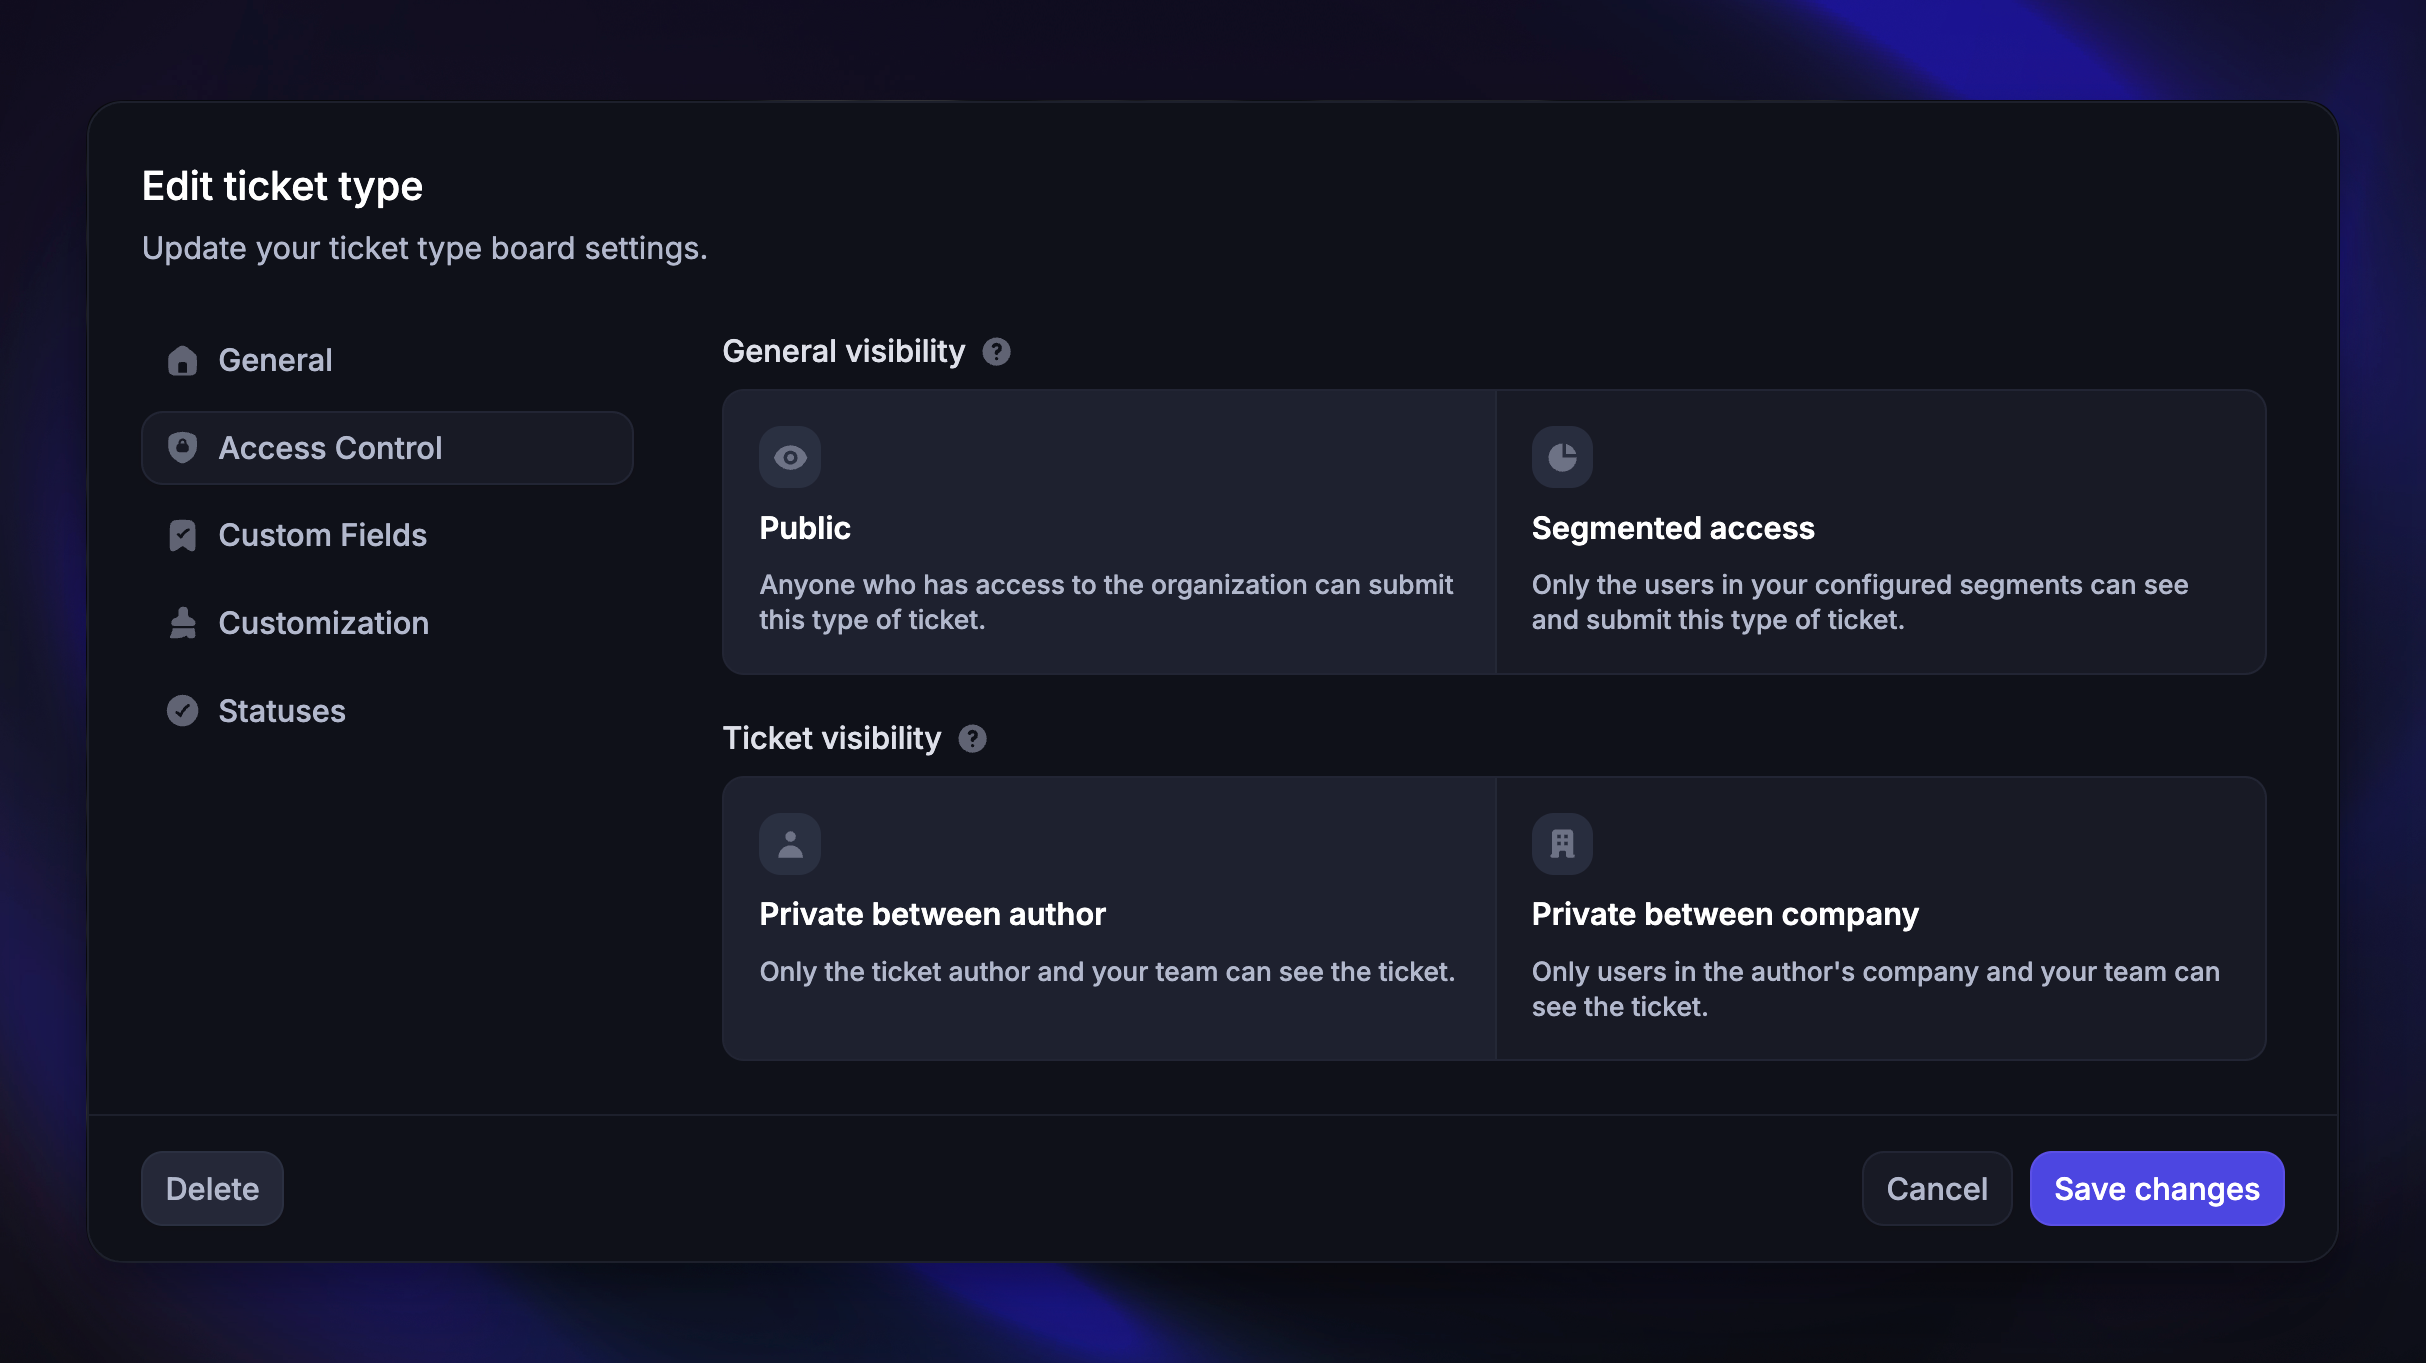
Which tickets a customer sees in the Ticket Portal depends on the visibility rules of each ticket type. These rules are configured per ticket type in Settings → Support → Ticketing → Ticket types.
There are two layers of visibility settings that affect the tickets that show up in the portal, ensuring every end-user only sees the tickets that are relevant to them:
General visibility controls who can see and submit this ticket type:
Public - Anyone who has access to your workspace can submit this type of ticket
Segmented access - Only users in specific segments can see and submit tickets
Ticket visibility controls who can see individual tickets after they're submitted:
Private between author (default) - Only the ticket author and your team can see the ticket
Private between company - Only the user, their company, and your team can see the ticket
For Customer tickets linked to a Conversation, managing Conversation participants also updates who can access the ticket.
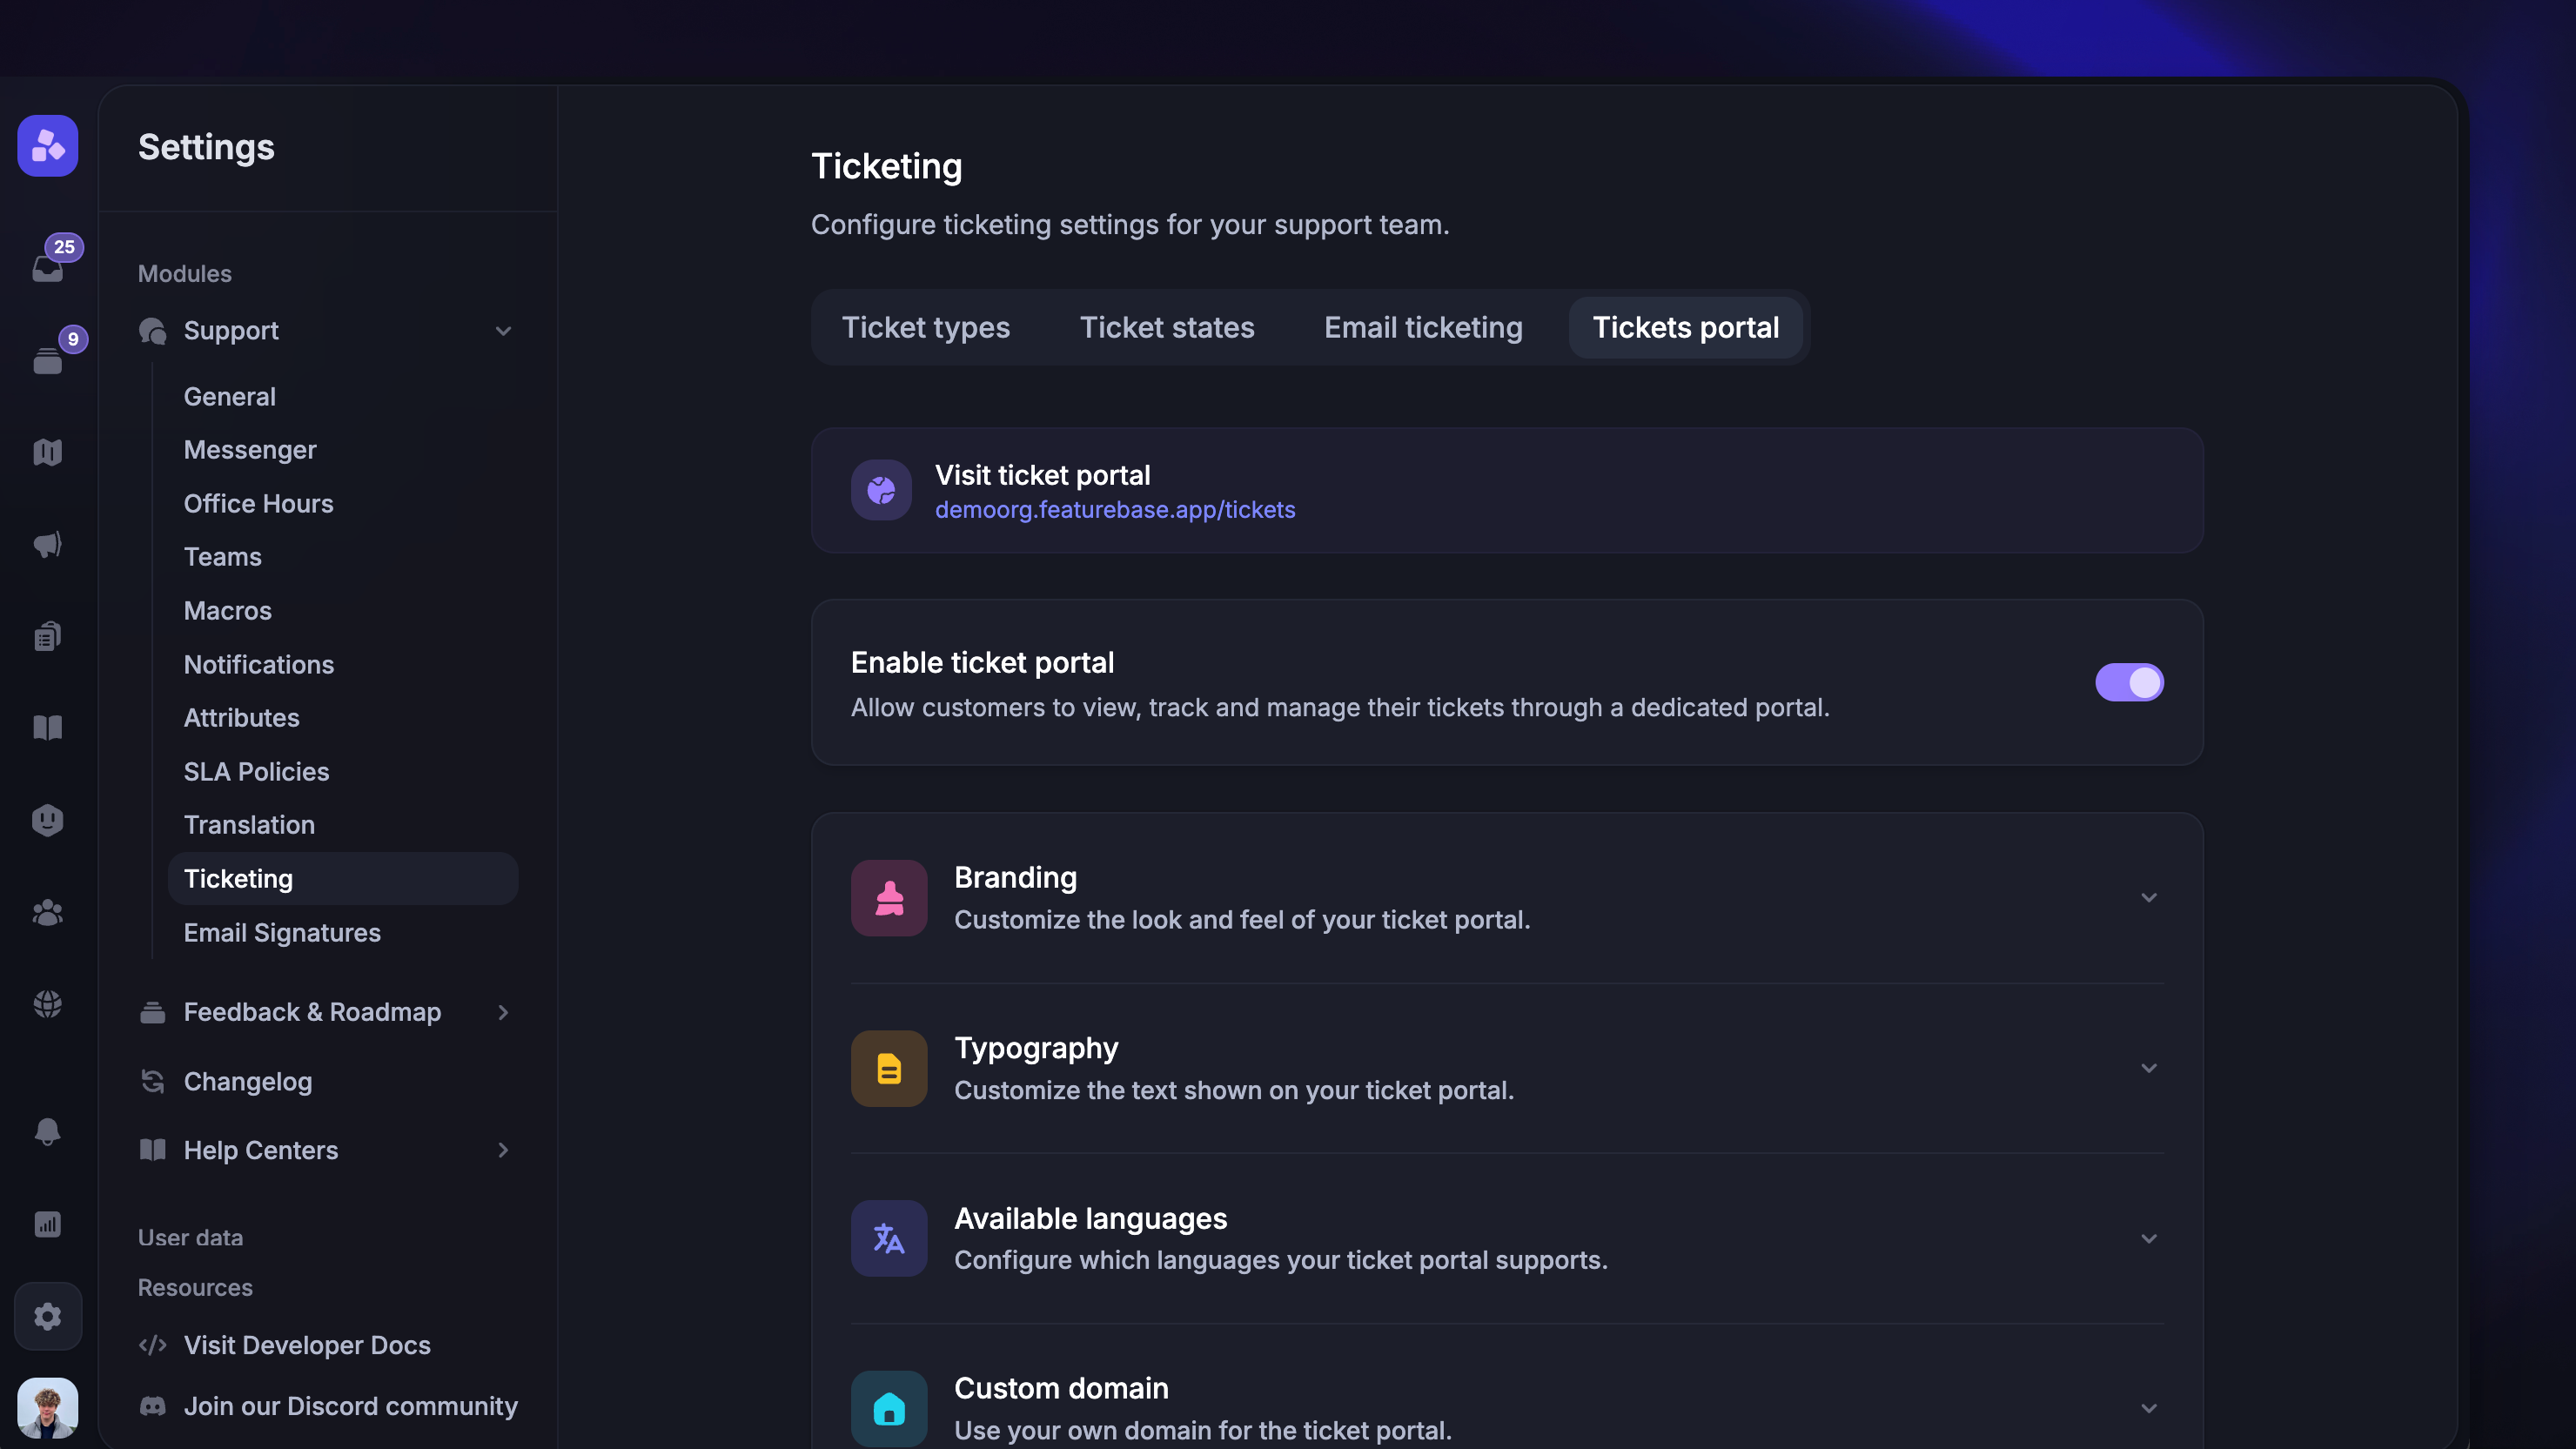
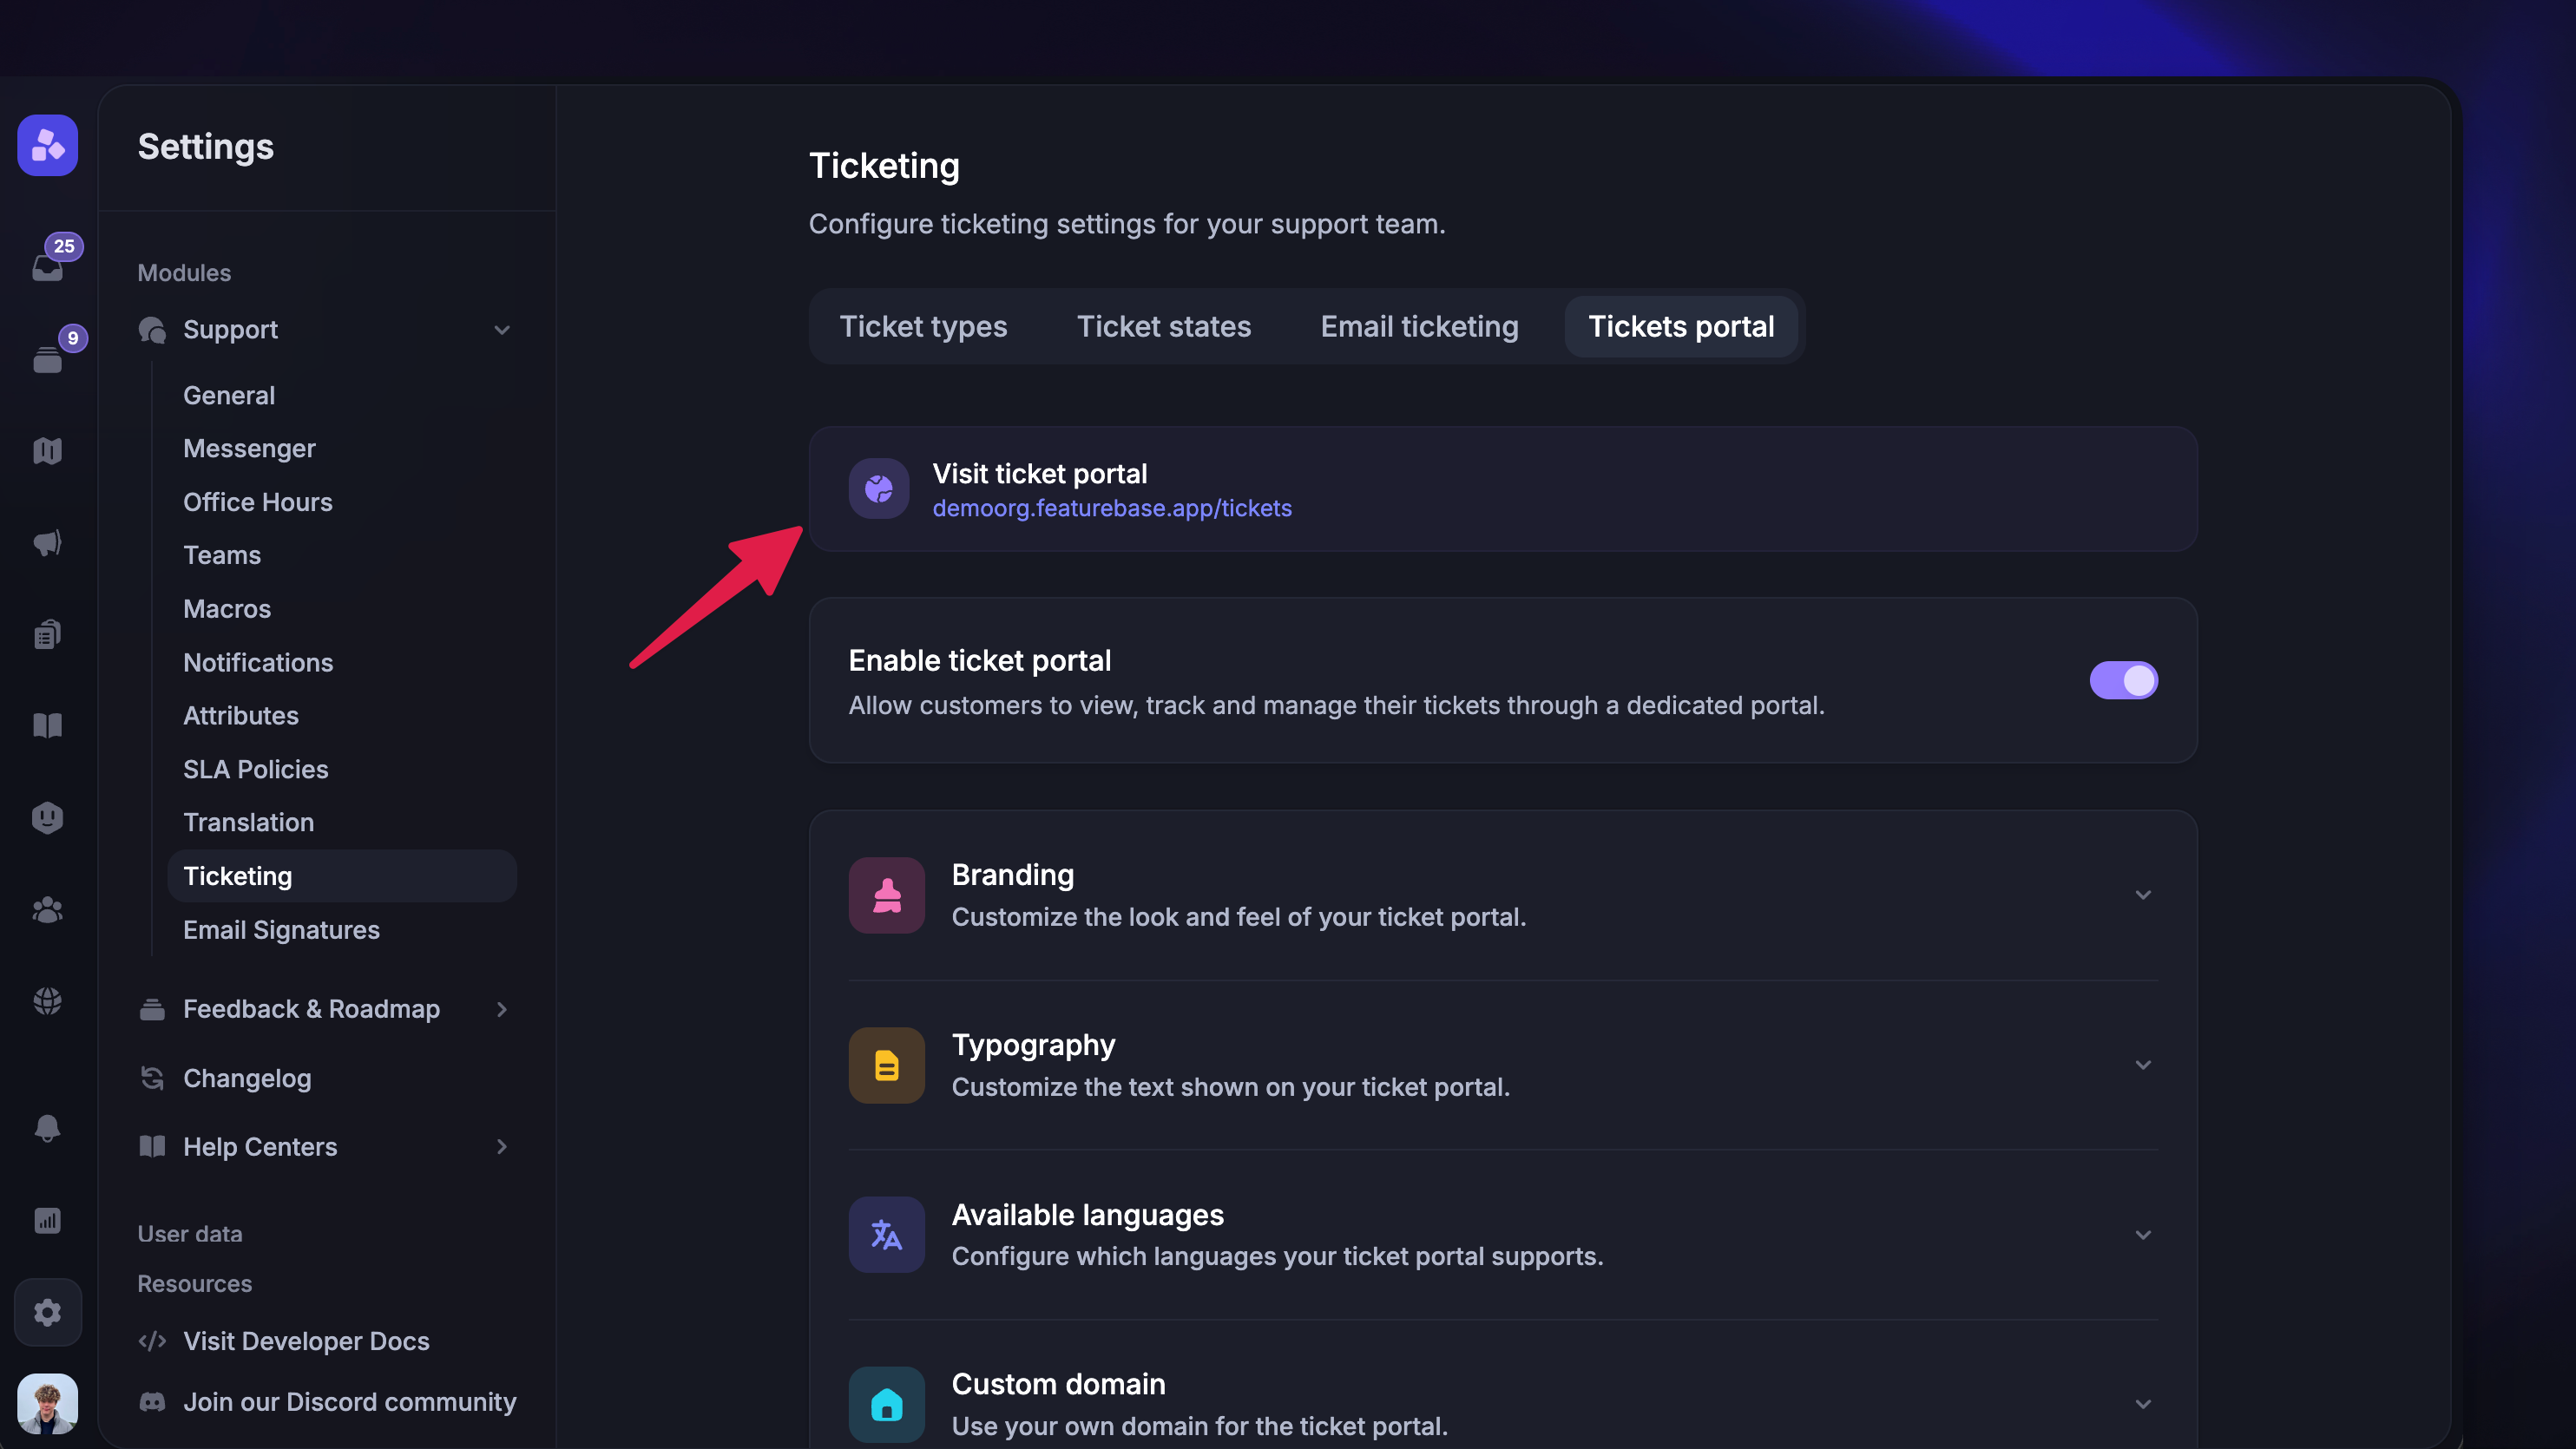
Setting up the Ticket portal
To get started with the Ticket portal, go to Settings → Support → Ticketing → Tickets portal:
Enable the Ticket Portal
Once enabled, the Ticket Portal becomes accessible at
https://yourcompany.featurebase.app/ticketsand appears as a Tickets tab in your public portal navigation alongside the feedback board, roadmap, Updates, and Help Center
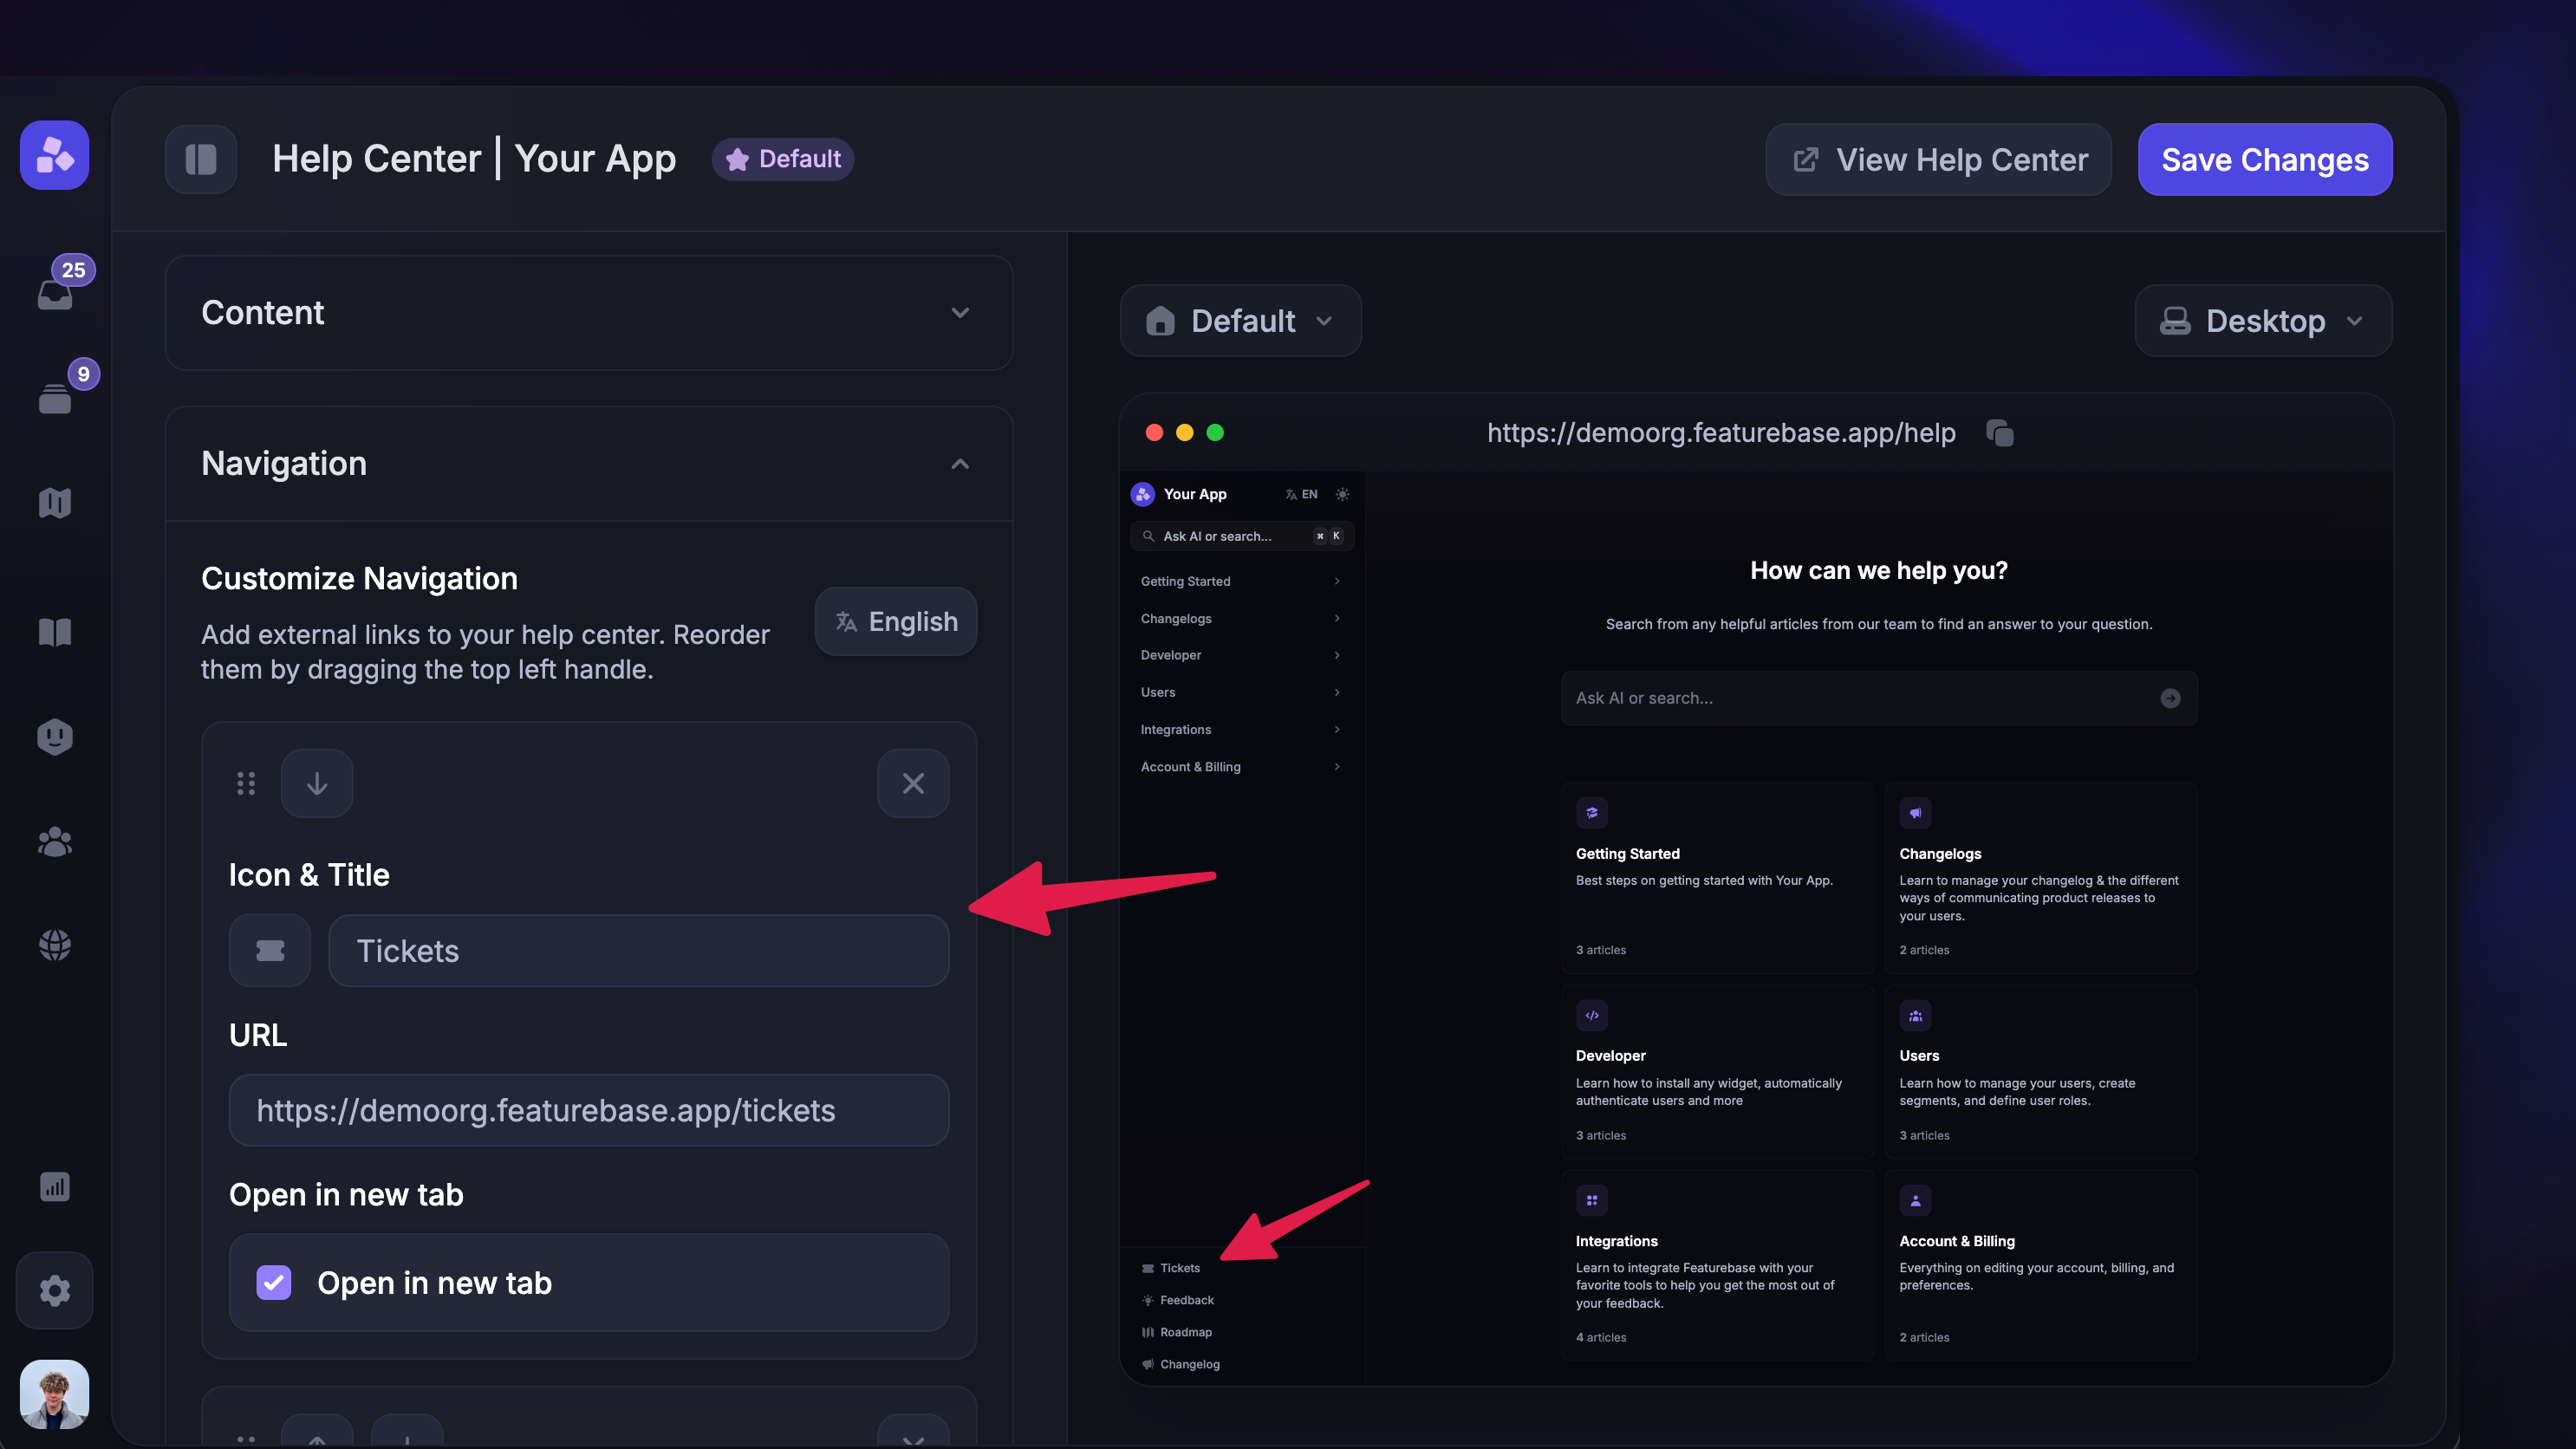
Customize branding
Since the Ticket Portal shares the same public portal as your feedback board, roadmap, and Help Center, branding changes here apply across all your customer-facing modules.
Customize text - From the Typography tab, customize the text shown on the Ticket Portal:
Portal title - The heading at the top of the portal
Portal description - A short description shown below the title
New ticket button - The text on the create ticket button
If you've configured multiple languages, you can set different text for each language from the same section
Configure languages
From the Available languages tab, set your default language and add additional languages as needed. Each language can have its own portal title, description, and button text.
1. Secure your installation (recommended)
To prevent unauthorized users from impersonating others and accessing private ticket data, you should secure your Featurebase installation. This is especially important for the Ticket Portal, where customers can see support conversations and ticket details.
When your installation is secured, customers who sign up directly on the portal with email and password will need to verify their email before they can view or create tickets. Customers who authenticate through your app via the SDK or through OAuth (Google, GitHub, etc.) are already verified and won't see this step.
Without a secure installation, anyone who signs up on the portal can access tickets associated with their account. This is strongly recommended if you're using the "Private between company" ticket visibility option, where users can see tickets from others in their company.
Setup guide: @Secure your installation (required by default)
2. Set up a custom domain
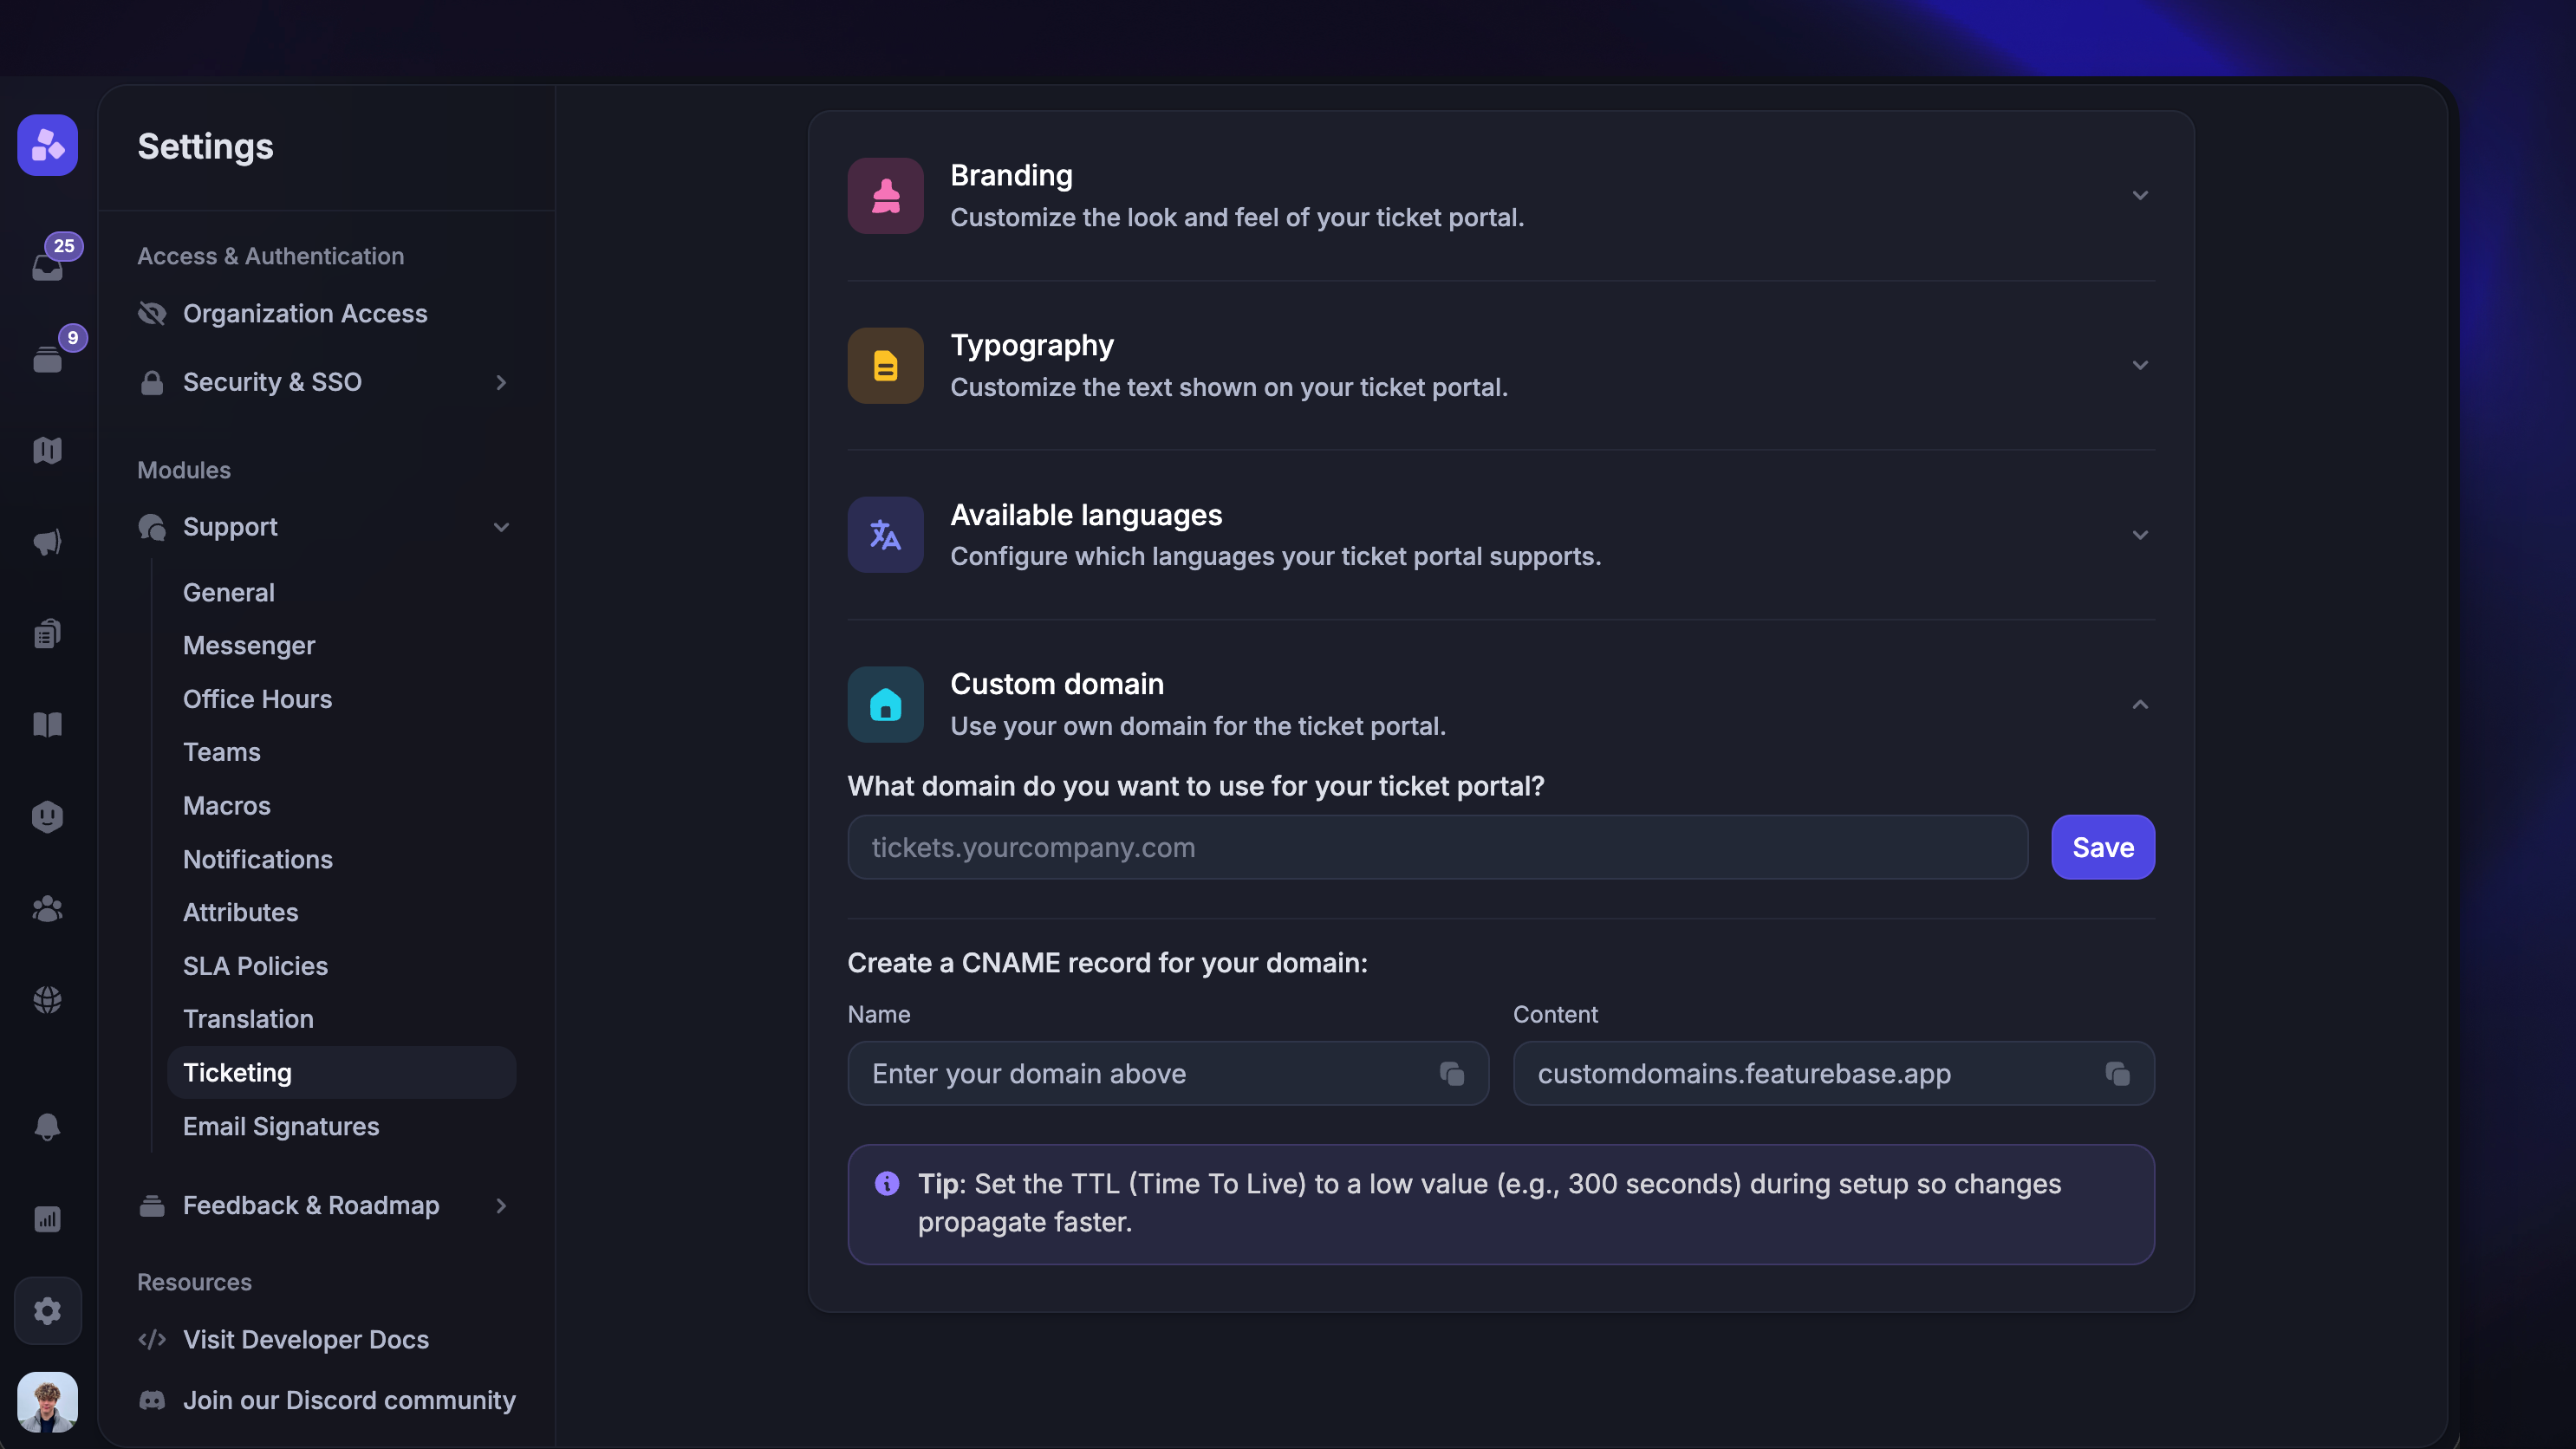
By default, the Ticket Portal is accessible at https://yourcompany.featurebase.app/tickets. If you'd like to use your own domain (e.g. tickets.yourcompany.com), you can set up a custom domain from the Ticket portal settings.
To configure a custom domain:
Enter your desired subdomain (e.g.
tickets.yourcompany.com)Create a CNAME record in your DNS provider with:
Name: your subdomain (e.g.
tickets)Content:
customdomains.featurebase.app
Click Save and wait for the SSL certificate to be issued
You can check the SSL certificate status from the same settings page. It usually takes a few minutes, but DNS propagation can take longer.
Tip: Set the TTL (Time To Live) to a low value (e.g. 300 seconds) during setup so changes propagate faster.
Configure portal discovery
Once the Ticket Portal is enabled, there are several ways to make it discoverable for your customers:
1. Share the portal URL
Enabling the Ticket Portal automatically generates a portal URL. You can find and copy it from Settings → Support → Ticketing → Tickets portal when it's enabled.
The default URL follows the format https://example.featurebase.app/tickets, or uses your custom domain if you've configured one.
2. Portal navigation tab
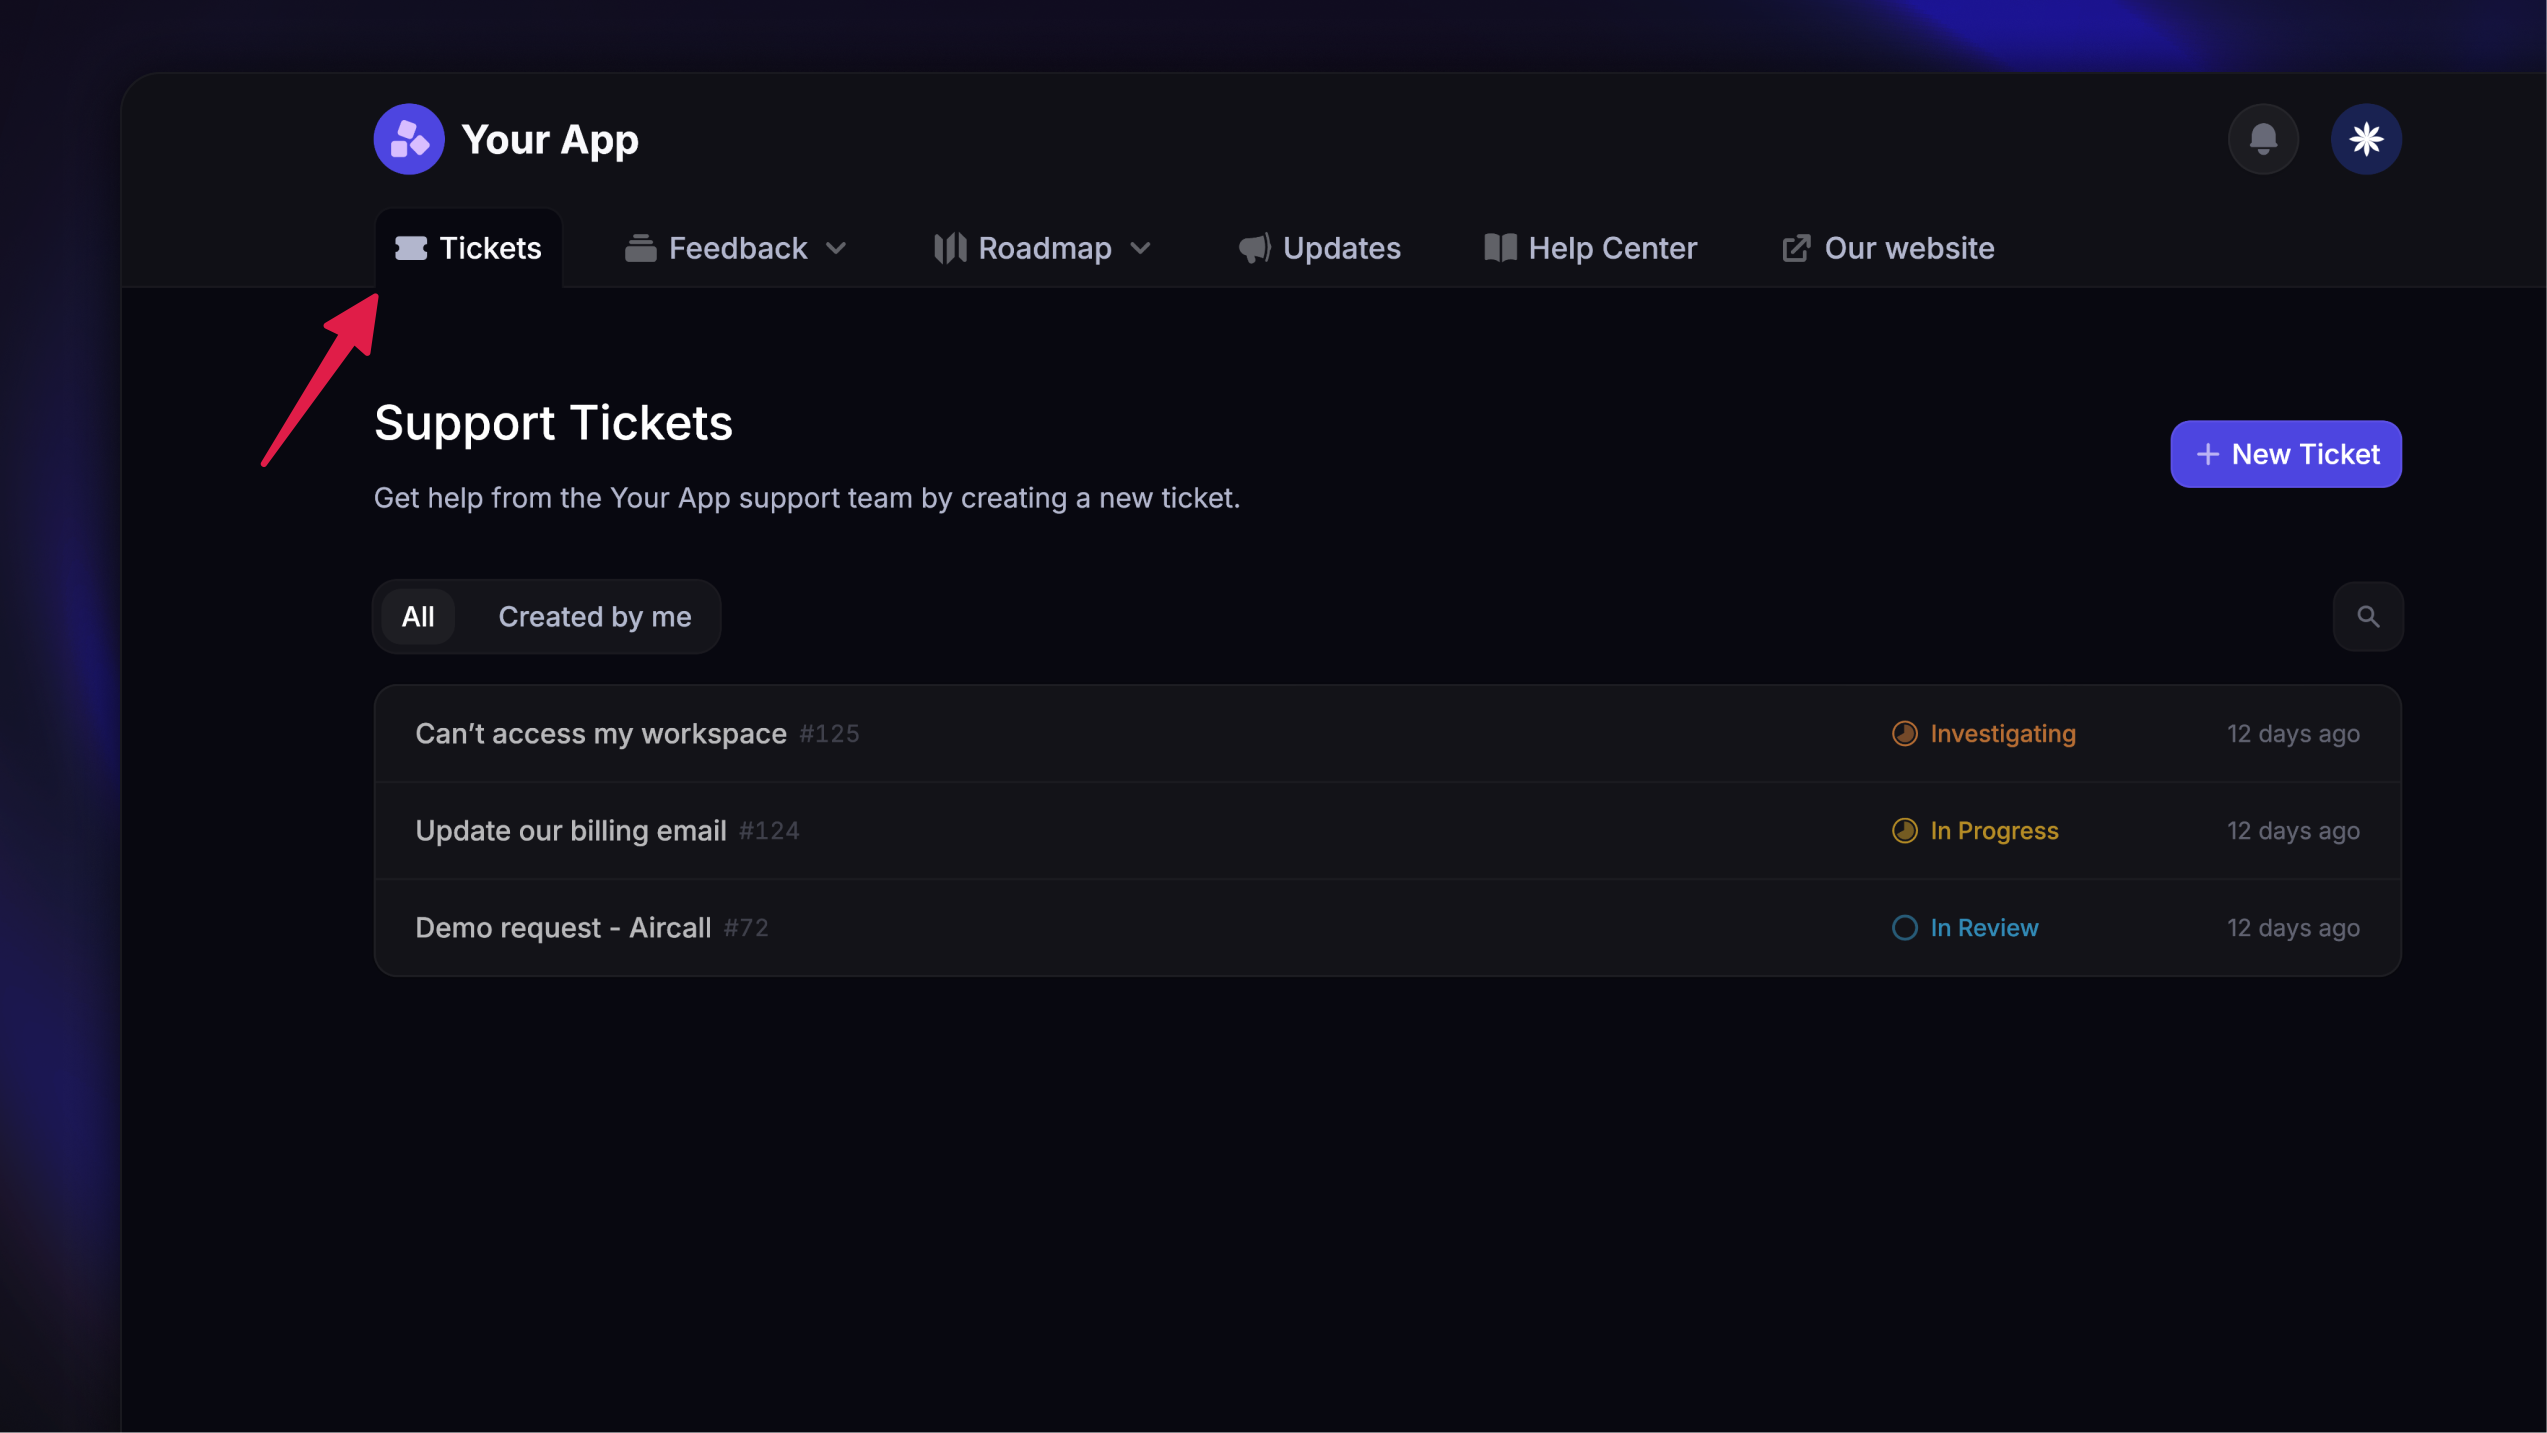
The Ticket Portal automatically appears as a Tickets tab in your public portal navigation. Your customers can switch to it just like they'd switch between the feedback board, roadmap, Updates, or Help Center.
You can manage which tabs are visible and their order from Settings → Branding → Portal menu.
3. Link from your Help Center
You can add a custom link to your Help Center navigation that points directly to the Tickets portal from Go to Settings → Help Centers.