Custom email sending address
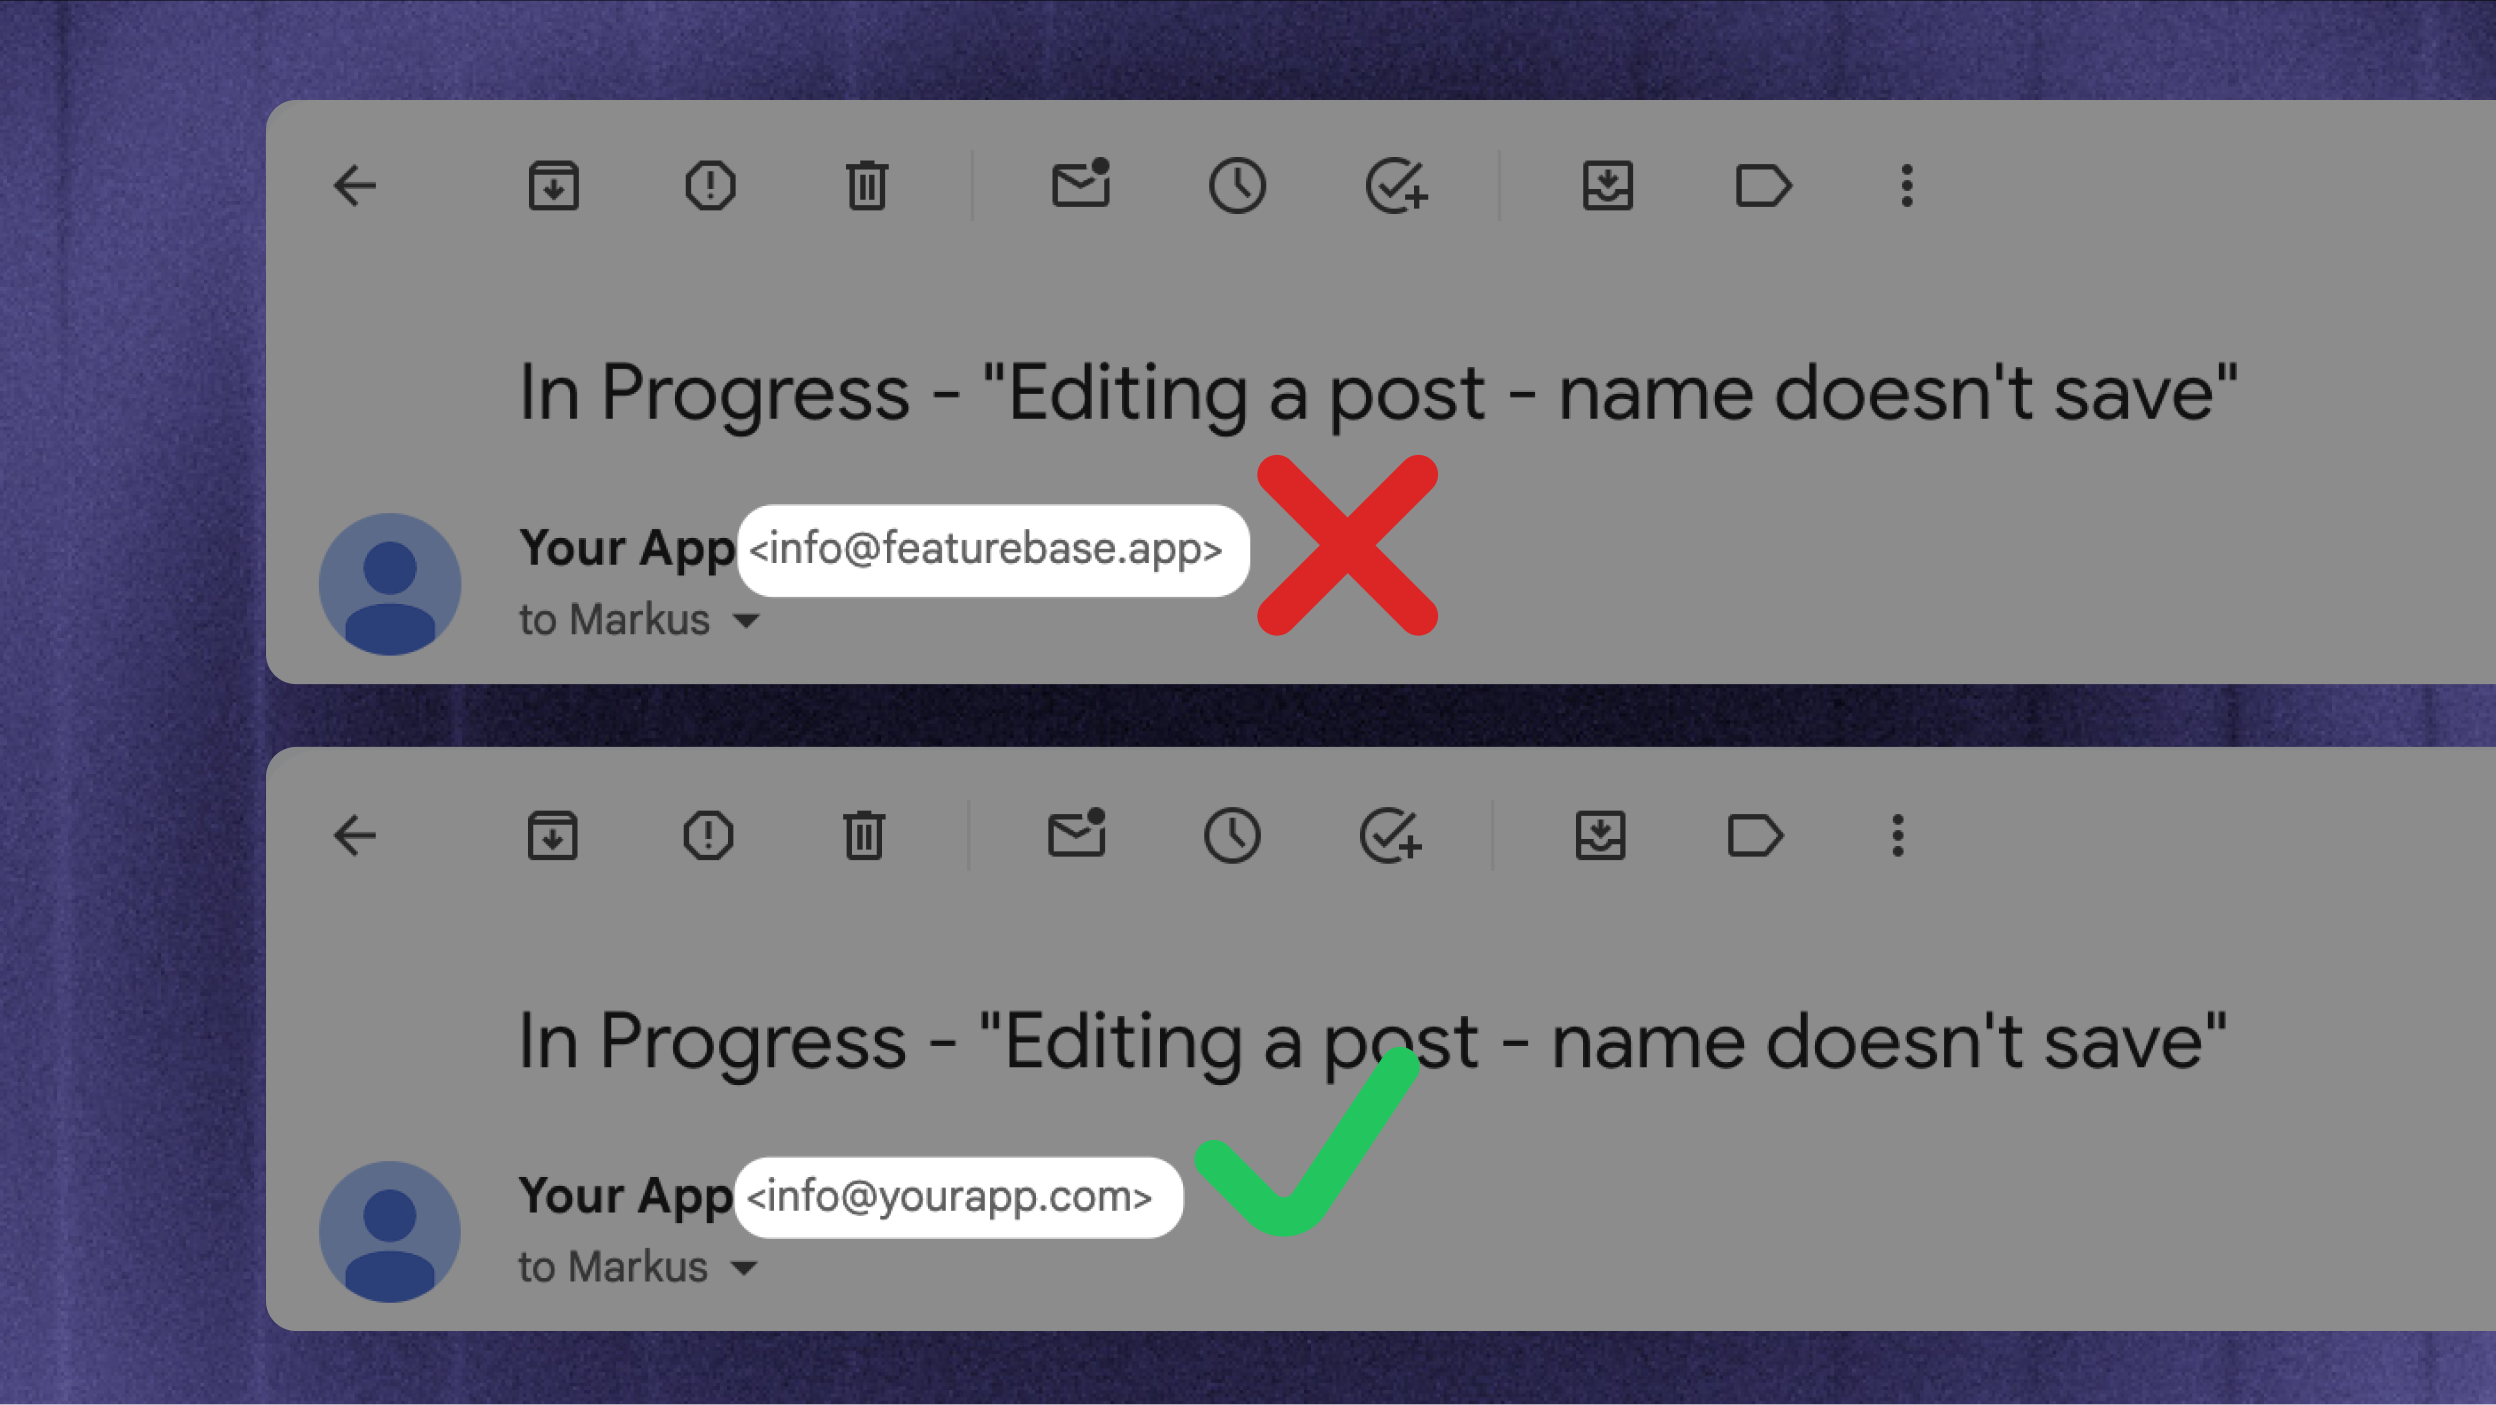
Verify a sending domain and add your own email address for customer notifications.
Written By Kateryna Babenko
Last updated 6 days ago
Overview
Use your own email address to send customer notifications from Featurebase. Verify a sending domain, then add an address from that domain.
Manage senders in Settings → Workspace → Email sending. The Who sends what section shows the address used for each email type. Support replies are managed in Support channels → Email.
Adding a custom email sending address
Add a sending domain
Under Domains and addresses, click 'Add domain'
Enter your domain and click 'Add domain'. Expand the domain to see its DNS records
Add each DNS record at your domain provider. Click 'Refresh status' and check that the domain shows Verified
Note: DNS changes can take time to appear. Featurebase checks the records automatically and emails teammates with the Manage Custom Domain permission when verification succeeds or needs attention. You can also click 'Refresh status' to check again.
Add your sending addresses
After the domain is verified, add a sending address:
Click 'Add address' under Domains and addresses
Enter the Email Address and Sender Name. Use the domain you verified
Under Modules, choose the notification types that should use the address
Select a Brand, if you have a multi-brand setup (optional)
Click 'Add sender'
Check Who sends what to confirm the resulting senders. Use Brand notification senders for brand-specific notification addresses.
Tips & next steps
Set up email forwarding to receive your customers’ support emails automatically in your support Inbox
For the domain, we recommend using a subdomain (e.g.
notifications.example.com) to separate notification sending from your main domain
FAQs
What should I do if I already have existing SendGrid DNS records?
What should I do if I already have existing SendGrid DNS records?
If you have existing SendGrid DNS records (like s1._domainkey), the recommended solution is to use a subdomain for sending emails instead of your primary domain. For example, use info@notifications.example.com instead of info@example.com.
Why is my sending domain still unverified?
Why is my sending domain still unverified?
Expand the domain and check the status beside each DNS record. Match the Type, Name, and Value shown in Featurebase. Correct any reported issue at your domain provider, then click 'Refresh status'.
If you use Cloudflare, turn off the proxy for the CNAME records
If your provider adds the domain name automatically, use the short record name shown in Featurebase
Was this helpful?
Still need help? Ask the team