Getting started with Outbound emails
Learn how to create and send targeted, personal emails your customers will want to read.
Written By Kateryna Babenko
Last updated 4 days ago
Overview
Outbound Emails let you send targeted emails to users who match your audience rules. Use them for one-off announcements, onboarding nudges, feature education, feedback requests, and reactivation emails.
You can start from scratch or use an email starter template. Templates create editable drafts with starter content, audience rules, and scheduling defaults.
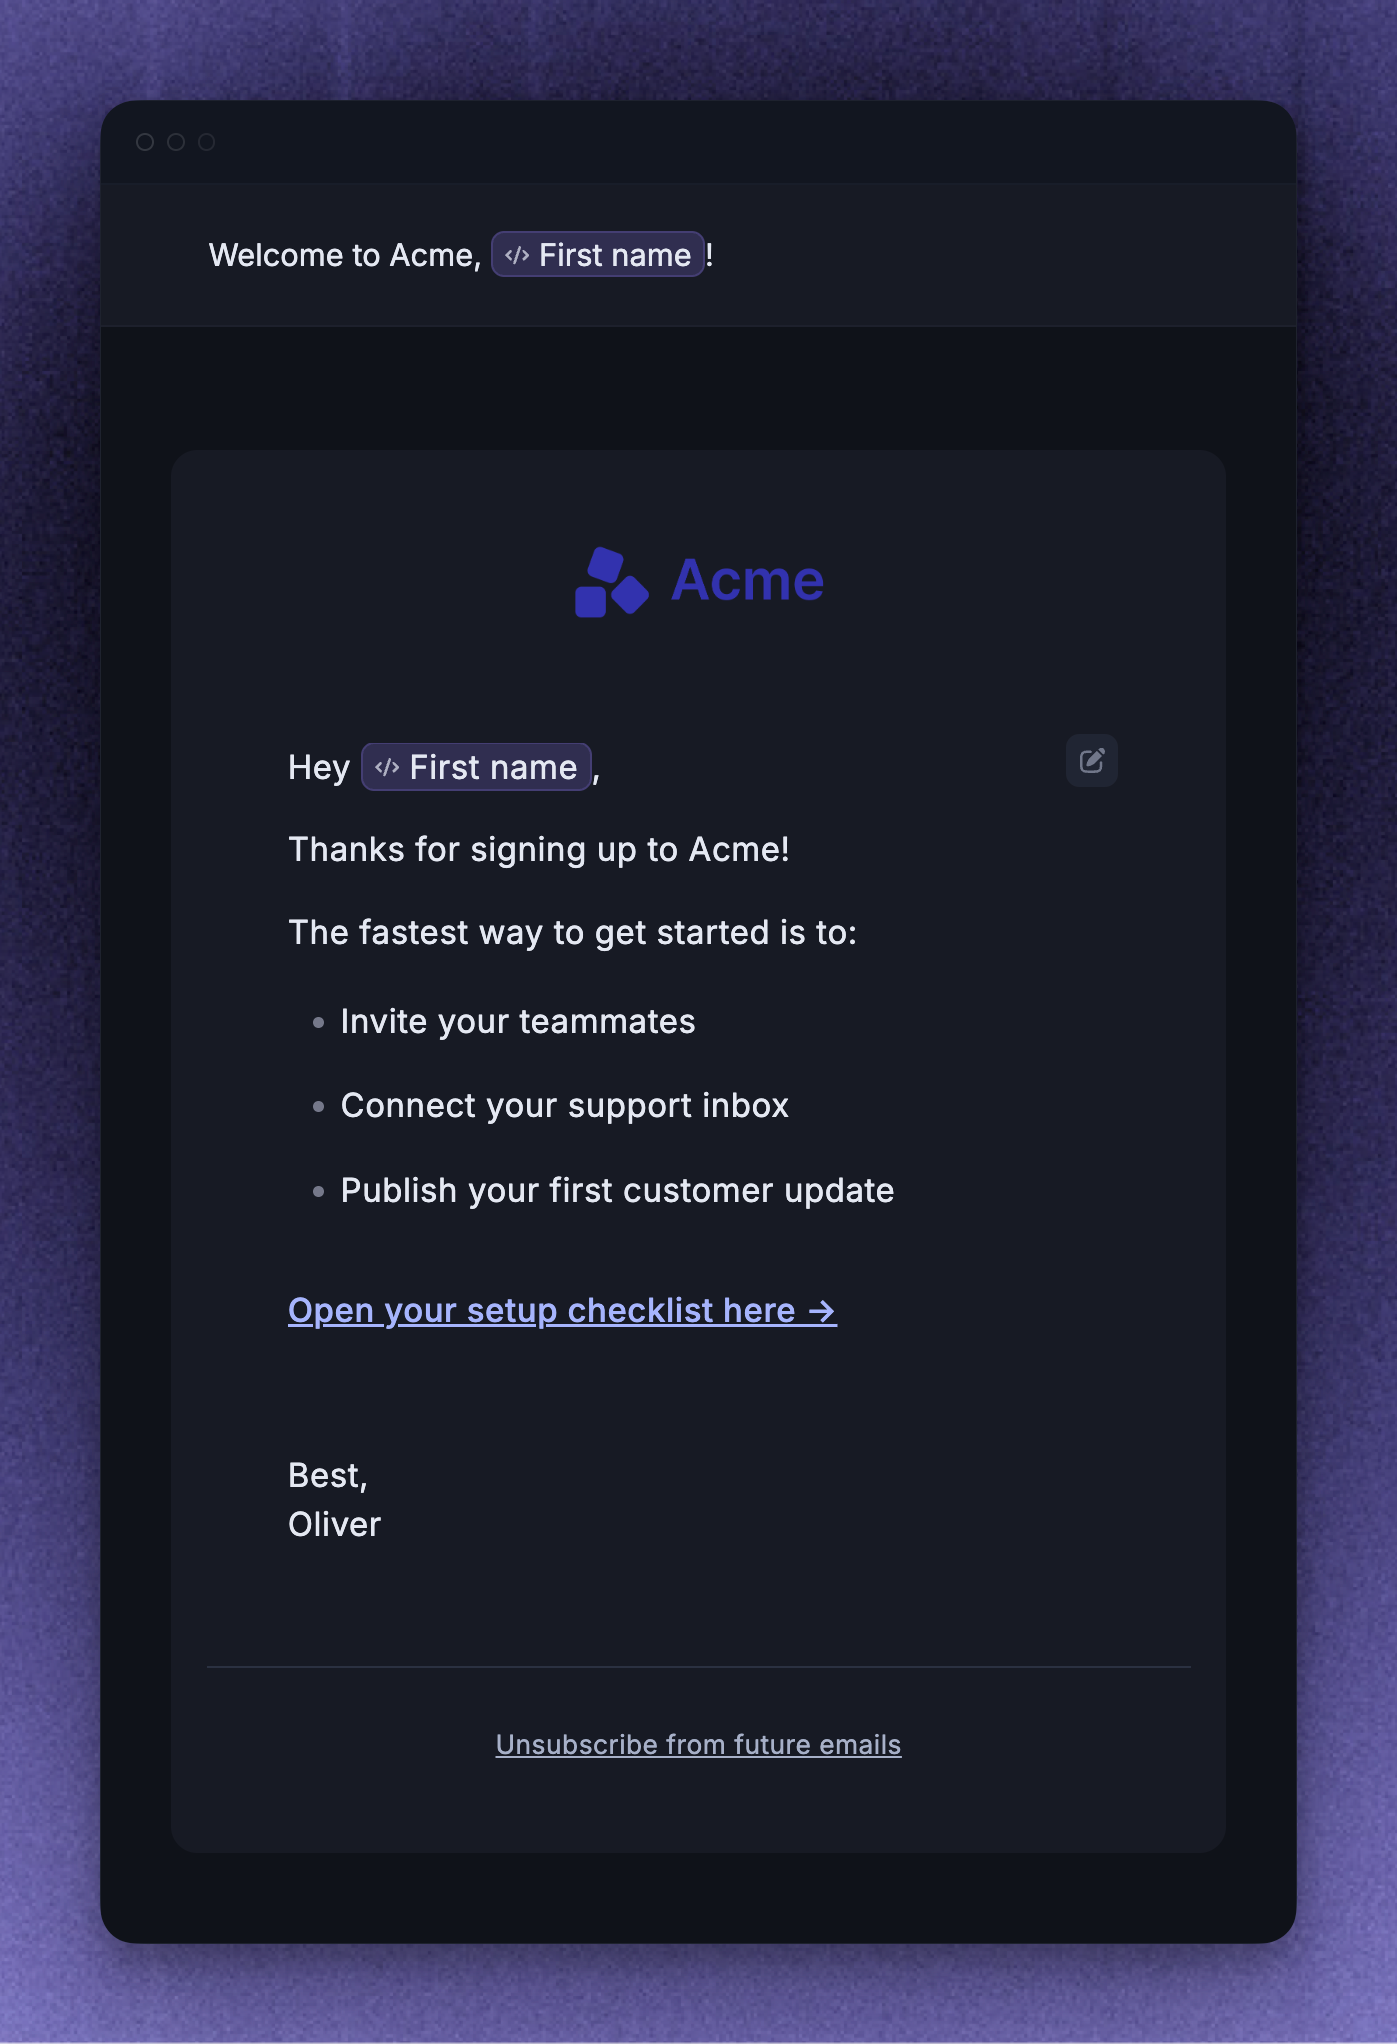
Note: Outbound Emails target users only (not visitors or leads).
Create an Outbound Email
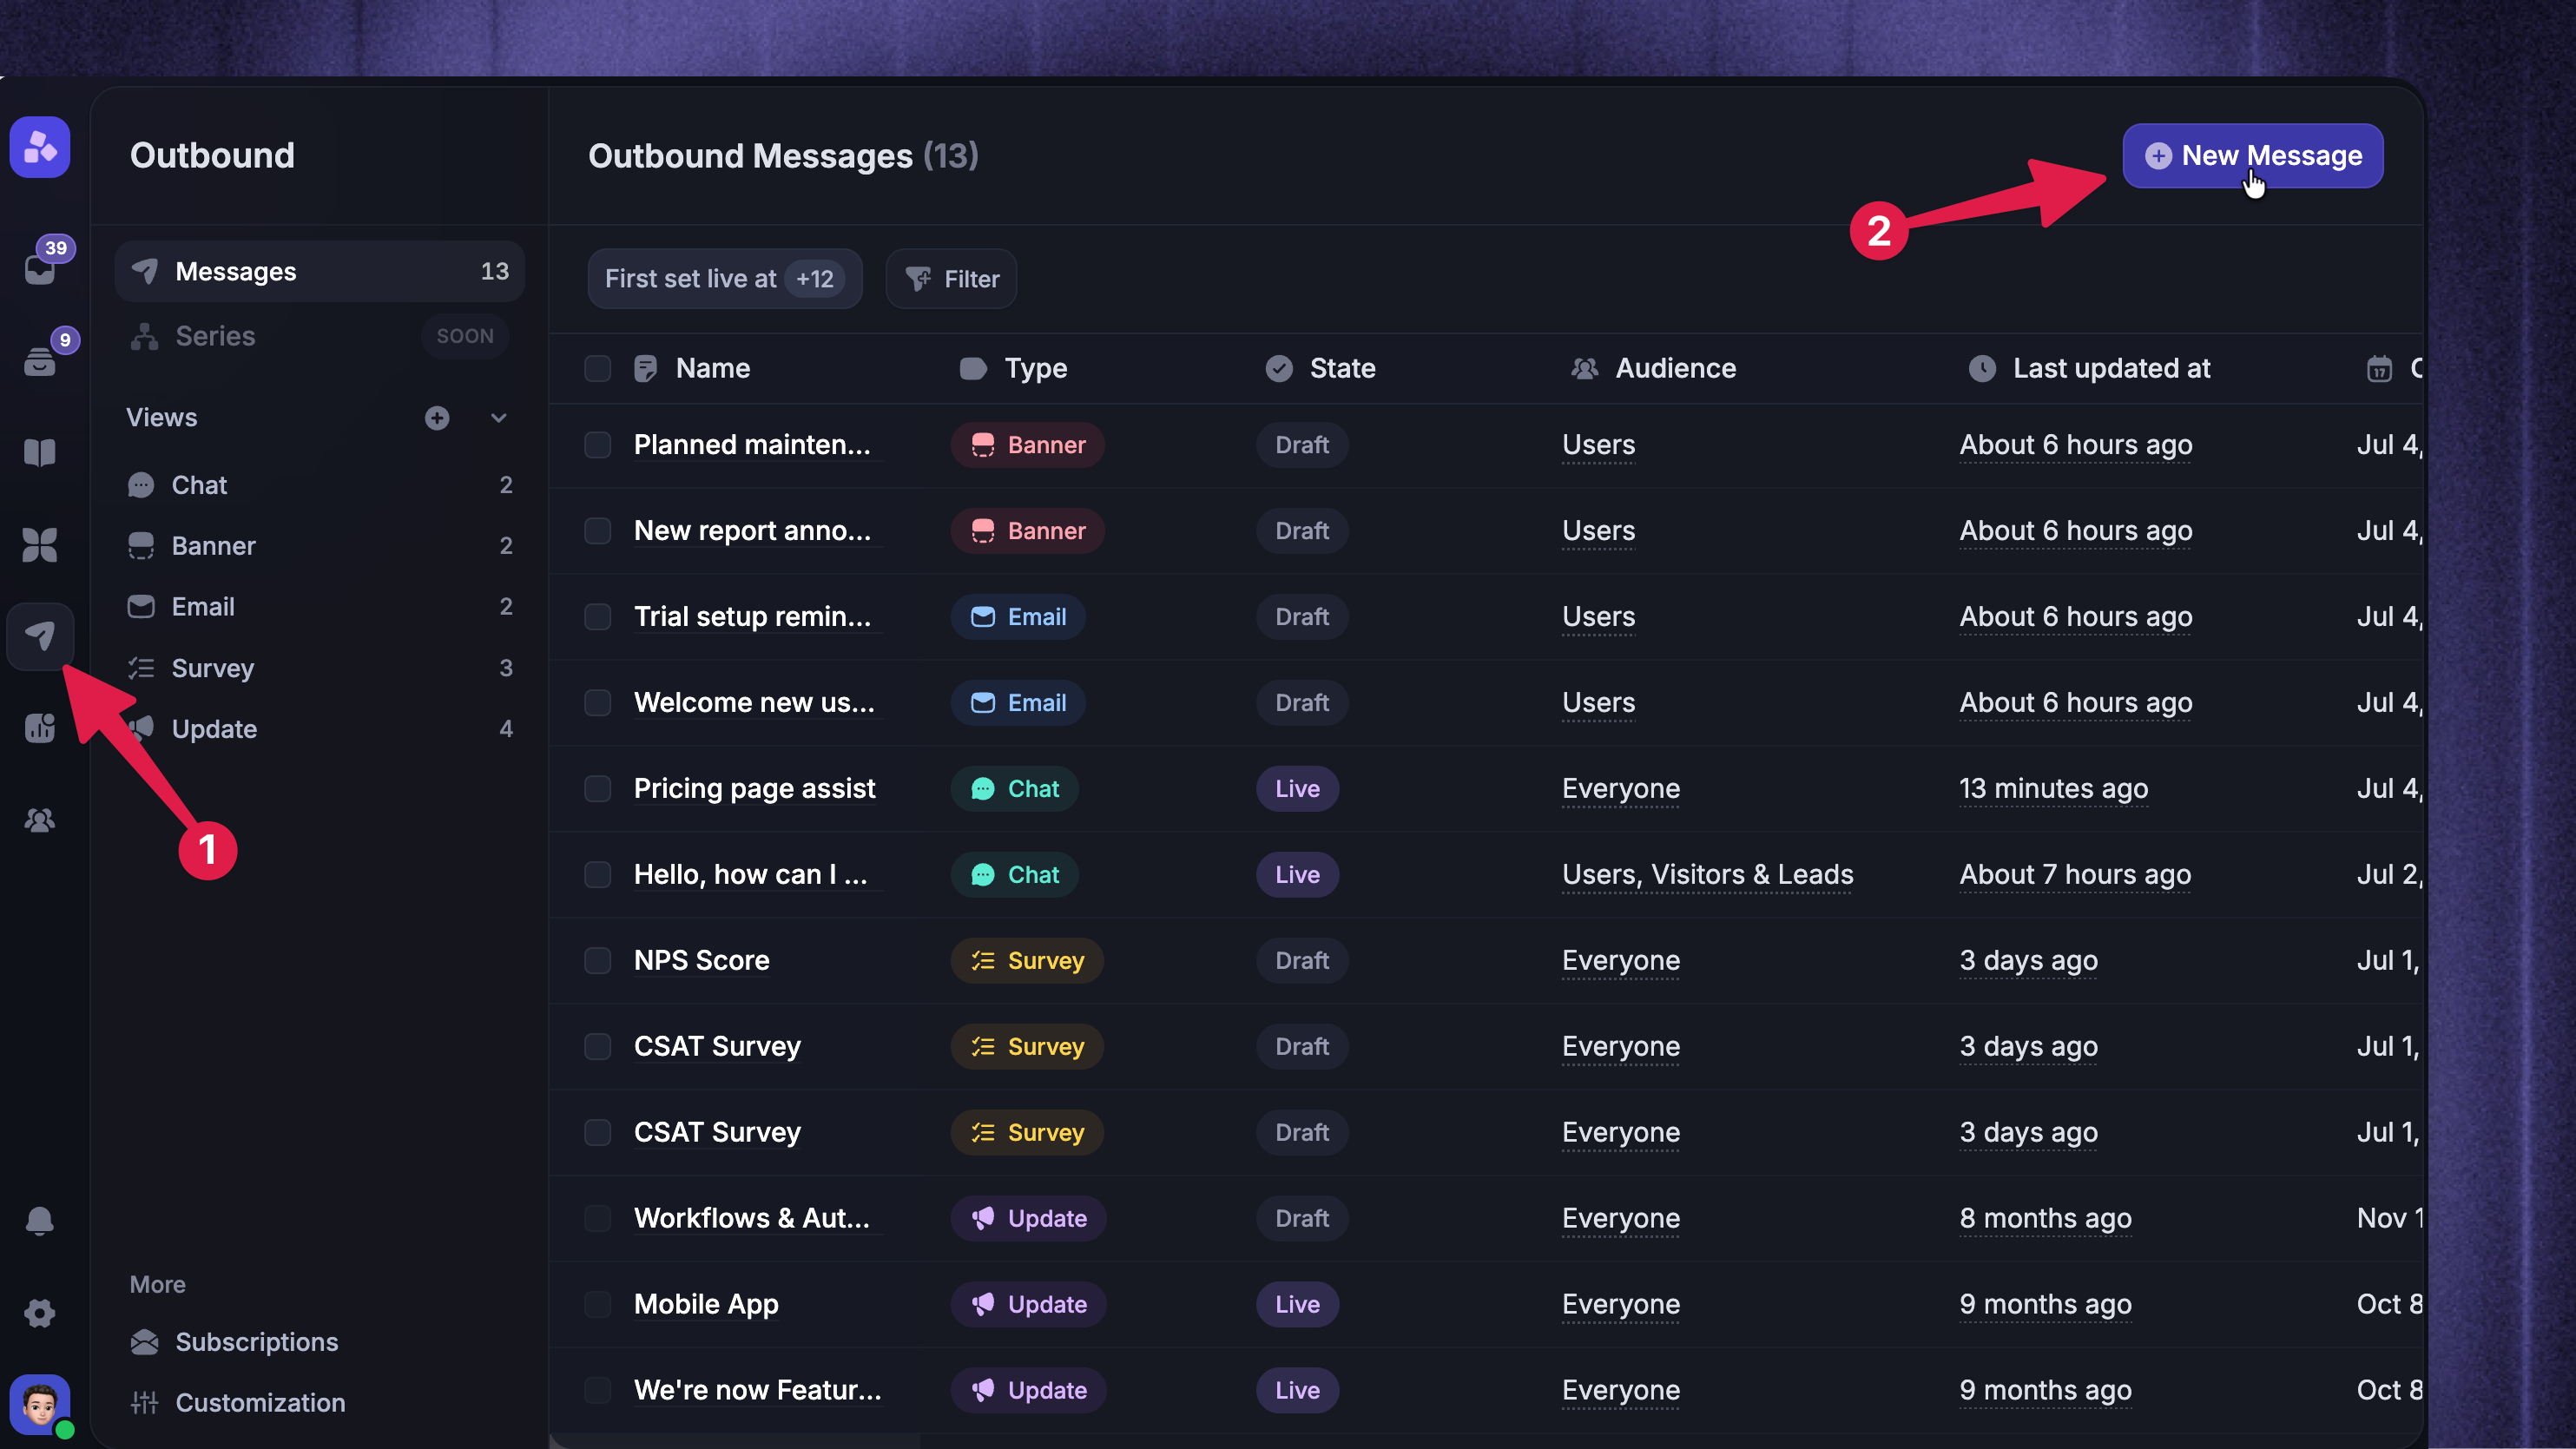
To create an email:
Go to Dashboard → Outbound
Click New Message and choose Email
Choose Start from scratch or select an email template
Name the message from the header
Email templates are starting points. You can edit the subject, body, audience, and schedule before sending.
Note: Before you can send Outbound Emails to customers, request email-sending access for your workspace. Go to Settings → Workspace → Email sending → Sending status, select the Email tab, then select Request Email Sending Access.
General Outbound email settings
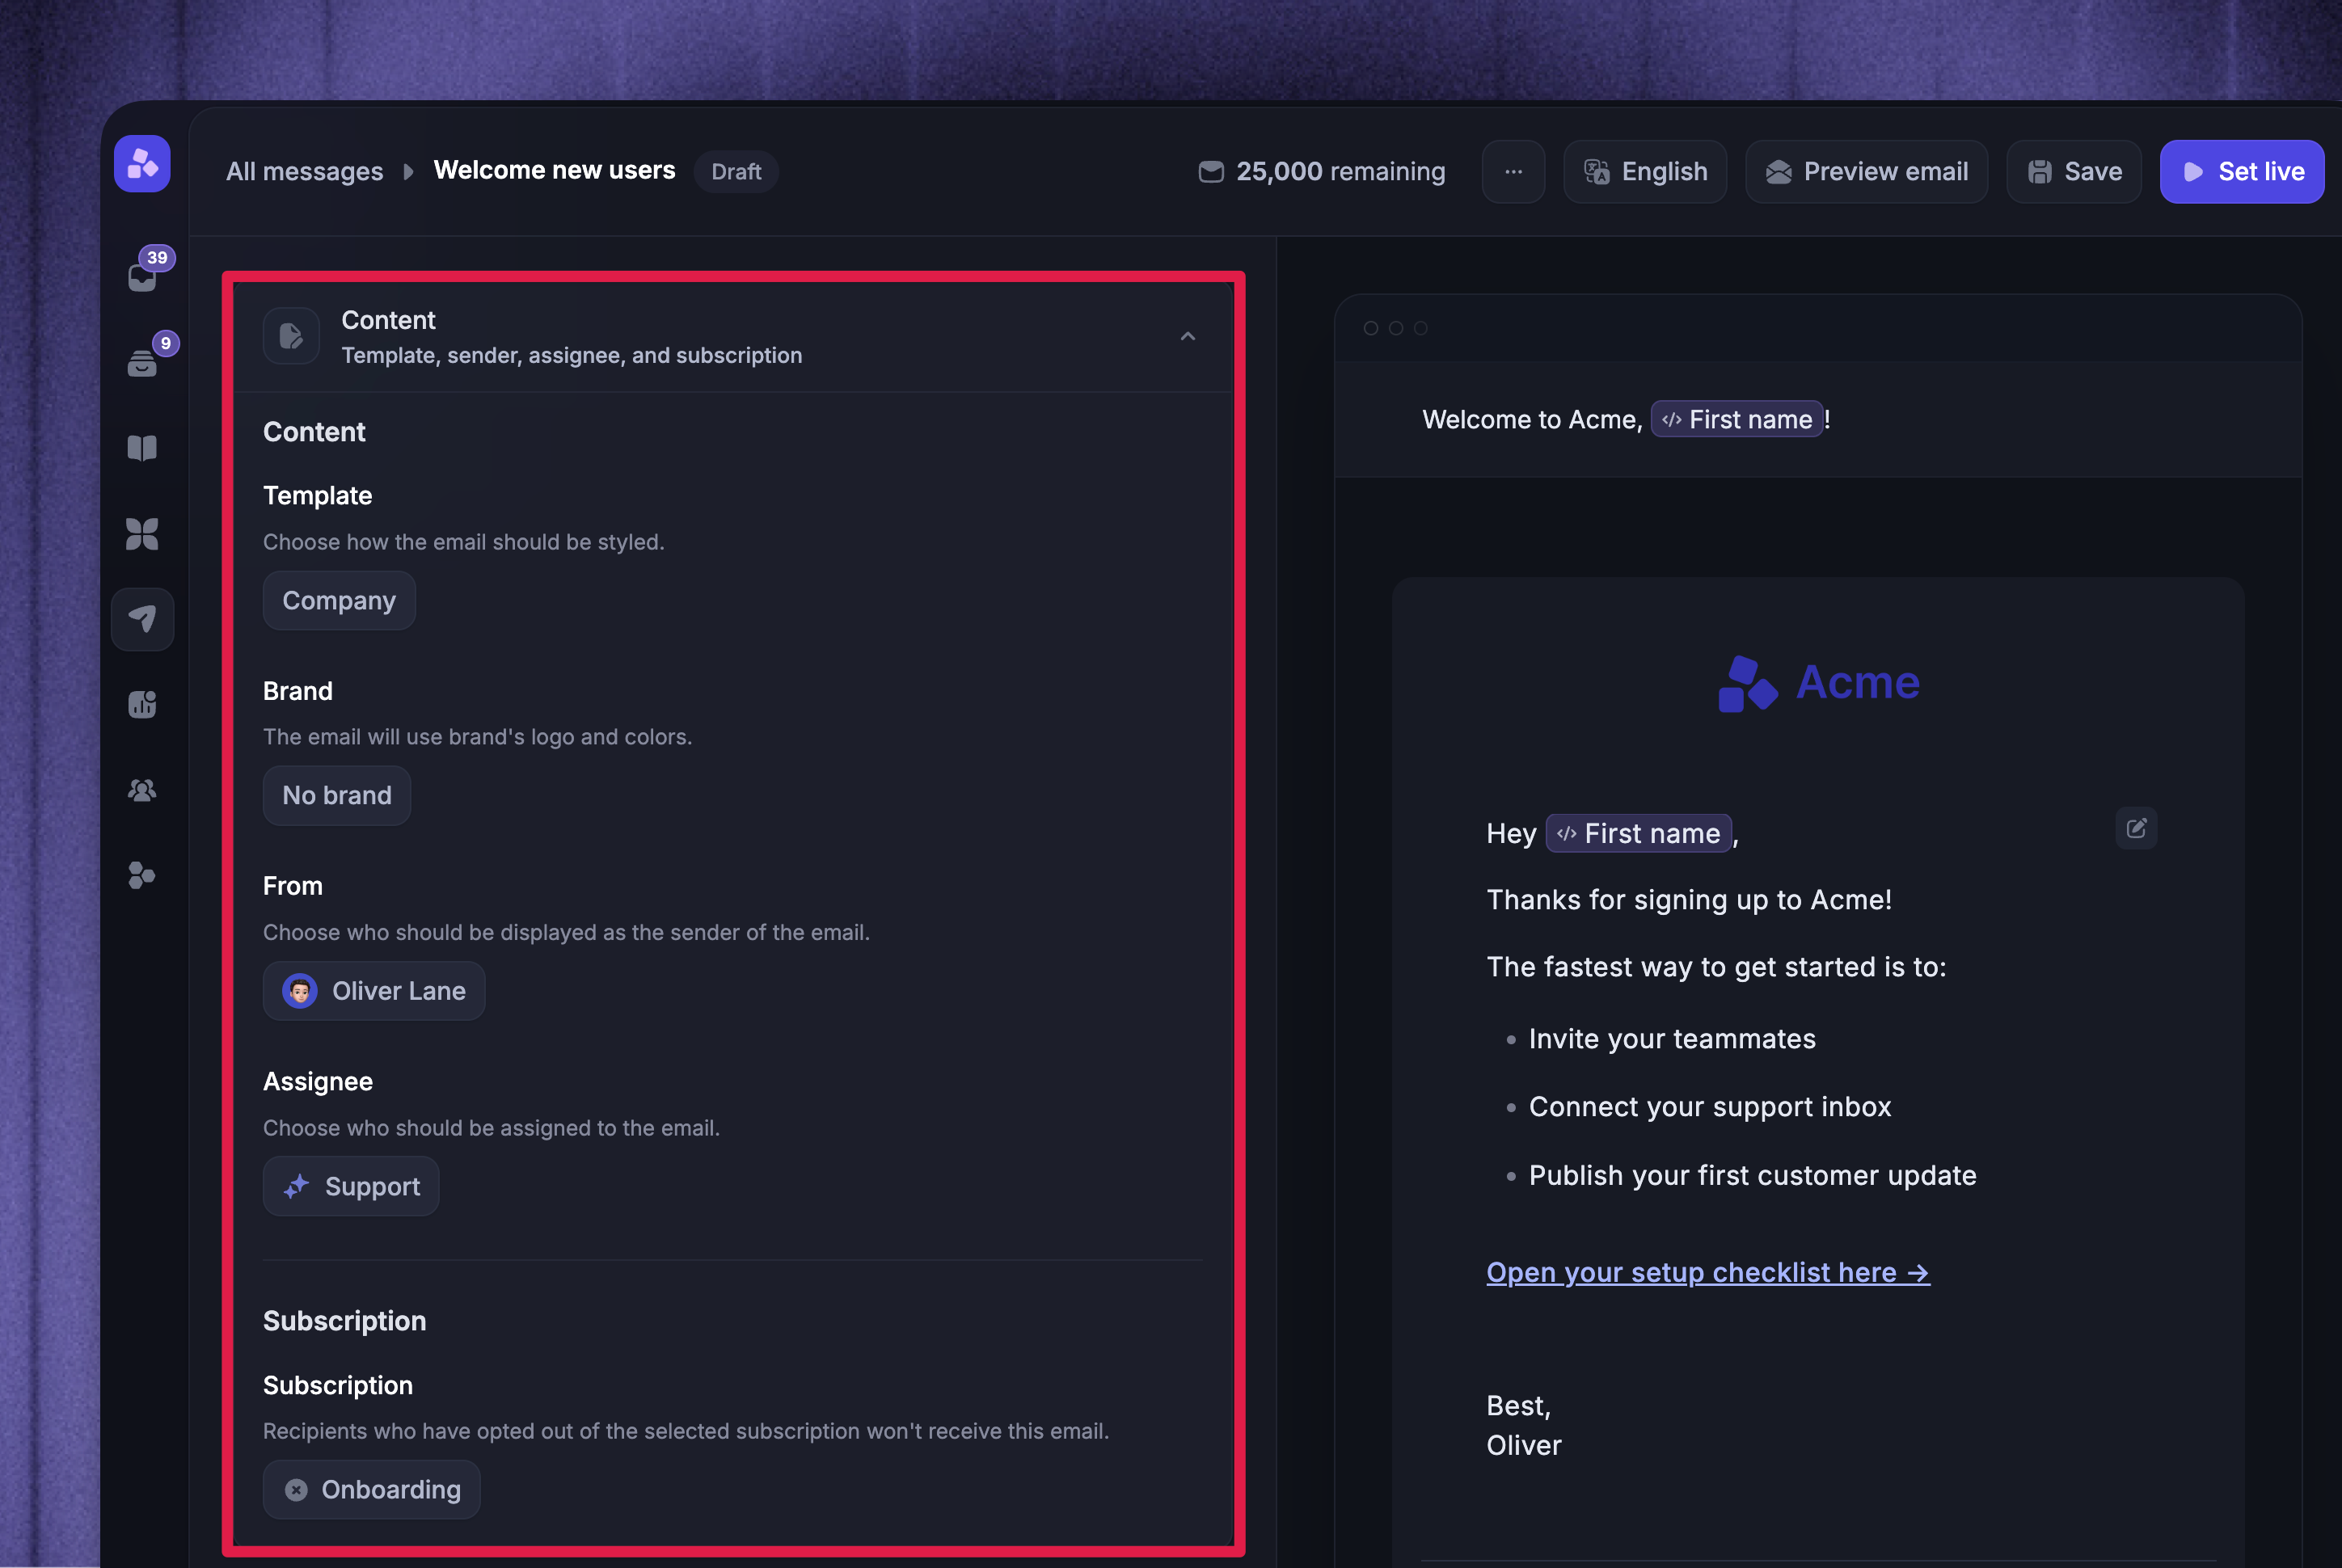
Use the Content section to configure how the email looks, who it comes from, and where replies go.
Template - choose Plain, Personal, or Company
Brand - choose a brand, or leave No brand
From - choose the teammate shown as the sender
Assignee - choose the teammate or team assigned if a recipient replies, or leave it Unassigned
Subscription - choose the subscription topic for this email, or choose None
If a recipient replies to the email, Featurebase creates or finds the related Inbox conversation and applies the email's assignee.
Use subscription topics when recipients should be able to opt out of one email list without unsubscribing from everything. If you choose None, unsubscribing from that email applies to all emails.
Email message content
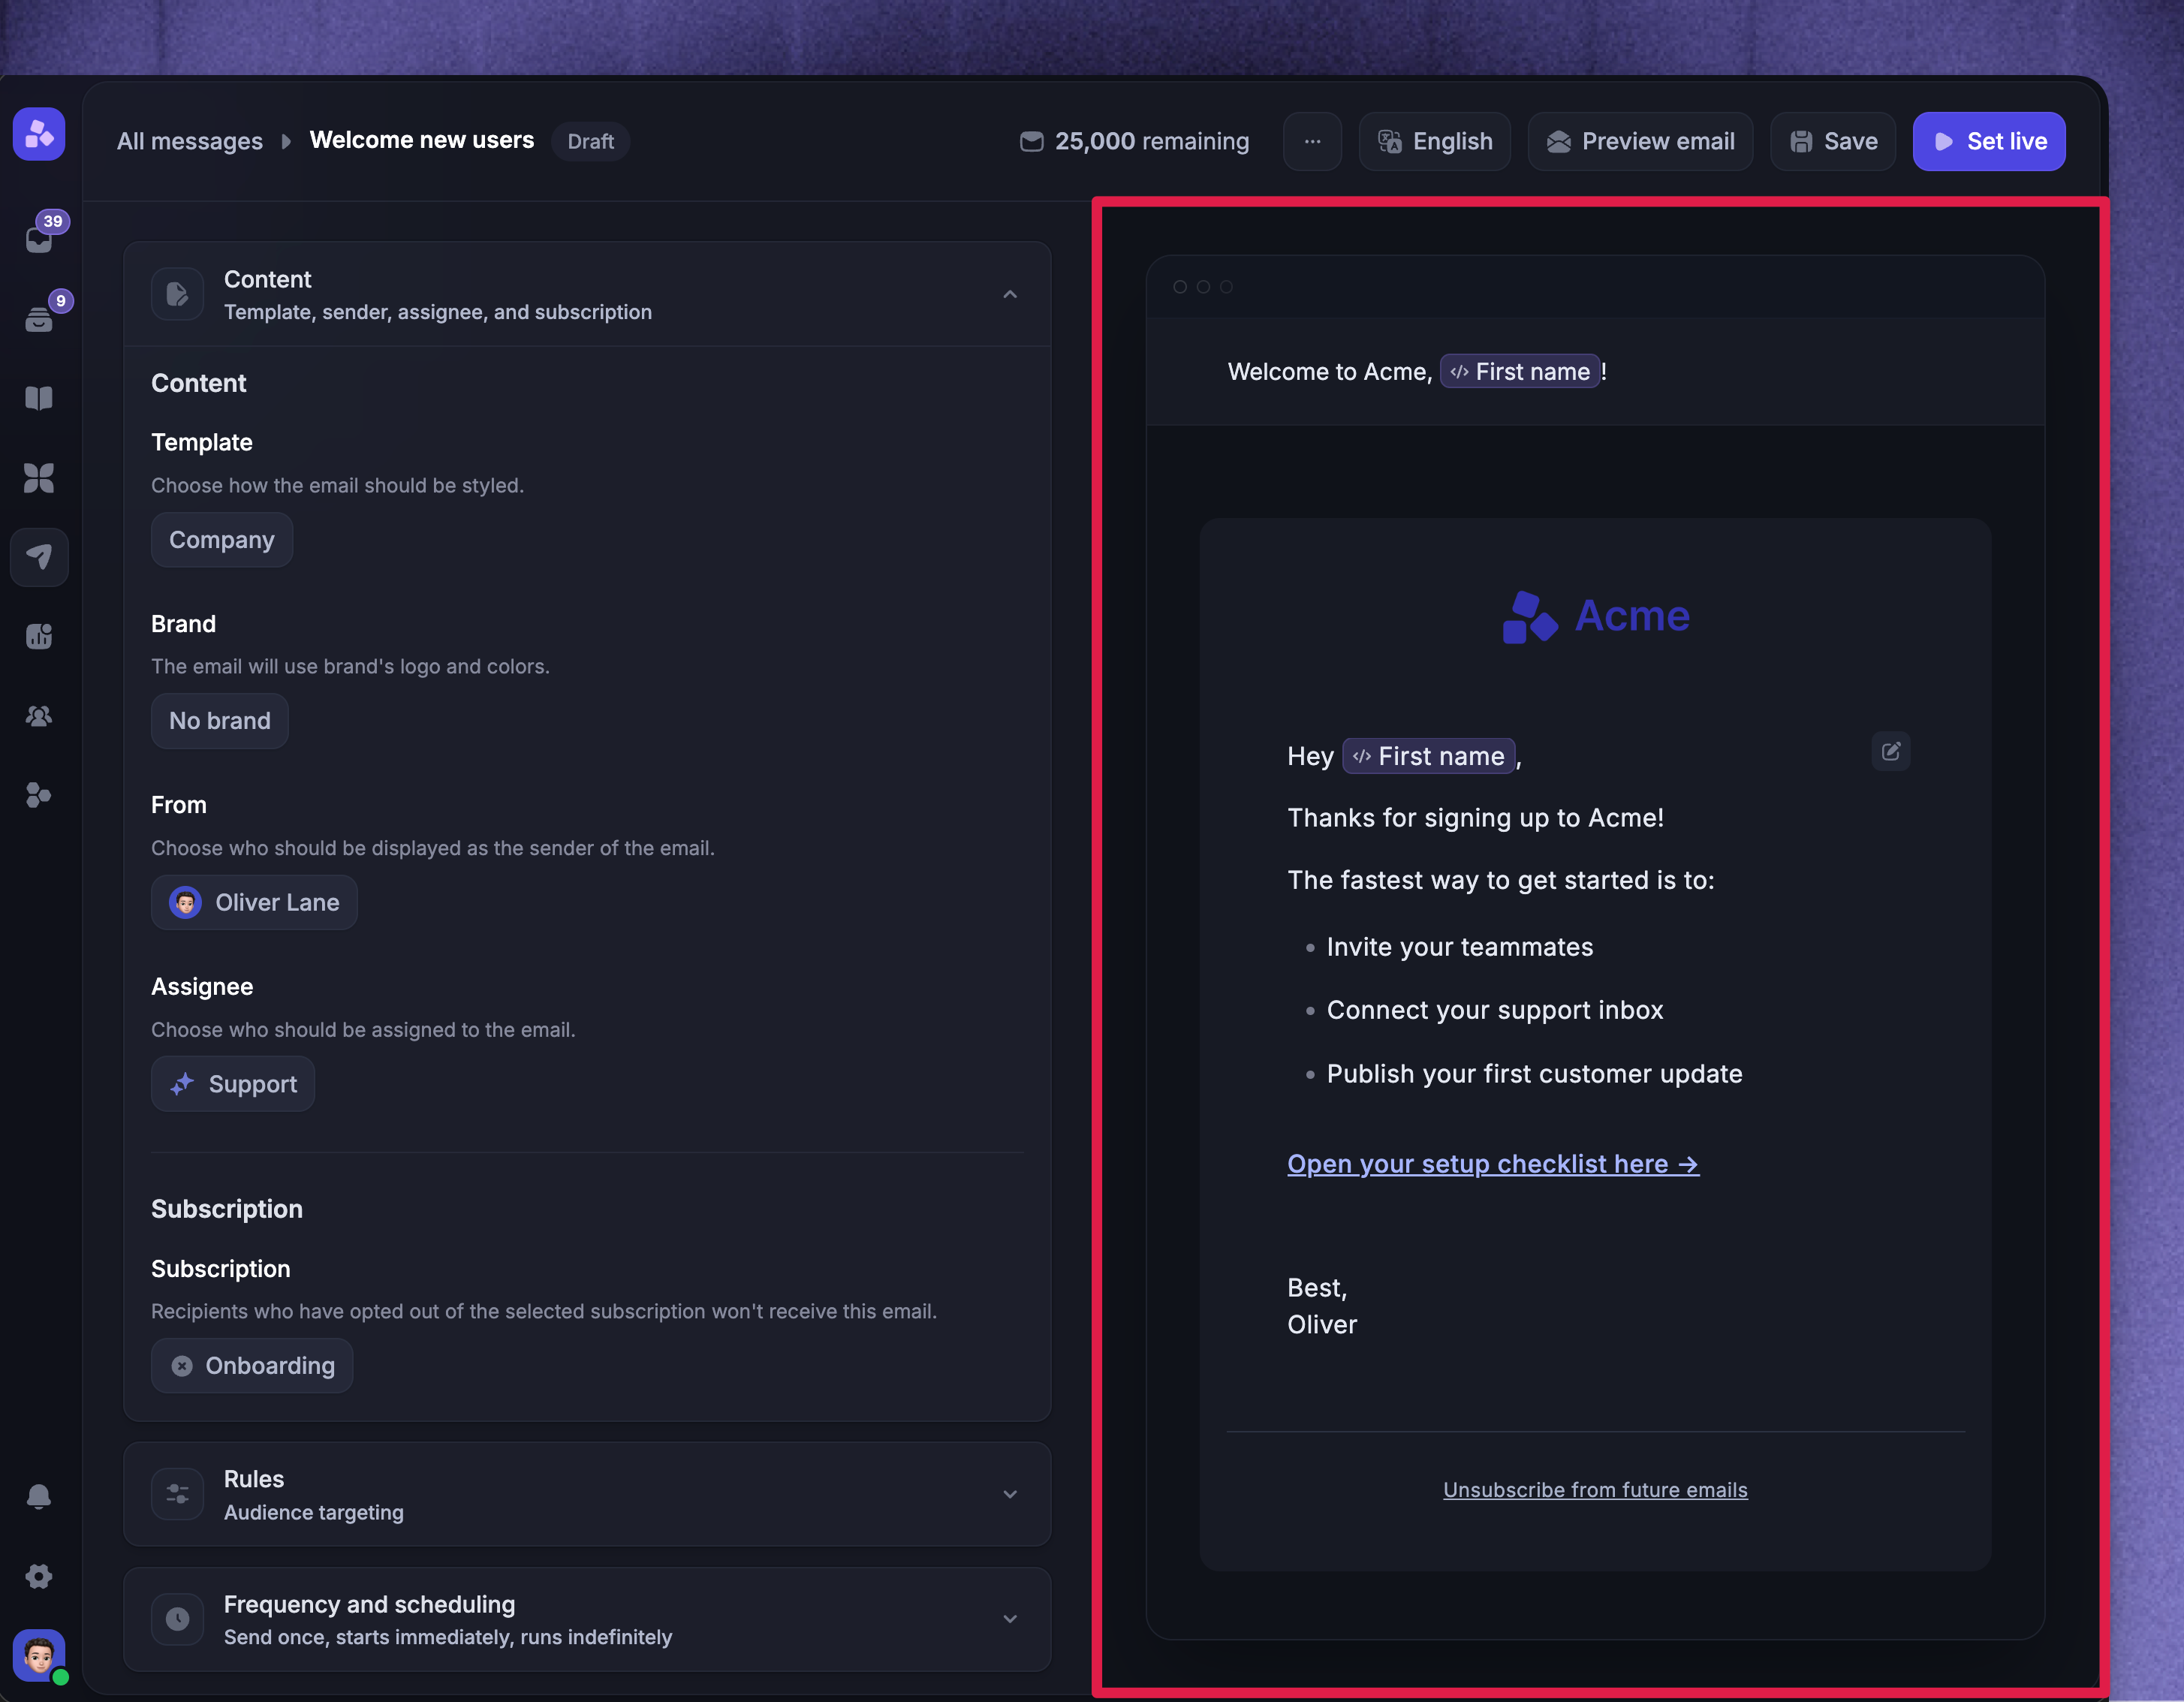
Edit the subject and body directly in the email preview. You can format text, add links, insert dynamic variables, and use rich content blocks such as images, files, tables, lists, and dividers.
Keep the email focused on one reason for writing and one main action. Before sending, check that:
The subject makes the topic clear
The first lines explain why the user is receiving the email
The main link or button is easy to spot
Dynamic variables fit naturally into the sentence
The message still makes sense when previewed as a real email
Set the audience
Use the Rules section to decide which users should receive the email.
Click Add audience rule to filter the audience, then use the Preview audience to check who currently matches.
By default, the audience is dynamic, which means users can enter or leave the audience as their attributes change. Turn on Lock audience at activation to send a one-off email to users who match at the moment the email is activated.
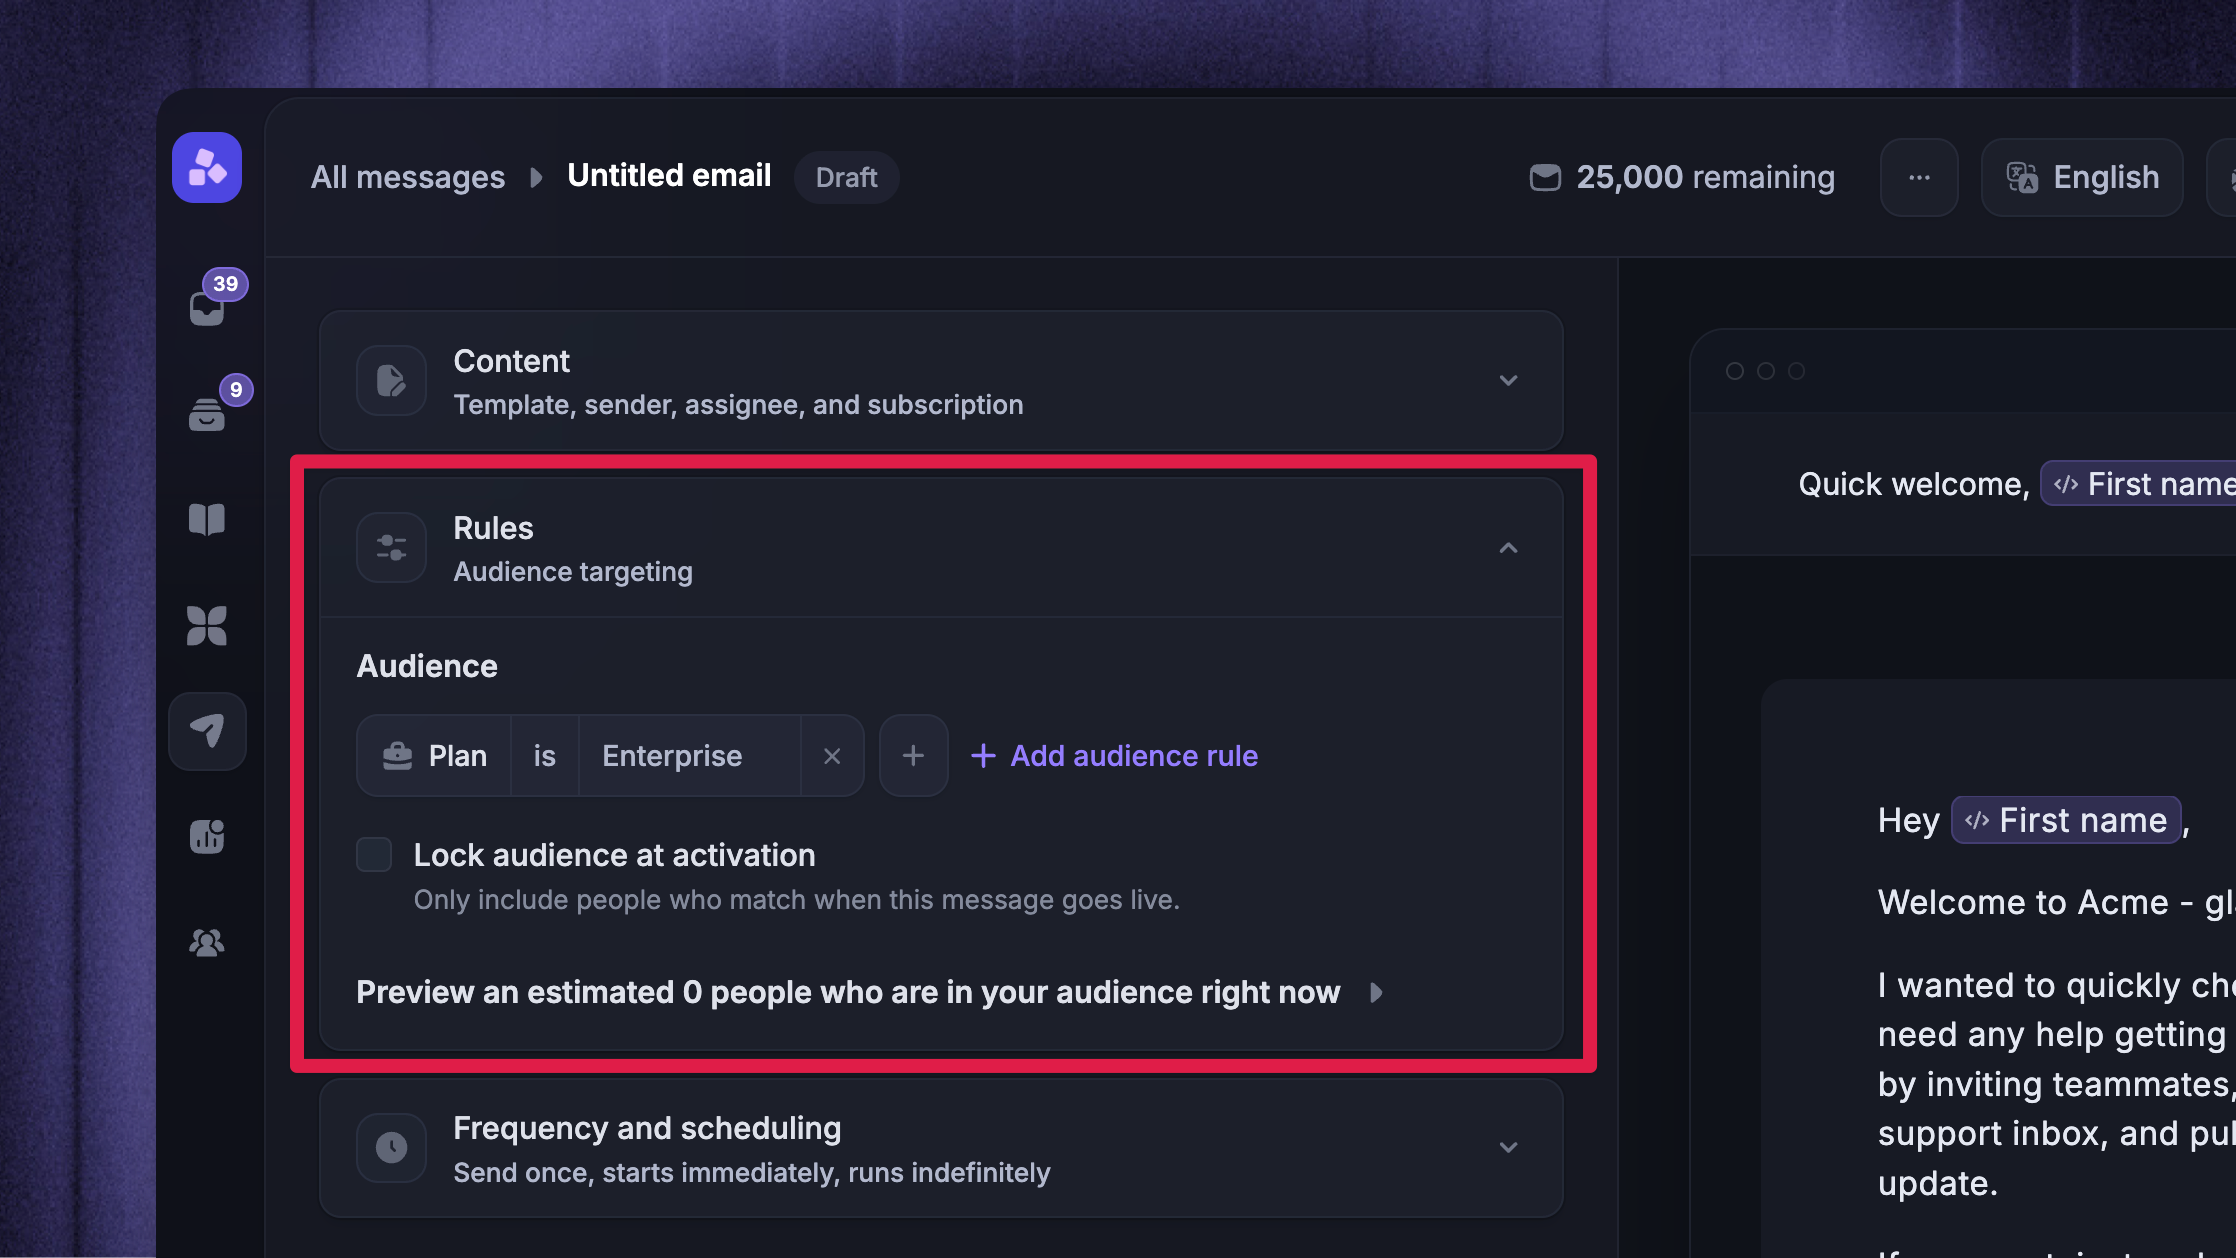
Note: The final sent count can be lower than the audience preview because Featurebase still checks email address, unsubscribe, subscription, and suppression status before sending.
Choose when the email sends
Use Frequency and scheduling to decide when the email should start sending.
For one-off emails, lock the audience and choose whether to send now or schedule the send for later. For ongoing lifecycle emails, keep the audience dynamic and choose a frequency that matches how often users should be eligible to receive the email.
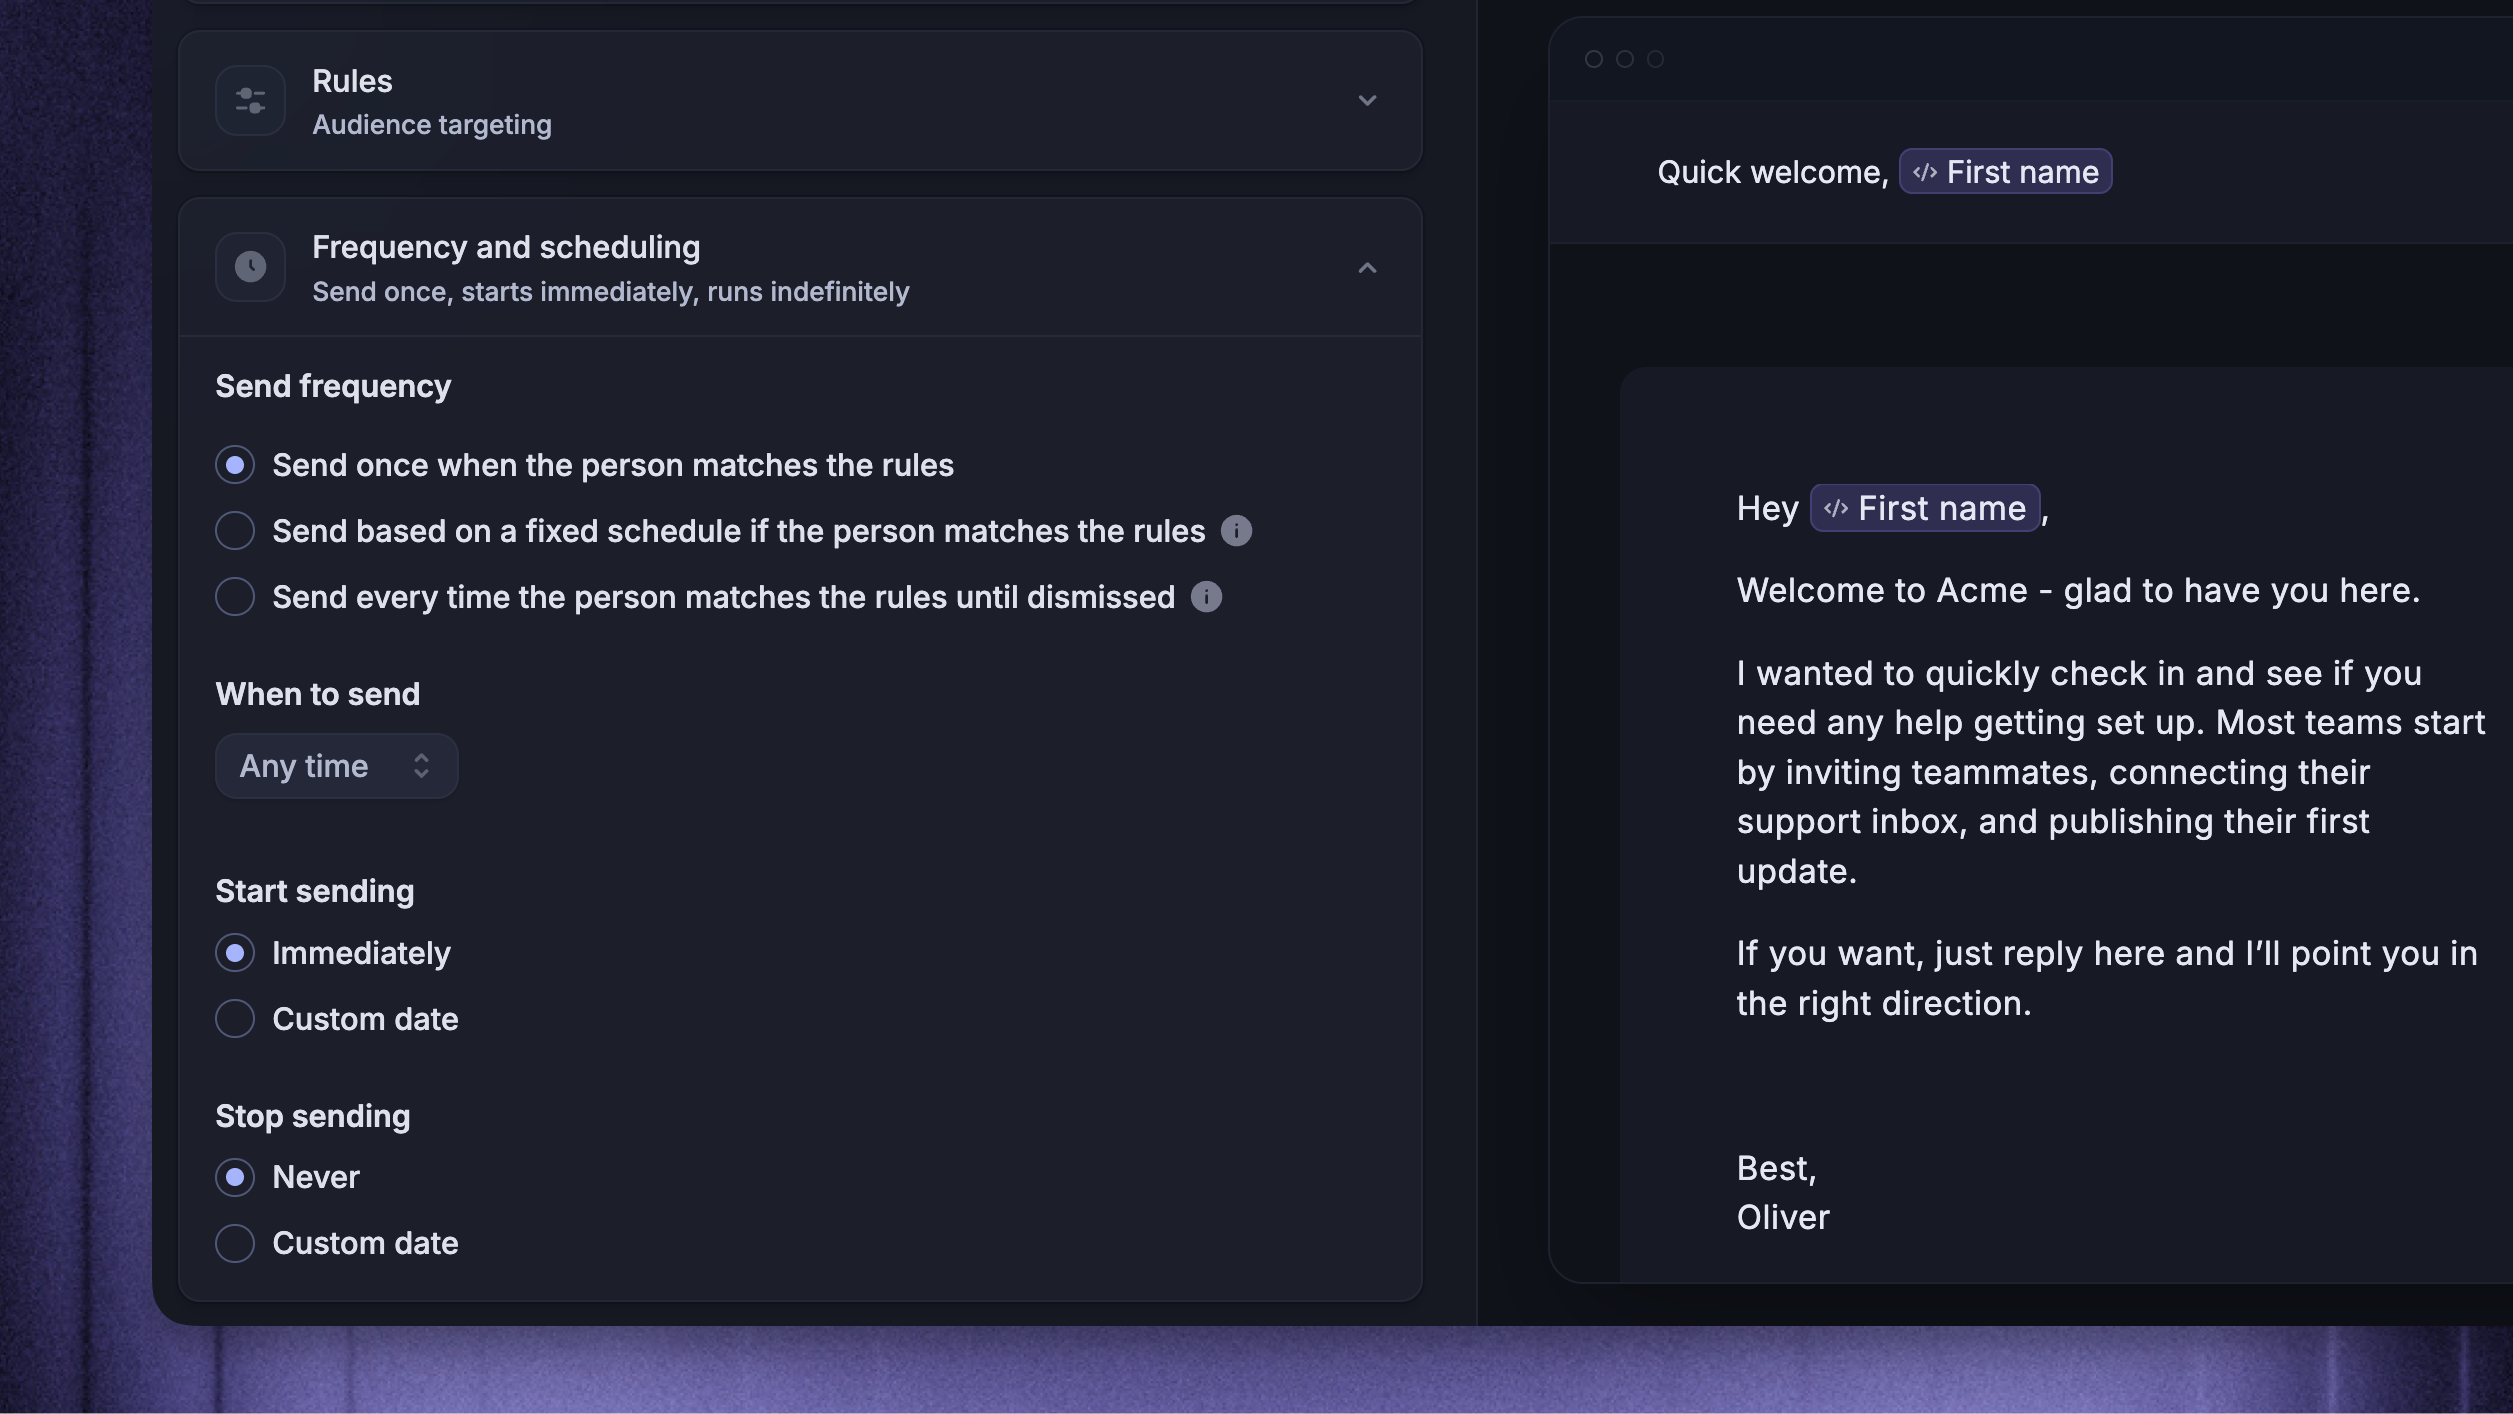
Important: Before you select Set live, schedule, or send an email, Featurebase compares its audience with your available allowance. If the audience is larger than the allowance, it shows the next step available for your workspace. You may need to enable flexible pricing, adjust the hard cap, or complete a higher-cap request form.
Recipients beyond the available allowance are delayed and retried automatically after the allowance resets or the cap is increased.
Preview and send
Before sending, make sure the email has a subject, body, sender, audience, subscription, and schedule.
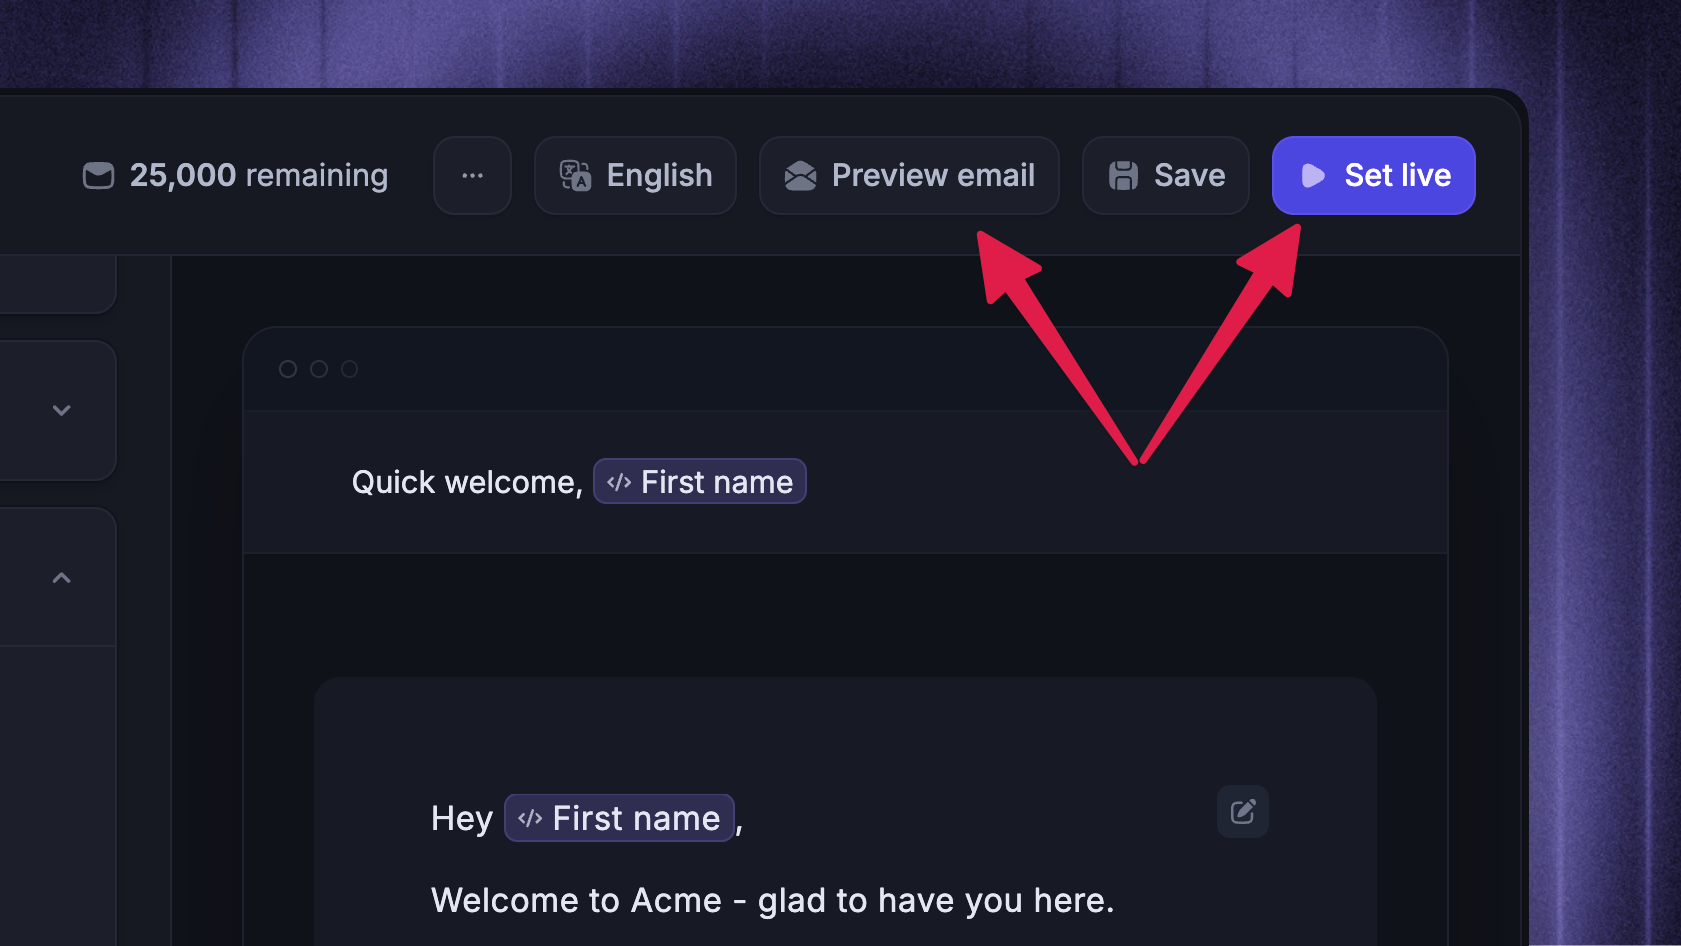
Note: Preview email and customer-facing Outbound Emails are unavailable while initial email-sending access is pending. Emails blocked by this approval requirement are not queued.
This is different from an approved workspace reaching its sending allowance. In that case, recipients beyond the available allowance are delayed and retried automatically after the allowance resets or the cap is increased.
Click Preview email to send a preview to your teammate's email. If you have unsaved changes, Featurebase saves the email before sending the preview.
When you are ready Send/Schedule the email, and you’re done!
Review results
After the email starts sending, use Outbound analytics to review delivery, engagement, and individual recipients' activity.
FAQs
Can I send an Outbound Email to visitors or leads?
Can I send an Outbound Email to visitors or leads?
No. Outbound Emails can only target users. If you want to reach visitors or leads while they are in your product or on your site, choose another Outbound channel, such as Chat, Banner, or Survey.
Can I change an email after it sends?
Can I change an email after it sends?
Emails with locked audiences are one-off sends. After they are sent, they cannot be edited and sent again as the same message.
For ongoing campaigns, use a dynamic audience and pause the message before making changes that should apply to future sends.
Was this helpful?
Still need help? Ask the team