Customer opens a new conversation in the Messenger
How to triage new inbound conversations with workflows for faster, more personal support.
Written By Markus from Featurebase
Last updated 9 months ago
Overview
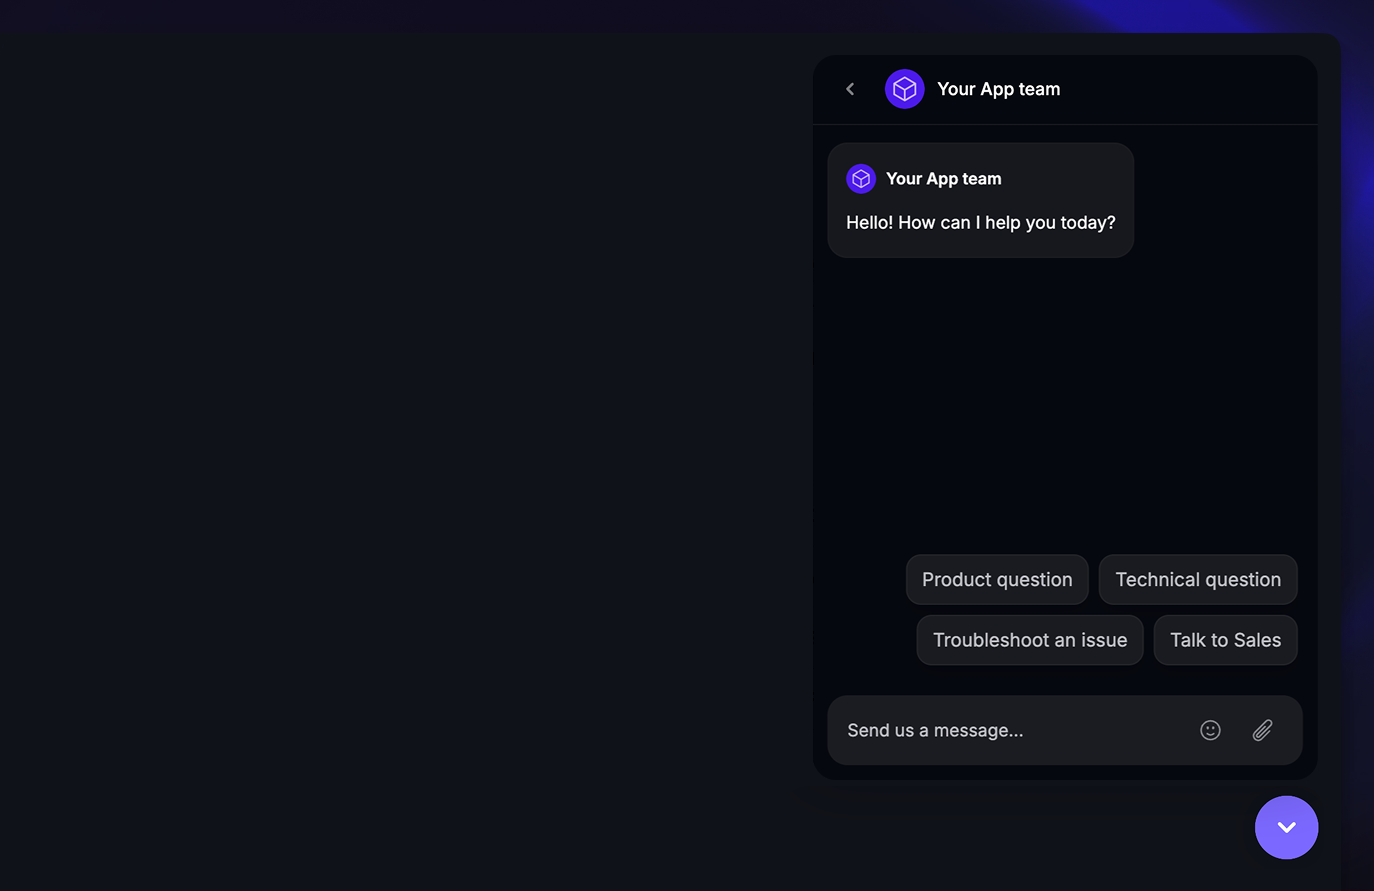
Trigger a workflow when a customer opens a new conversation in the Messenger and accelerate your support by automating initial interactions.
You can use it to collect key details up front, offer self-service options, and route conversations to the right teams - all before a teammate gets involved.
For example, if most of your conversations are support requests, feature requests, or bug reports, you can create quick replies for each option. The workflow can then collect additional info and assign the conversation accordingly.
Tip: If your suggested replies don’t cover every scenario, customers can still type their own message in the composer.
Common use cases
Triage incoming conversations: Collect details up front and send them to the right team
Self-service support: Let customers resolve common issues with quick-reply options or guided paths
Qualify leads: Collect data like email or account type before routing to sales
Contextual replies: Trigger workflows only on certain pages, like your pricing or setup guide
Product-specific routing: Assign messages based on which product or service the customer selects
Get started

Go to Automations → Workflows
Click + New Workflow in the top-right corner.
You can either:
Use a prebuilt template like “Triage issues to teams”, or
Choose Create from scratch and select the trigger “When customer opens a new conversation in the Messenger”
Tip: Prebuilt templates can be customized, but they provide a quick framework to get started.
Configure trigger settings

First, configure the Trigger settings of this workflow to decide:
When to send (e.g. current page URL contains /pricing)
Audience (e.g. users, visitors, specific customer segments like paying customers)
Scheduling (e.g. always, or only during/outside of office hours)
When finished, click Save and close to start building your workflow.
Build your workflow

Now you can start building your Workflow:
Add the welcome message & reply buttons – Start your first path with a clear question that helps customers choose what they need help with. Simply click a reply button to edit the text
You don’t need to cover every possible scenario - customers can still write a reply in the composer if none of the options fit
You can also disable this option to prevent customers from typing freely
Add new paths – Direct users down new paths based on their replies. Each path can collect more information or provide an answer. Click the + beside each reply button to add a new path
Ask for additional data – Use these paths to ask for more details or share quick answers. For example, one path could guide customers through exporting their data
When requesting details, you can allow customers to type freely (or attach images), or collect data as a standard or custom attribute
Click + Add step below the message to include these fields
Attributes can only be added once by your customer. If a value already exists for the attribute, only a teammate can change it
Add follow-up actions – If a workflow path ends with actions, you can tag conversations, assign to teams, close conversations, or trigger other automations
Set it live – When ready, scroll to the top to save and set your workflow live
Examples
High-level product categorization
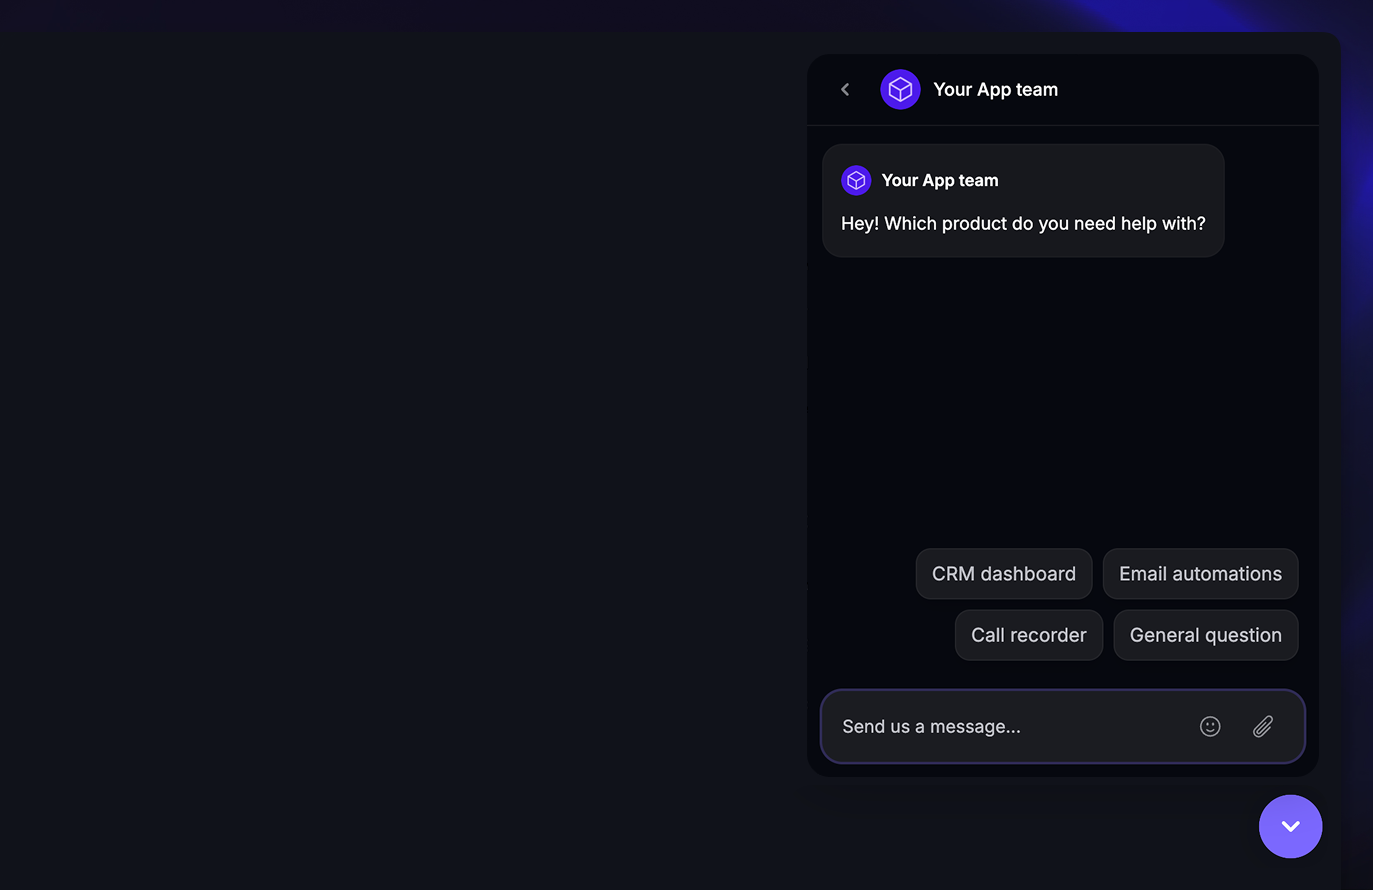
If your company offers multiple products or services, let customers choose which product they need help with. This ensures the right teammate receives the conversation with all relevant context.
Surface contextual information
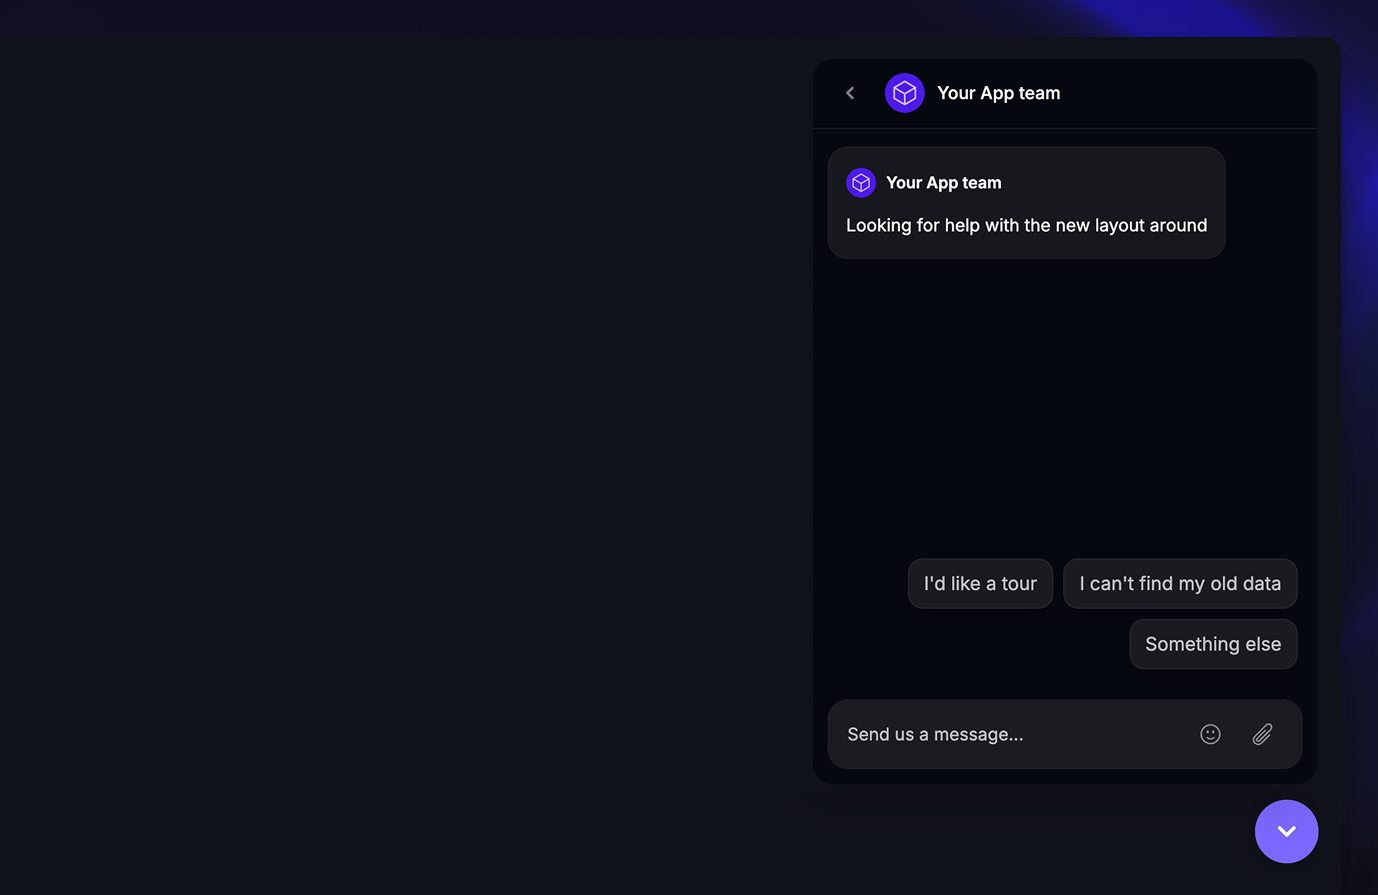
Use workflows to proactively address common questions caused by events like
Product updates or layout changes
Scheduled maintenance or outages
Seasonal spikes in specific inquiries
Proactively surfacing this information helps reduce volume and keeps customers informed.