Support your customers
This is your one-stop guide to getting started with the support inbox to help your customers from anywhere and automate support with AI.
Written By Markus from Featurebase
Last updated 9 days ago
Overview
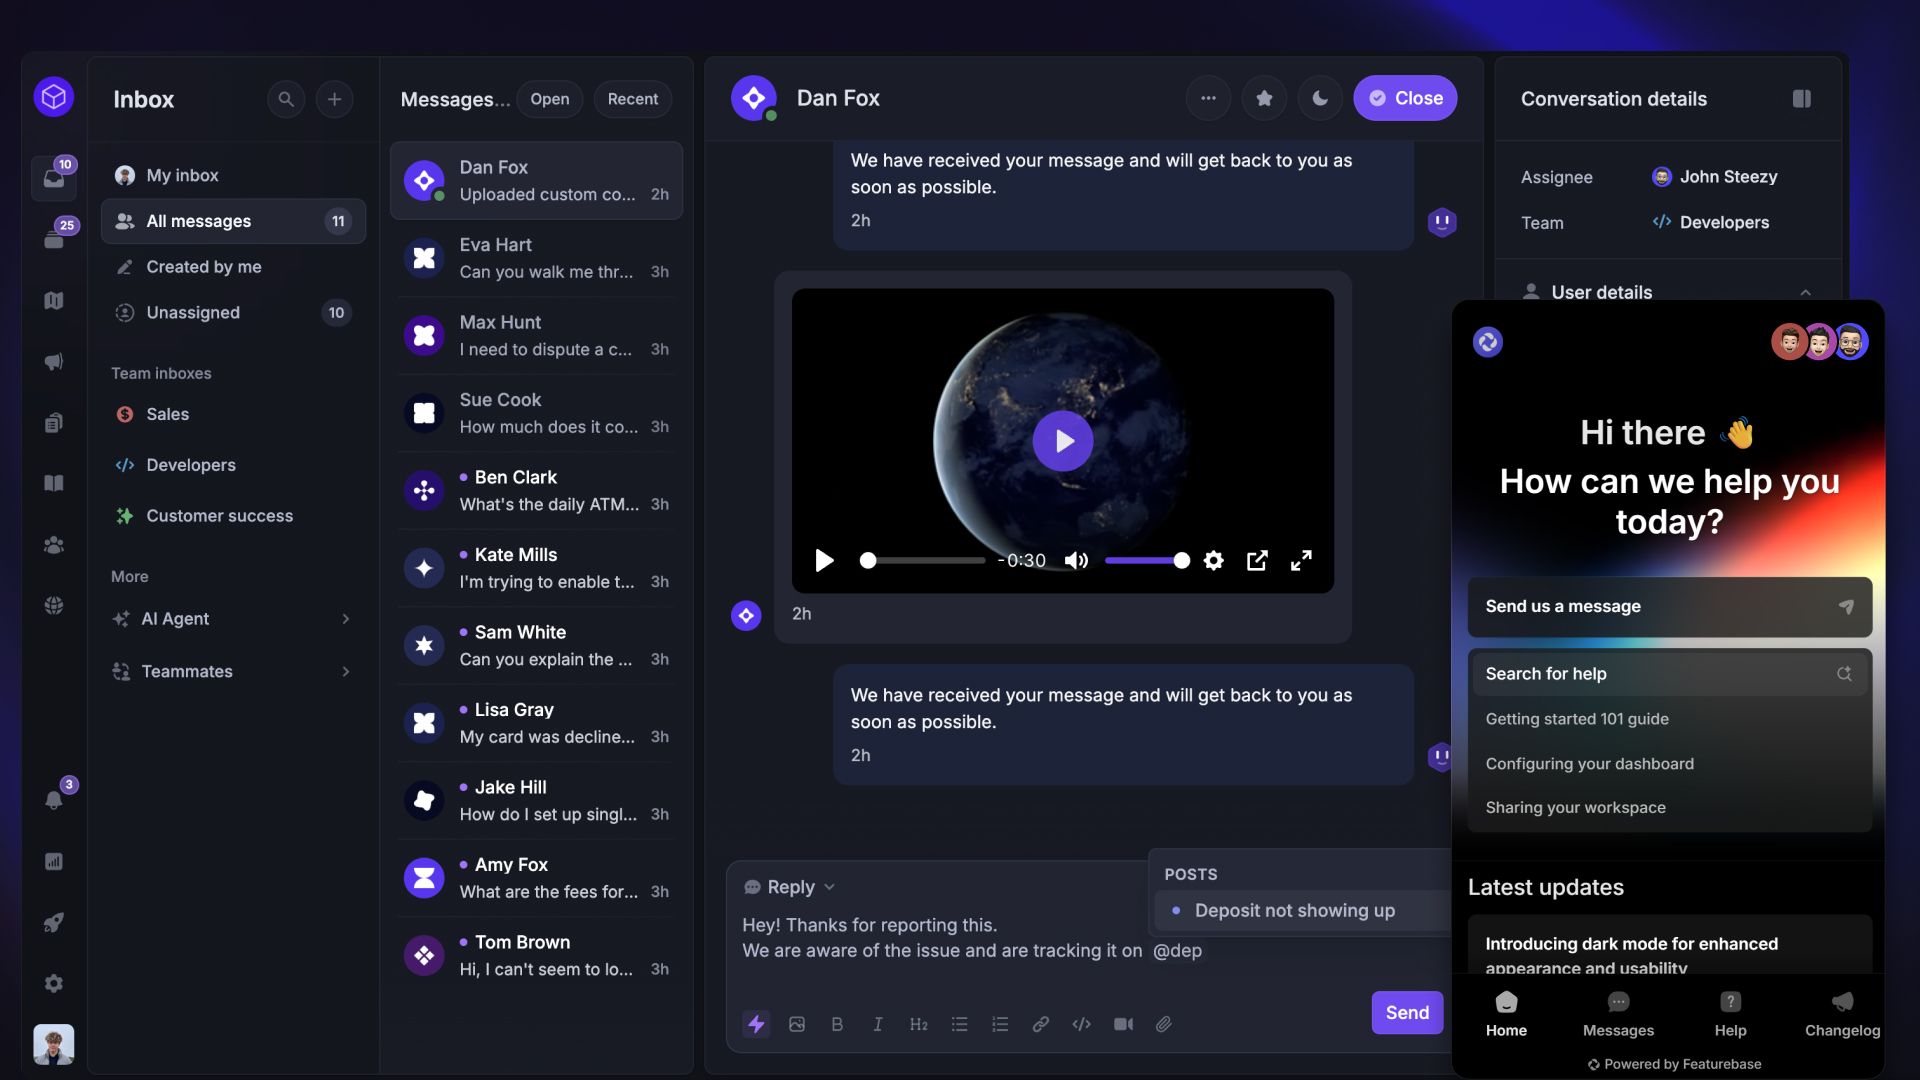
The Support Inbox enables you to help your customers from anywhere and automate support with AI agents. It comes with powerful ecosystem advantages: you can instantly draft AI replies, turn messages into feedback posts, reference relevant help articles, and more – all in one tool.
Our support platform also features one of the most customizable Messenger widgets on the market, enabling you to deliver the best support experience directly within your product.
Emails
1. Sending emails from Featurebase
Set up a custom email sending address (e.g. support@yourcomapny.com) to use email follow-ups with the live chat, ensure high deliverability on notification emails, and improve personalization for all of your emails.
Learn to set it up: Custom email sending address
NB! Support Inbox emails require custom sending domains to function. Without them, customers won't receive your response emails when they’re not in your app!
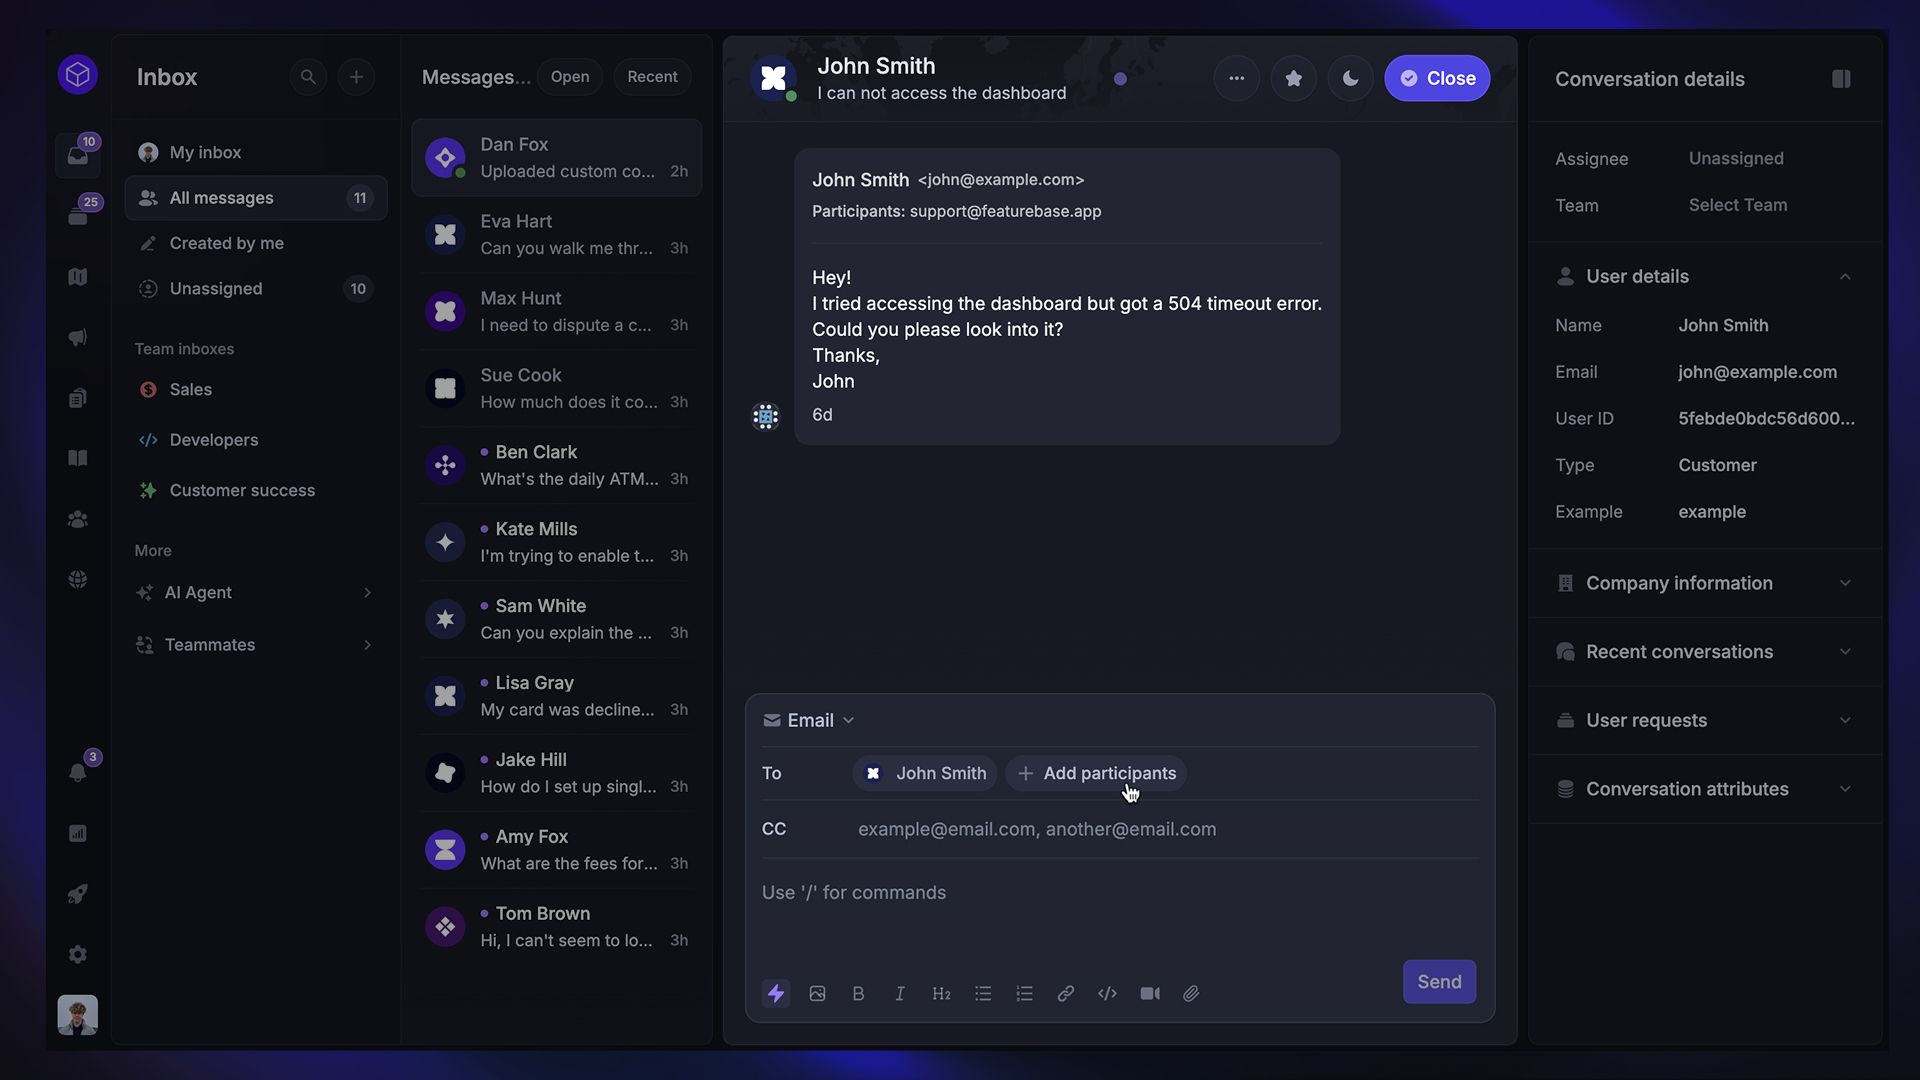
2. Receiving support emails in Featurebase
Want to enable customers to contact you via support email (e.g. support@yourcompany.com) directly inside the Featurebase Inbox? You can forward incoming emails to your Inbox and centralize all support in one place – ready to assign, respond to, and organize just like any other message.
Learn to set it up: Automatically forward emails to the Support Inbox
Messenger
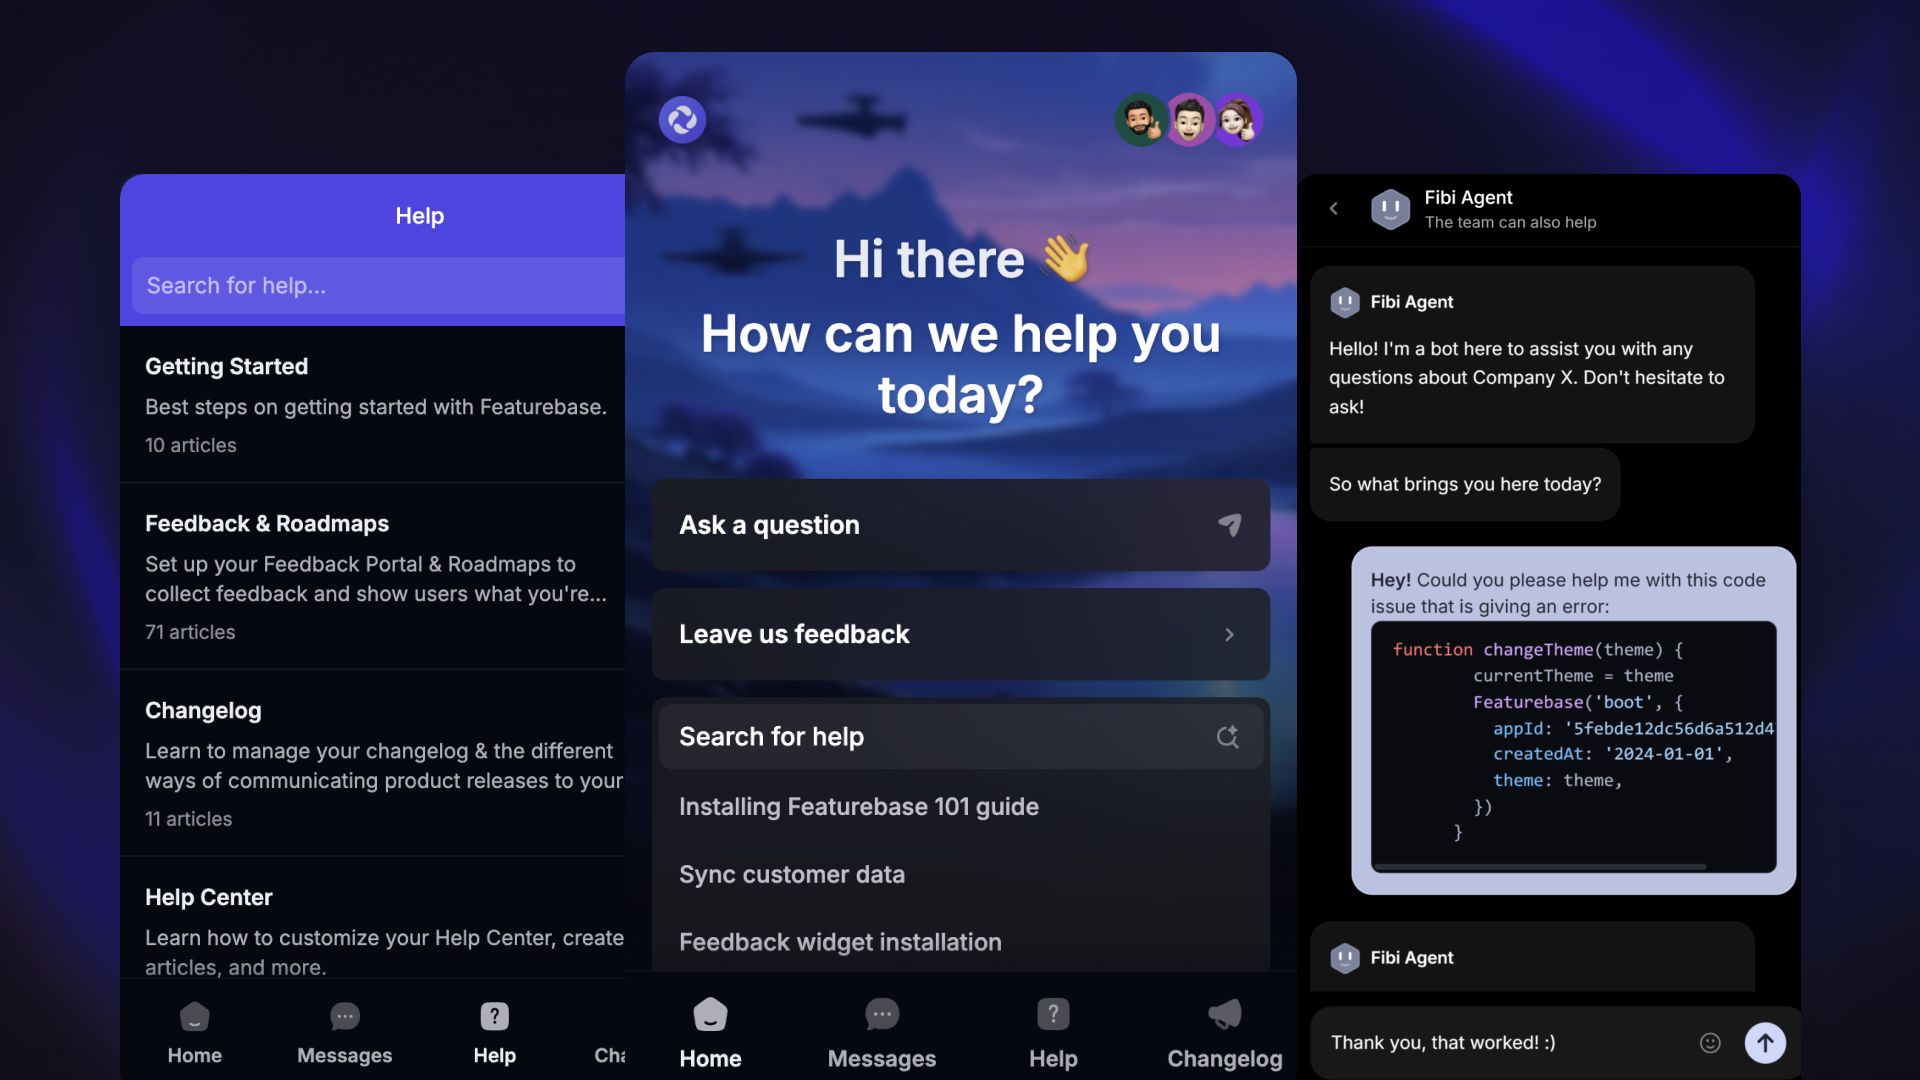
Provide frictionless support directly from your product, with Messenger, which allows your customers to chat with you, view help articles, access Updates, submit feedback, and more.
1. Install Messenger
To use Messenger, you must first install it on your website or webapp. This should take around 10 minutes to set up for an engineer. If you're uncomfortable with this, share this guide with a technical team member who can assist.
Learn more and get started here: Messenger Installation
2. Customize Messenger
The Messenger supports a multi-brand setup with a ton of customizations, including colors, separate themes for light and dark modes, and the option to choose which tabs appear at the bottom. It can also be fully translated to appear in your customers’ language automatically.
Learn more and get started here: Set up & customize the Messenger
Inbox
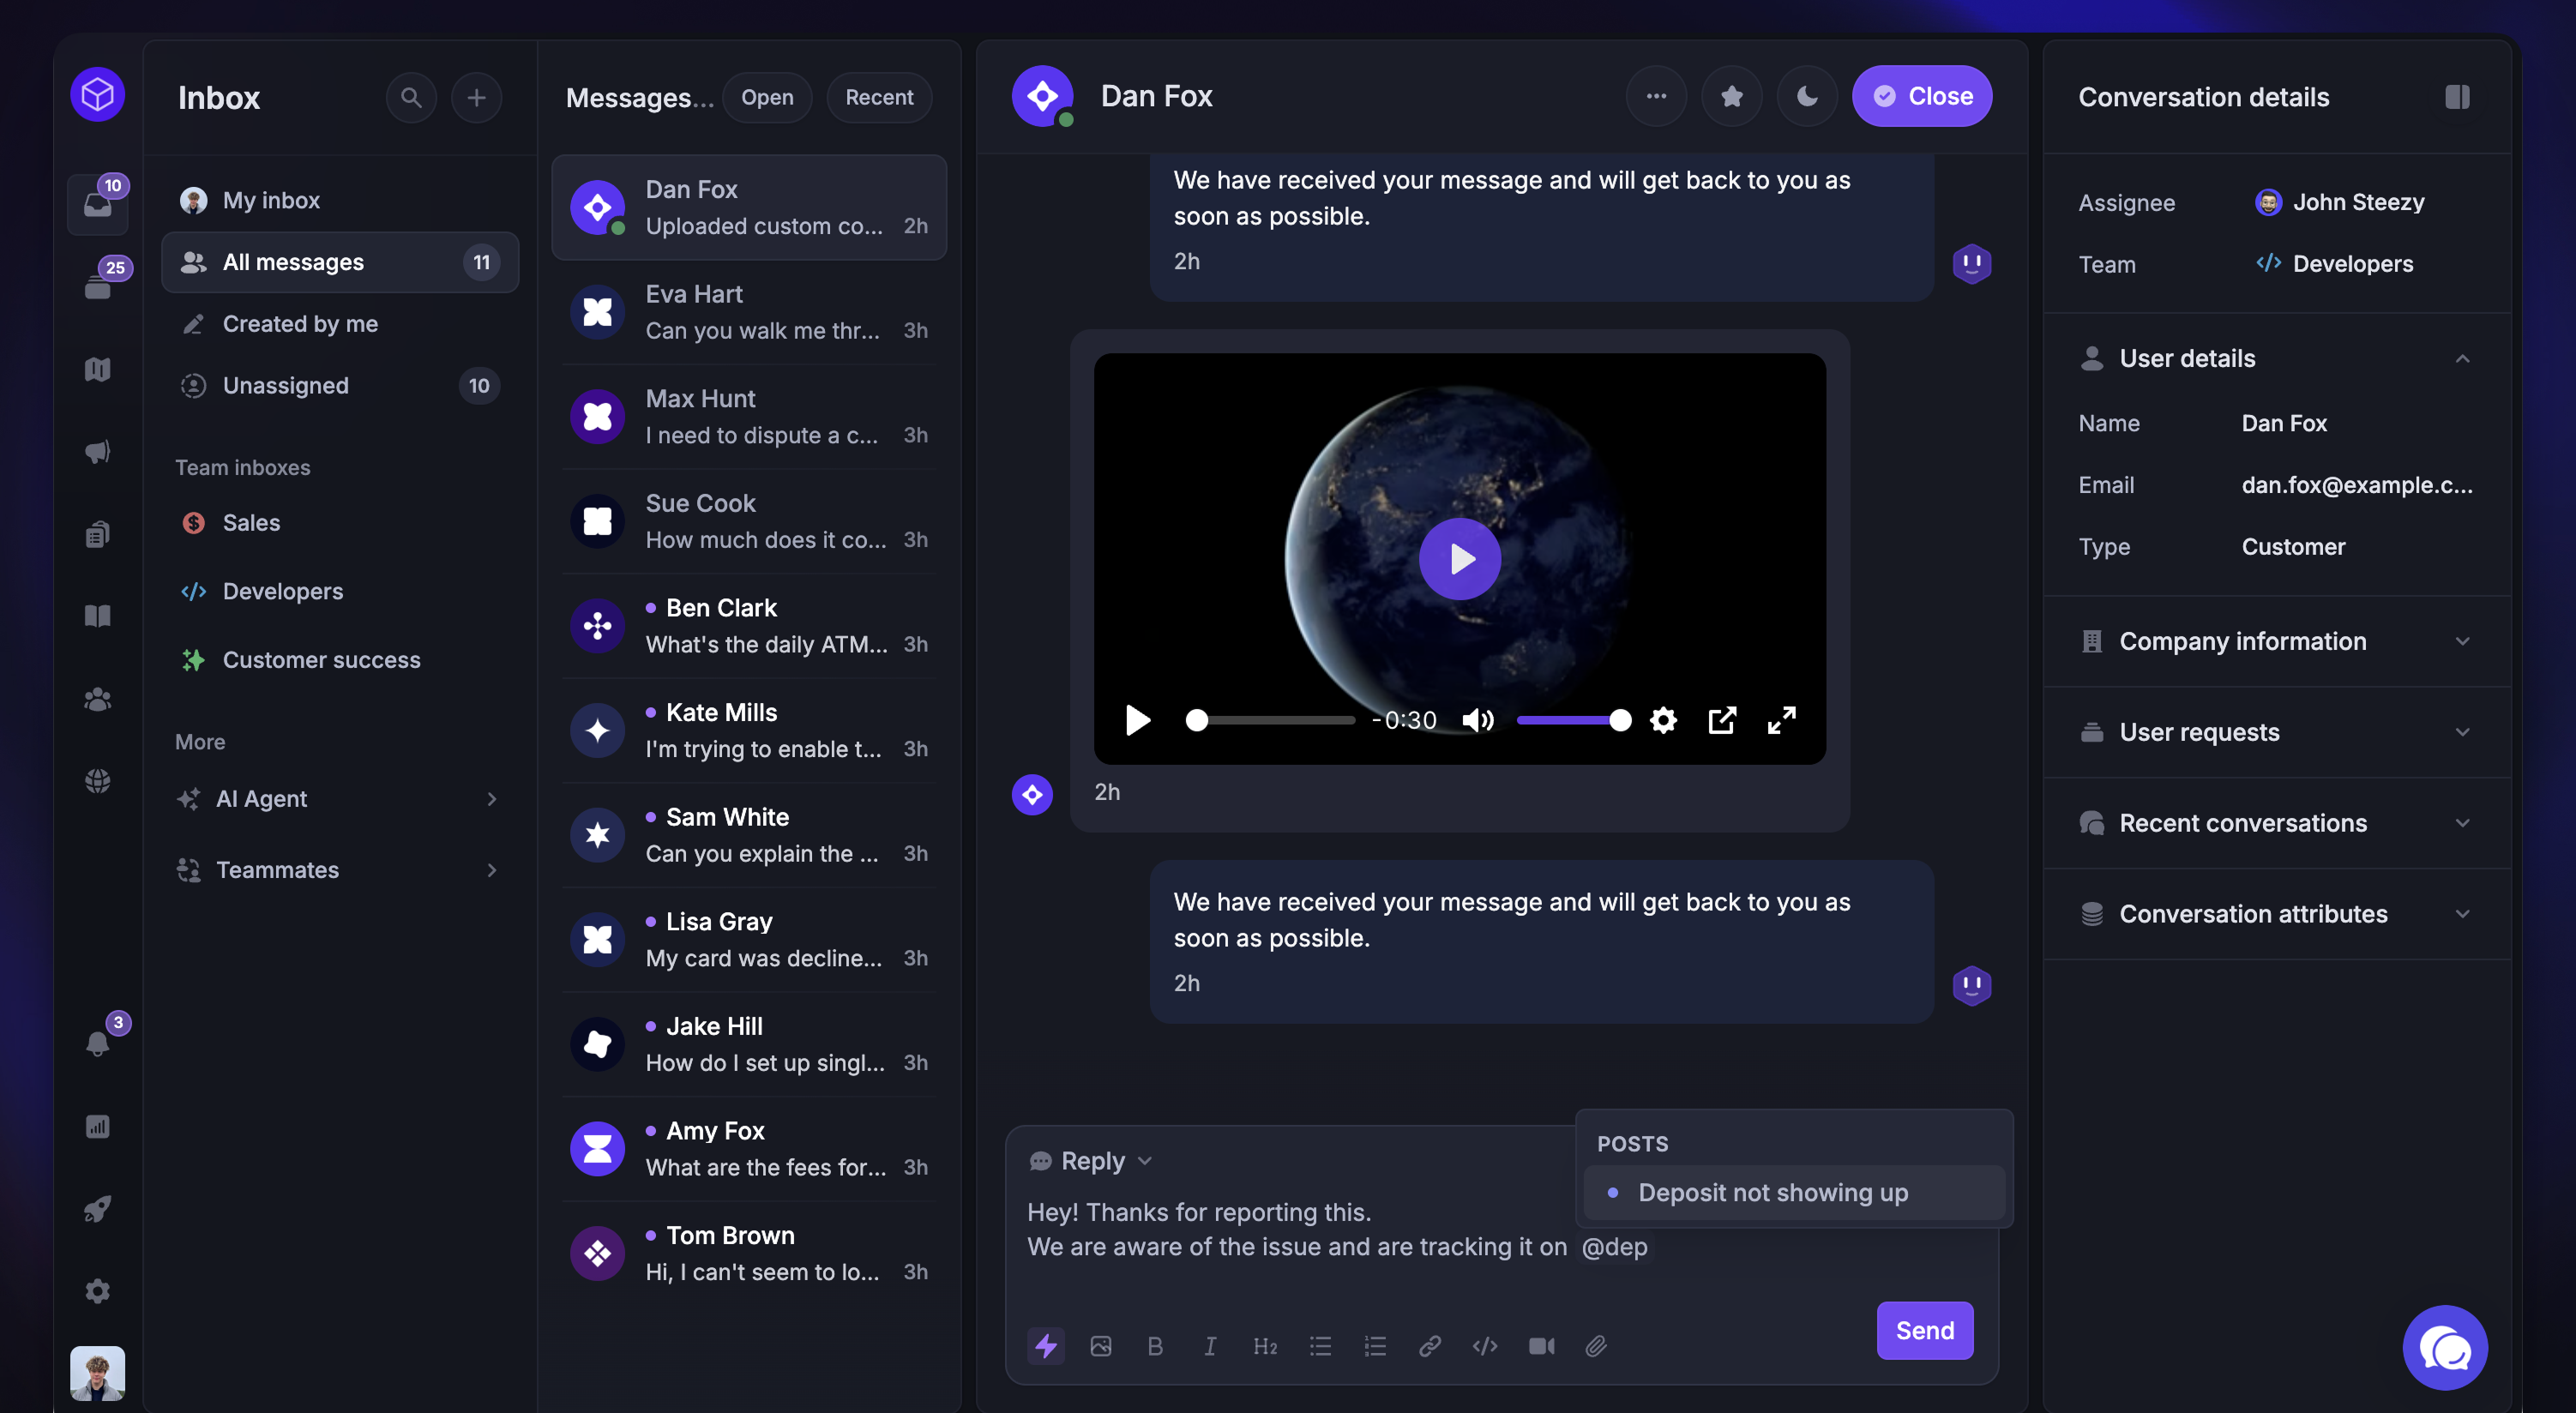
The Support Inbox is built to help your team respond faster, collaborate smarter, and automate your support with AI workflows.
It combines intuitive design, lightning-fast performance, AI tools, and deep integration with the entire Featurebase ecosystem. You can instantly draft AI replies, turn messages into feedback posts, reference relevant help articles, and more – all without switching tools.
1. General setup
Learn to set up the basics of the Featurebase Inbox to make it feel like home and better manage customers’ expectations:
2. Personal configurations
Every teammate in your Featurebase workspace can choose their own unique combination of apps and information to display on the inbox, so your support team can easily troubleshoot issues or report bugs, and your sales team can set up demos or start trials for new customers.
Fibi AI Agent
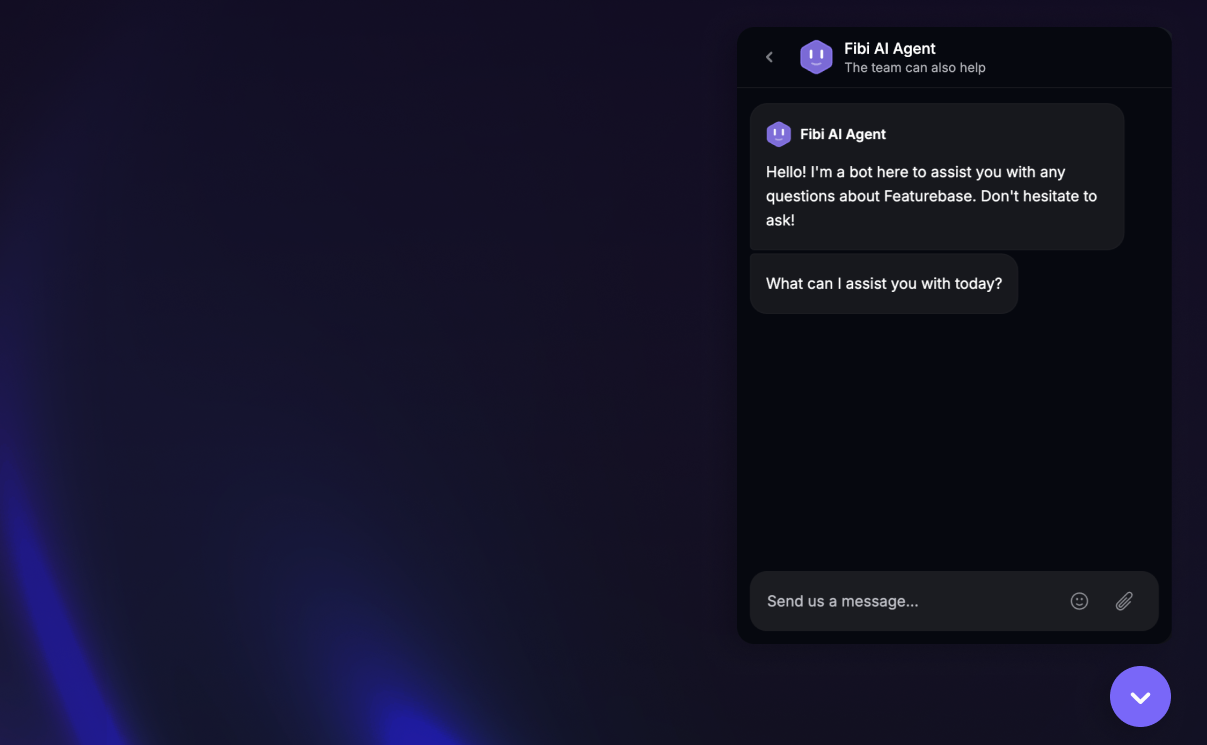
Featurebase’s Support platform comes with the Fibi AI Agent, who can automatically resolve customer questions and run custom workflows like extending trials, offering discounts, and much more – all without you lifting a finger.
In addition to learning from your existing conversations, Fibi has full context from your entire Featurebase workspace: Help Center articles, Customer requests, Updates, Roadmaps, and more. That means it knows which features are live, which bugs are already reported, and what updates are coming – so every reply is accurate, relevant, and actually helpful.
1. Add knowledge
To help Fibi better answer your customers, it’s important to set up your Help Center and add any custom external knowledge if needed:
2. Set up custom actions
Custom actions are one of the most powerful ways to make the Fibi more useful for your customers. You can create completely custom workflows like auto-extending trials with external APIs to save time on your support loads.
Learn to set it up: Custom Fibi actions (Beta)
Workflows
✨ Get started with Workflows from Automations → Workflows
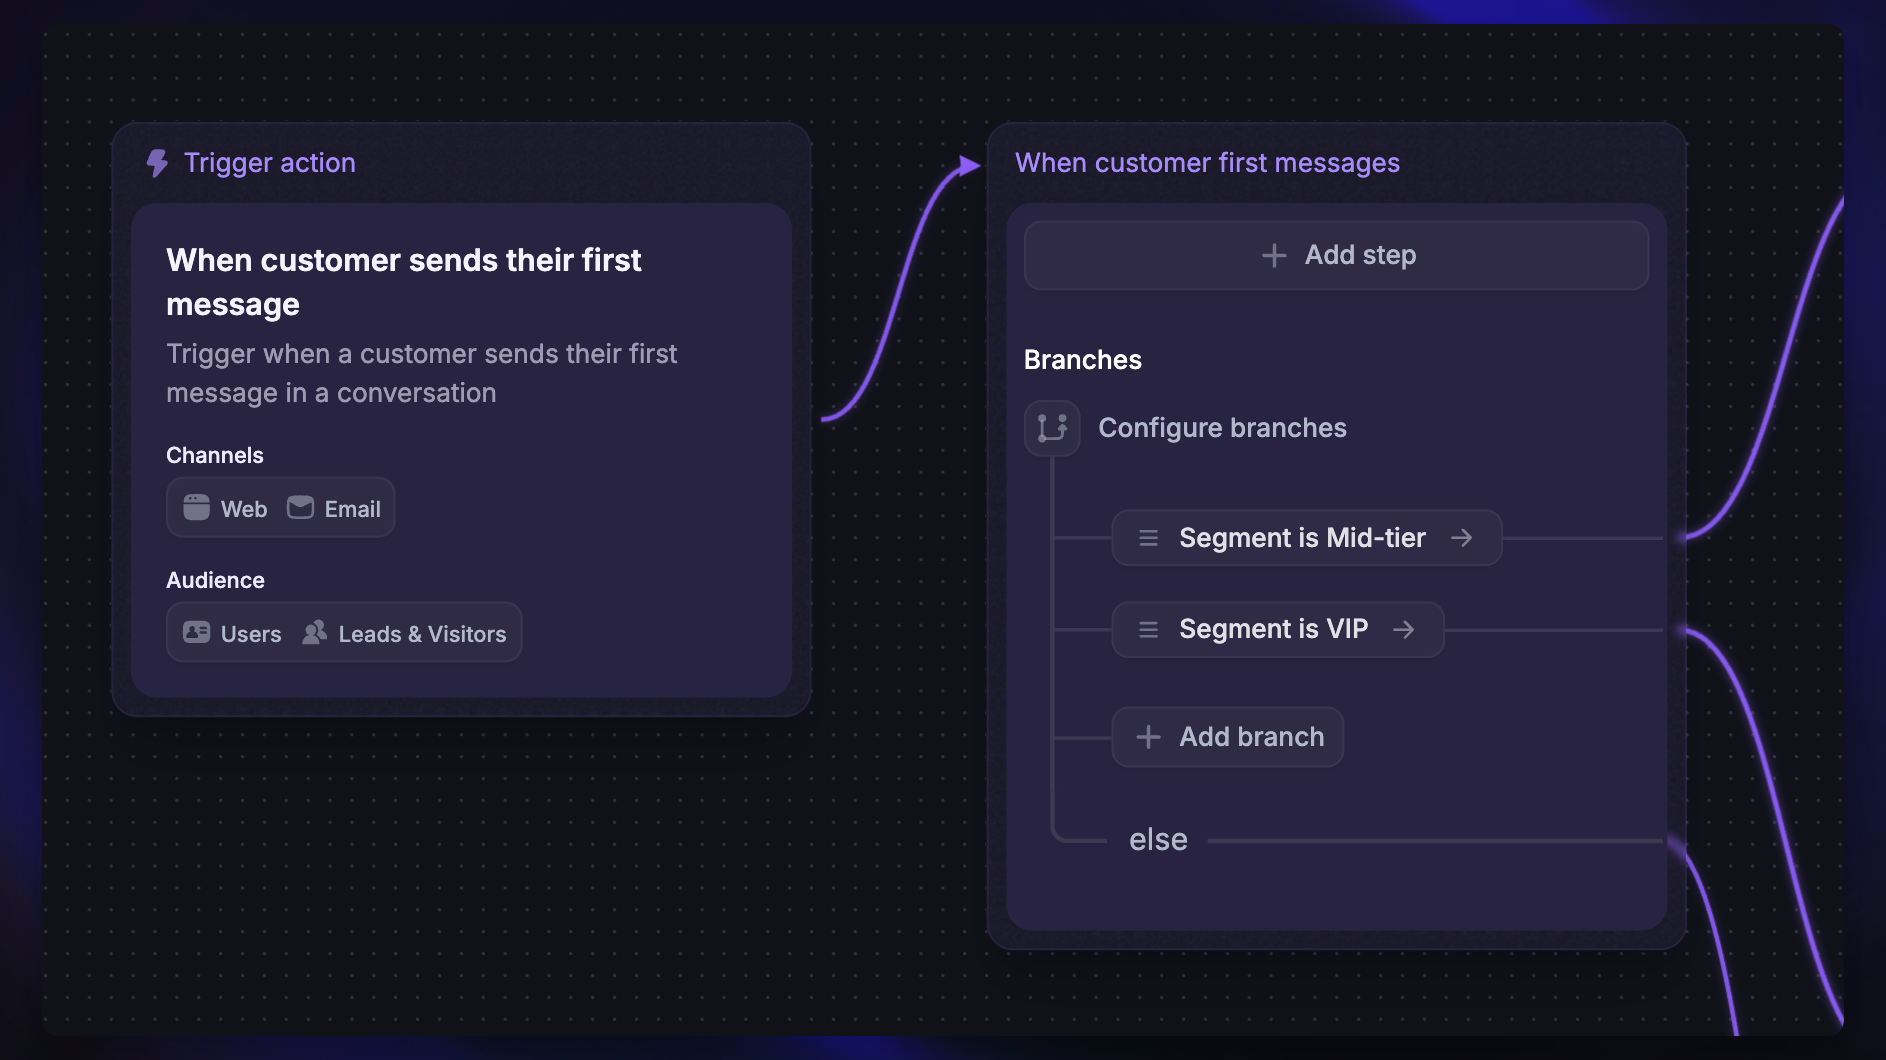
Workflows let you automate repetitive support tasks for your team with a no-code visual builder - right inside Featurebase. Triage, tag, and route conversations instantly, and add Fibi AI Agent to your Workflows to create a personalized customer experience.
Some popular examples include:
Auto-route new tickets to the right team
Auto-snooze inactive chats
Trigger onboarding messages
Prioritize urgent issues mentioning “bugs”
Set auto replies to support emails
Send CSAT surveys after a resolution
Keep track of SLAs
And much more... to 10x your support team's productivity. Create your first Workflow by following this guide: Getting started with workflows
More on supporting your customers: