Email auto replies
Set up automatic replies to emails to set response time expectations and much more.
Written By Markus from Featurebase
Last updated 3 months ago
Overview

With email auto replies, you can automatically reply to new inbound email conversations using a customized message. This lets customers know their email has been received and sets clear expectations for when they’ll get a response.
You can set up email auto replies using Workflows, enabling very powerful and flexible automations. When you select Email as a channel, you can send an auto reply when a customer sends their first message. You can also tag, assign, route, or let Fibi AI answer emails, as well as show reply time expectations.
Tip: We recommend creating a dedicated workflow for email since functionality on this channel is limited. If you select Email alongside other channels, only email-compatible actions and paths will be available.
Common use cases
Send an automatic confirmation when a customer emails your support inbox
Set reply time expectations to manage customer satisfaction
Route incoming messages to the right teammate or team
Let Fibi AI reply to emails that your team is copied on (Cc)
Create conditional replies based on which email address the customer contacted
Set your email auto reply
Go to Automations → Workflows
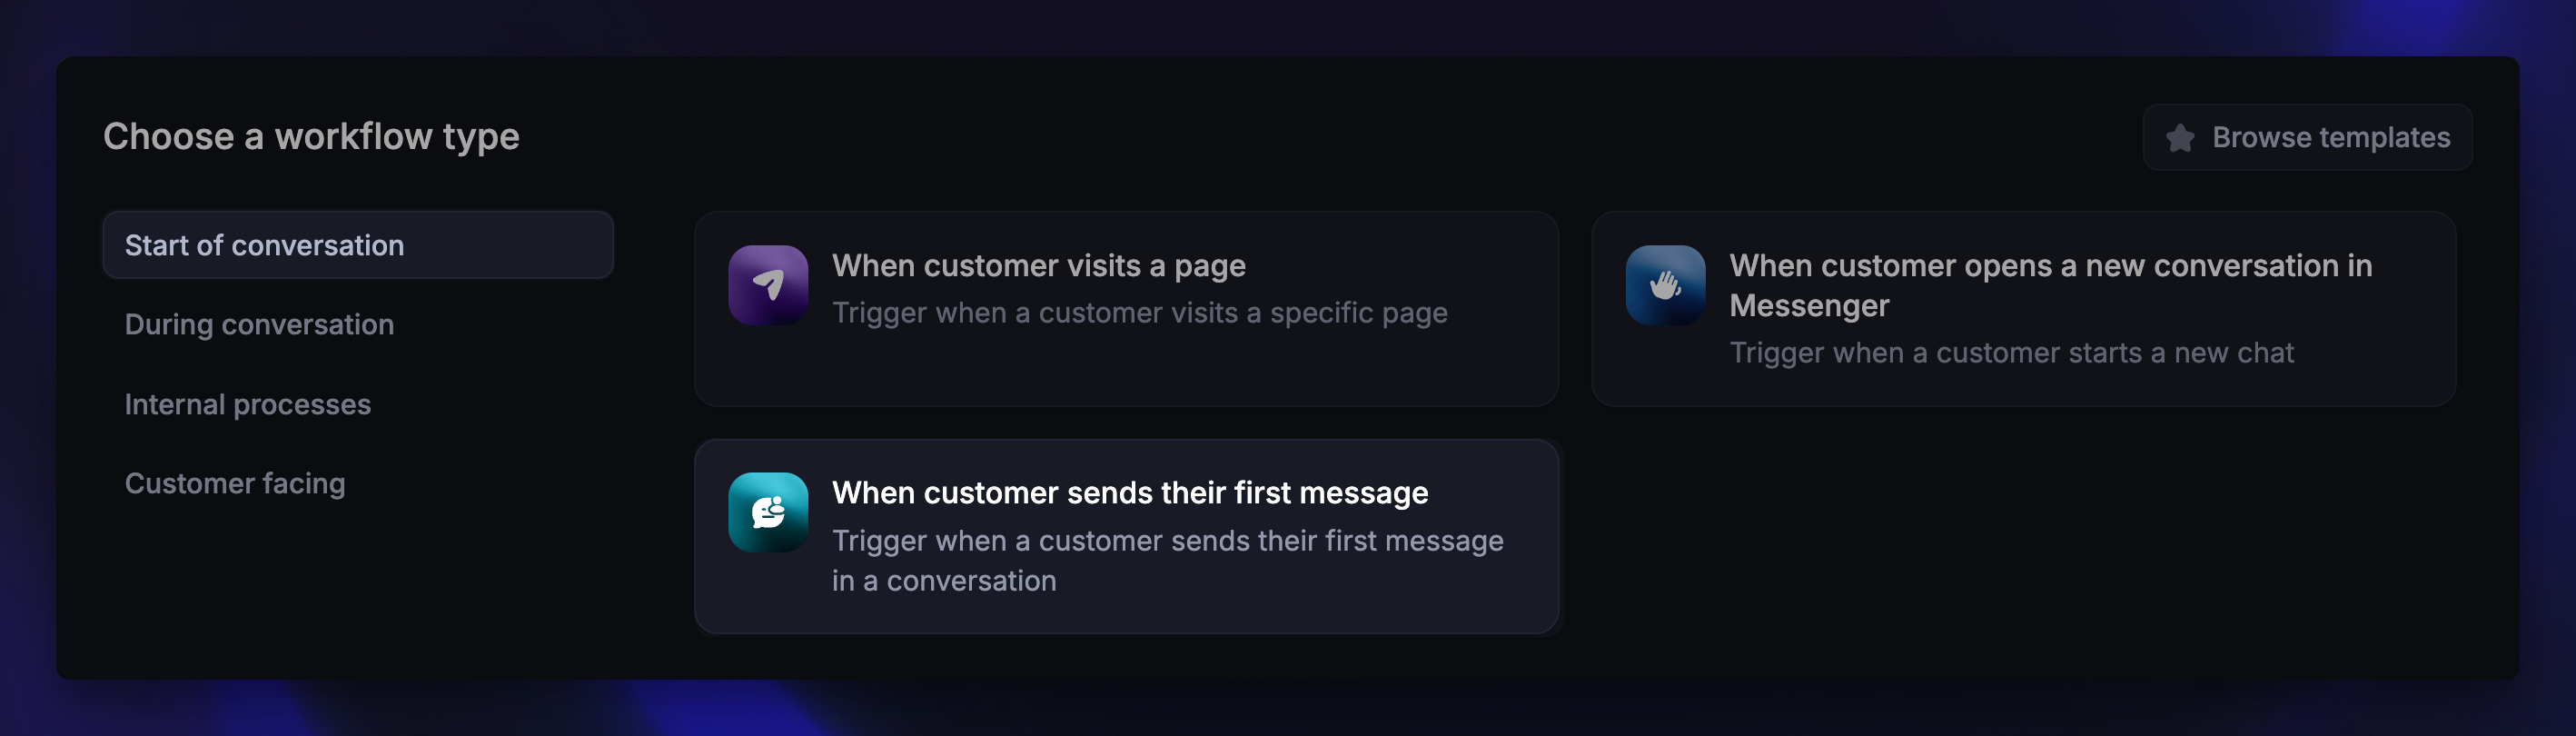
Click + New Workflow and choose Create from scratch
Select the trigger ‘When customer sends their first message’
Configure trigger settings

First, configure the Trigger settings of this workflow:
Under Workflow channels, select only Email
Configure the remaining trigger settings:
Audience - Define who this workflow applies to (e.g. specific customer segments or only if a certain email is Cc’d)
Scheduling - Choose when it runs (e.g. during or outside office hours)
Email filters
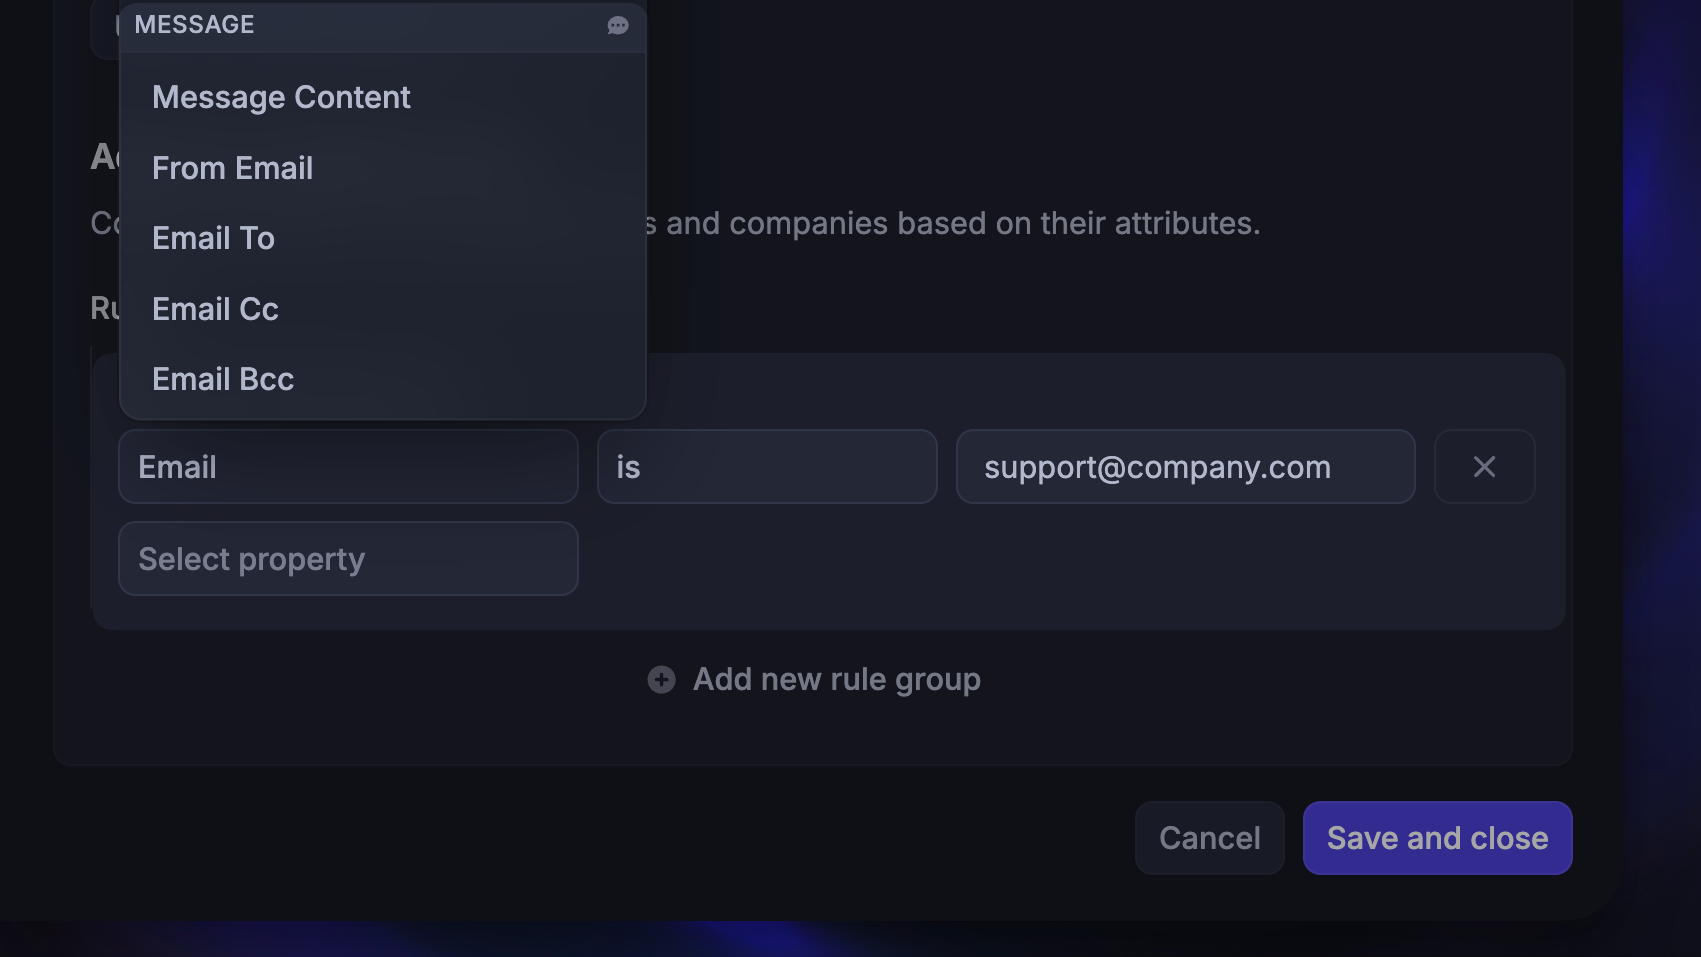
Email-specific predicates help you control when your workflow triggers and which emails it applies to:
Email to - Triggers only when the address is in the
Tofield.Email Cc - Triggers only when the address is in the
Ccfield.Email Bcc - Triggers only when the address is in the
Bccfield.
You can also use the email filters to create branches within workflows to trigger conditional logic.

Build your workflow

Now you can start building your Workflow:
Add branching logic – Use the Email to filter to send different auto replies depending on which inbox the customer contacted (e.g. support@yourcompany.com vs billing@yourcompany.com)
Add an auto reply message - Start with a simple confirmation email. You can include text, emoji, attachments, images, or even videos
Show expected reply time - Add this action to let customers know when to expect a response
Add follow-up actions - Tag the conversation, assign it to a team, or close it after replying
Example: Use the Email to predicate to send different auto replies depending on which inbox the customer contacted (e.g. support@ vs billing@):
By default, successive workflow and automation messages would be sent as a single consolidated email to the end user:


Enable Fibi AI over email
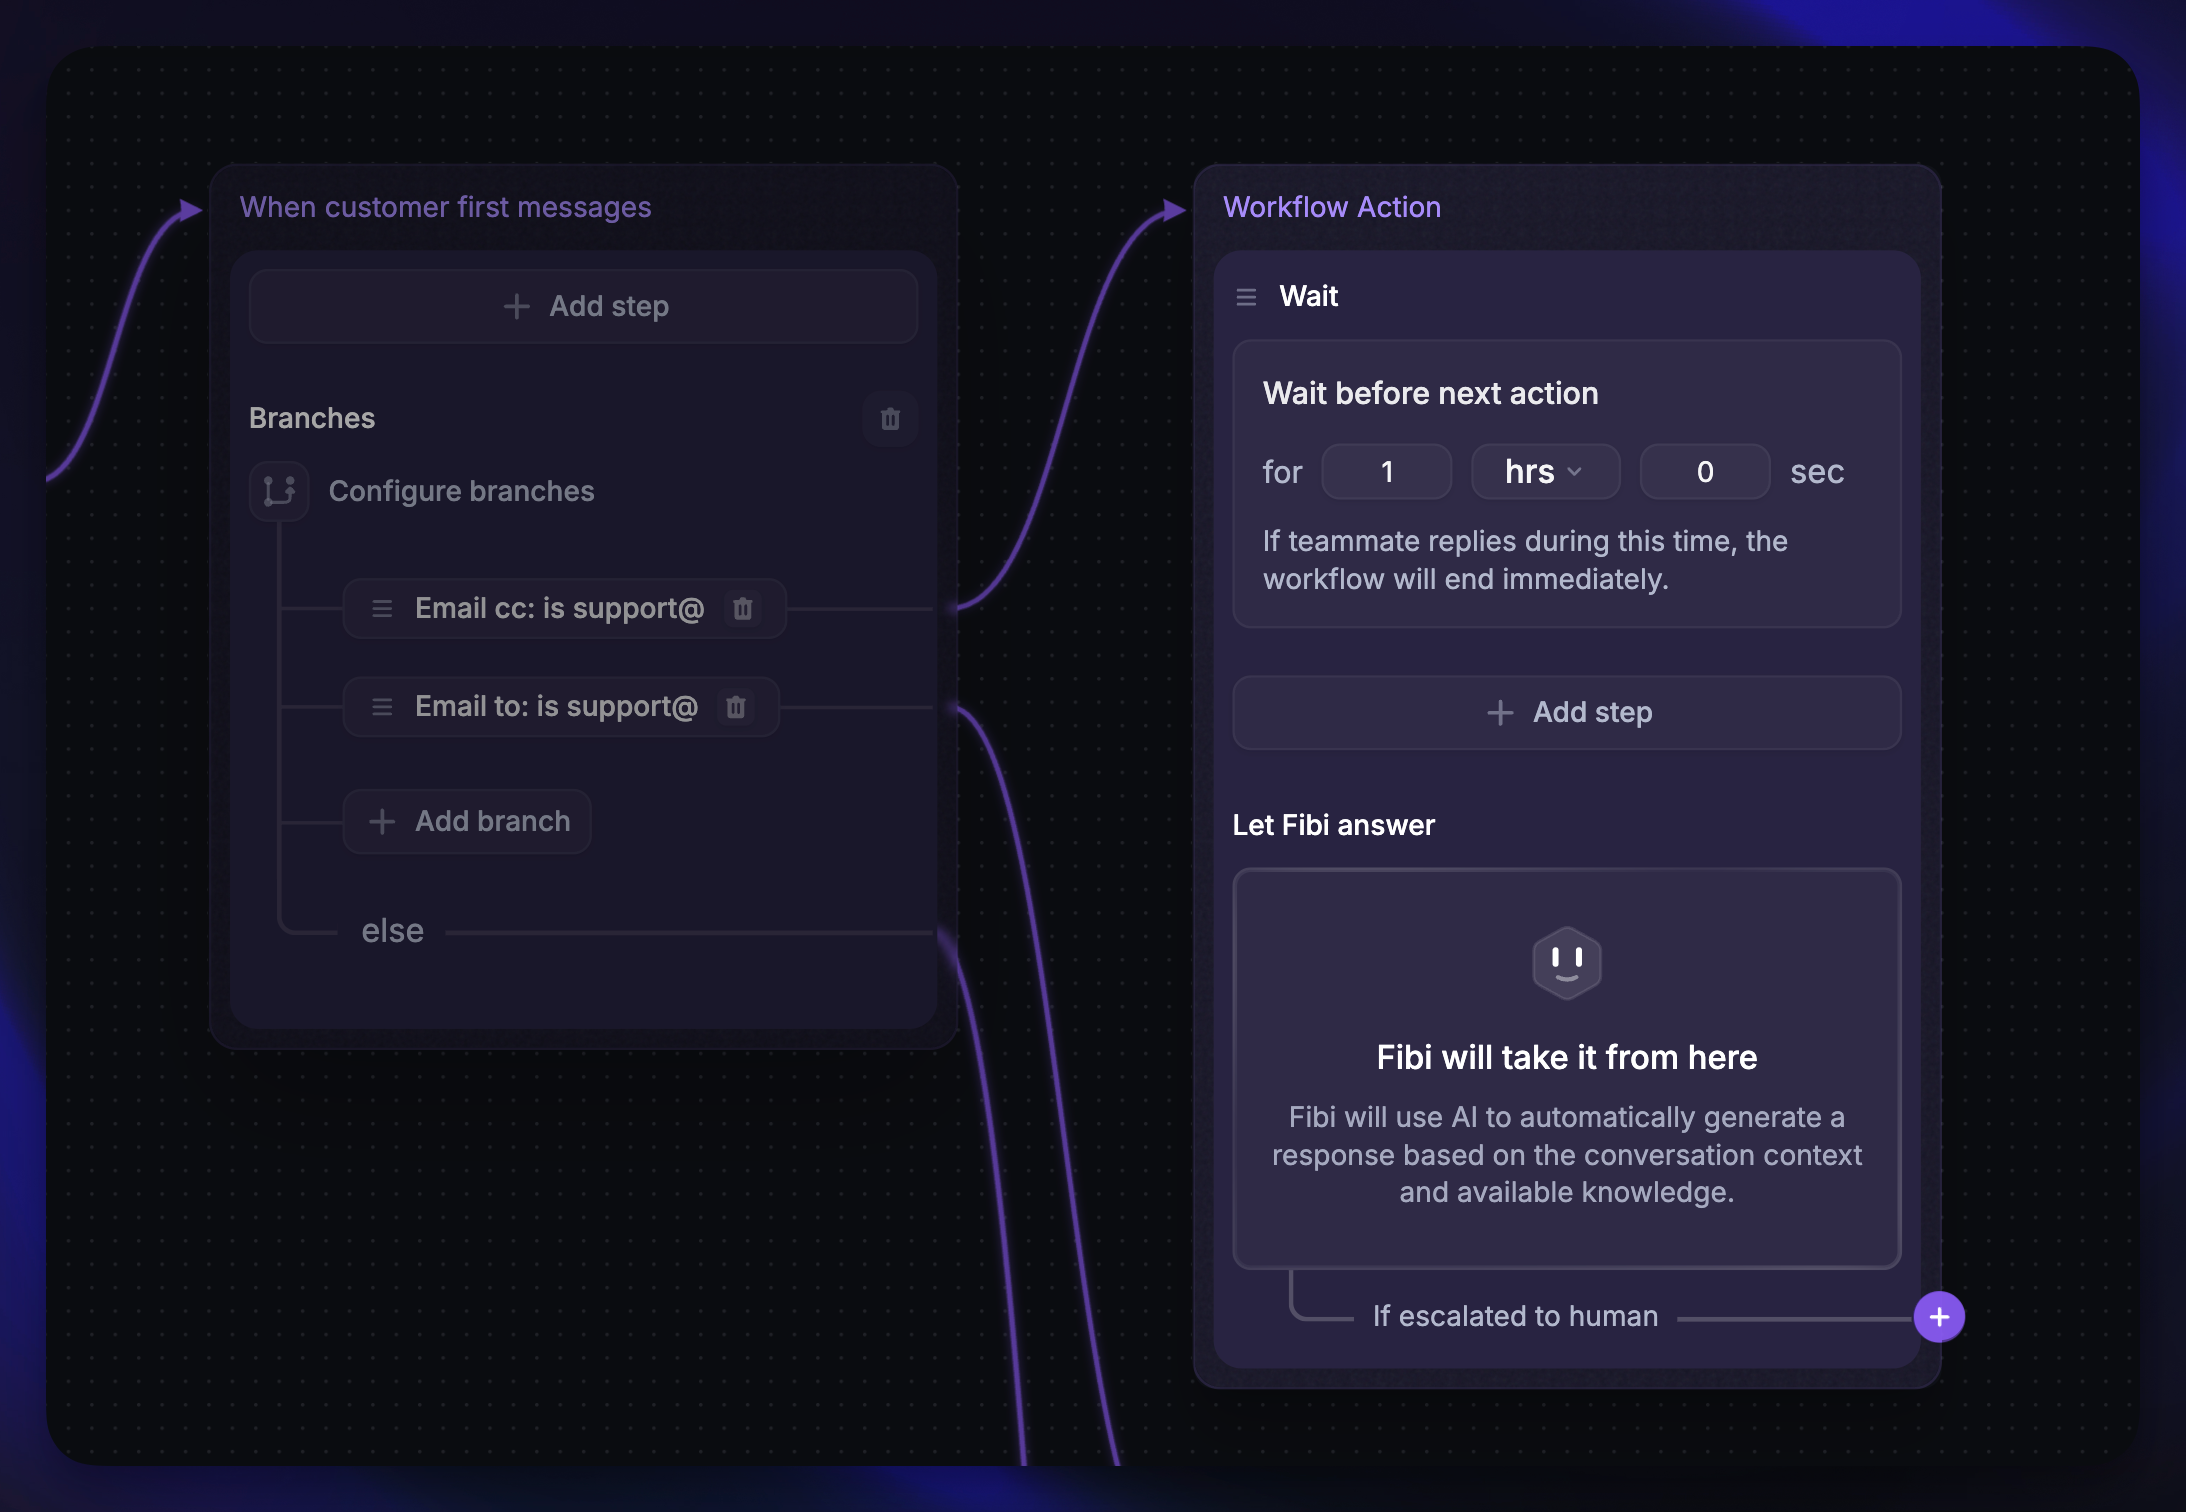
You can also allow Fibi AI to assist over email. When your support team is Cc’d on an email, you can:
Use the Email Cc predicate to identify these emails
Let Fibi reply automatically on behalf of your team
Optionally, set a wait time before Fibi replies to give your teammates a chance to respond first
This setup helps balance automation with a personal touch, ensuring no email goes unanswered.